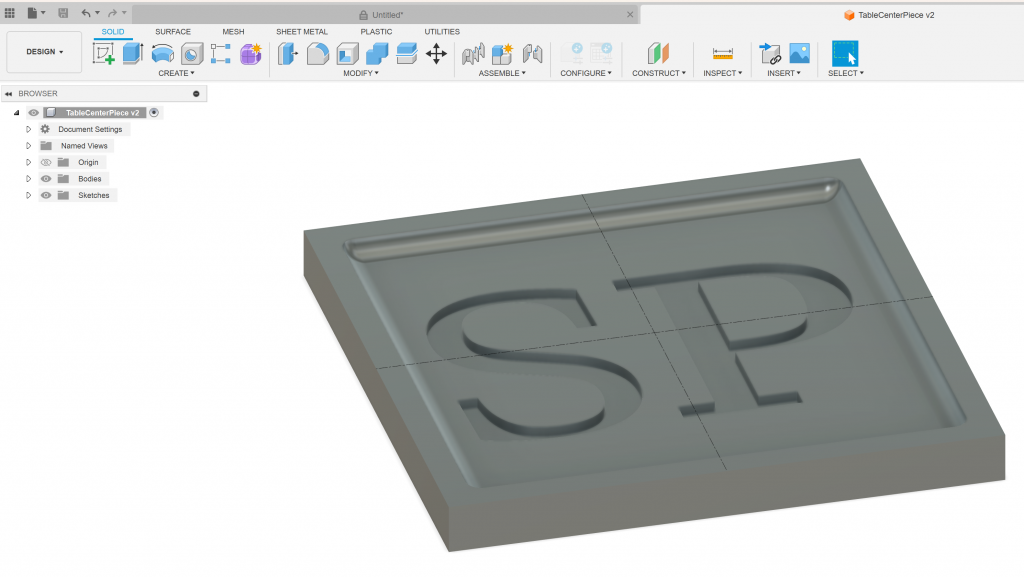
For my first custom carving, and first Fusion 360 carving, I decided to try something that I felt would be fairly simple. This is a 200x200mm table center piece with my, my wife’s and soon to have son’s, initials “SP”. Its to test a few capabilities and learn how to tool in Fusion as well. I foresee three toolpaths: one to bulk remove material, one for final pass and the last will be an attempt to smooth out epoxy I plan on pouring into the letters. Here is the start of the design:
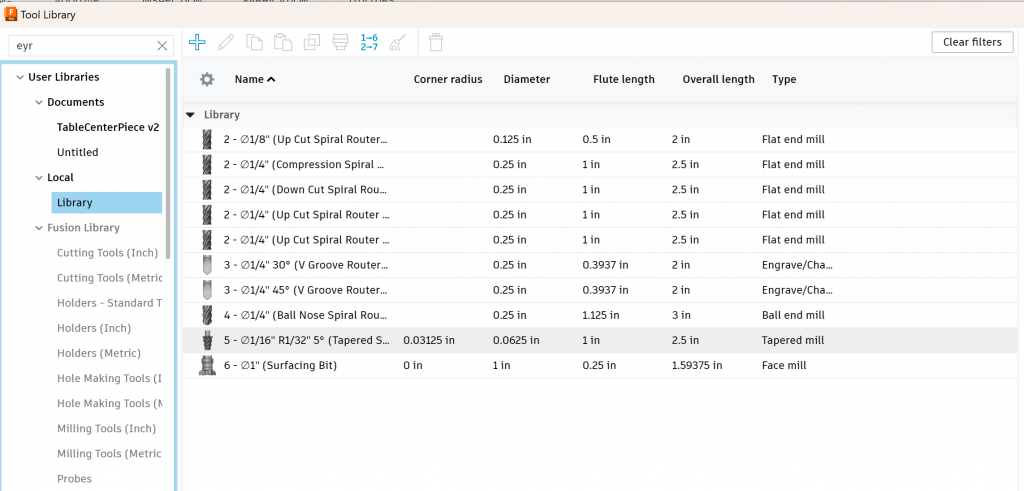
Before creating toolpaths, I created a custom tool library with some Eyryfui bits I bought on Amazon. I jumped into the “Manufacture” workflow for the first time and entered the information provided in the bit set:
I found a few YouTube reference videos before I tried to go any further, notably:
– Fusion 360 CNC 3D Carving Tutorial for Beginners 2023
– Fusion 360 CNC 3D Carving for Beginners
Define the material stock
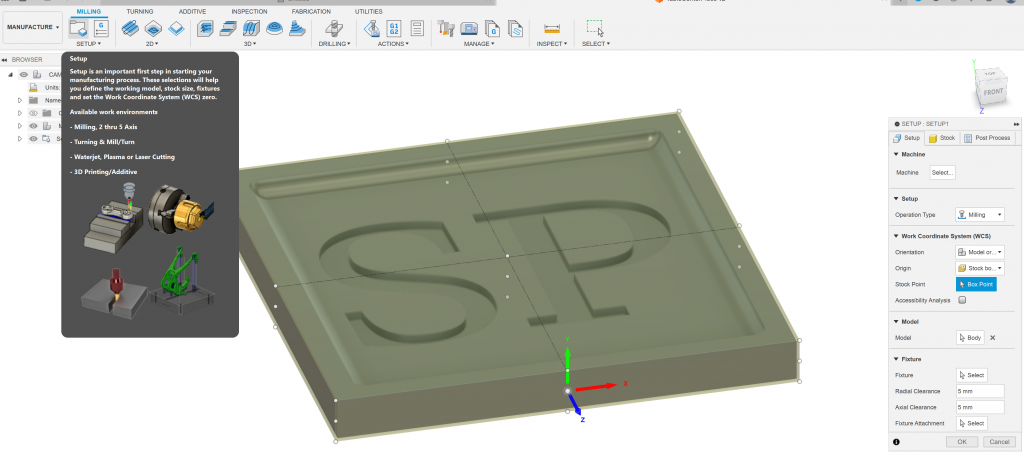
Simply put, what I’ve drawn in Fusion is what I ultimately want but I need to start milling from a large piece of wood called stock. Enter the setup option from the top left menu:
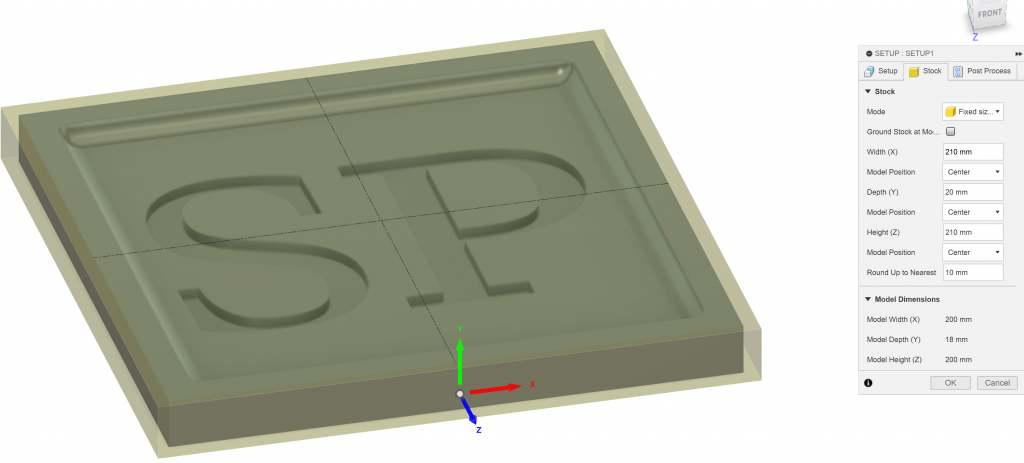
Changing to the stock tab, I entered 210×210 mm, 20mm depth to match the piece of wood I’ll be carving from. The design is left centered in the stock:
First toolpath
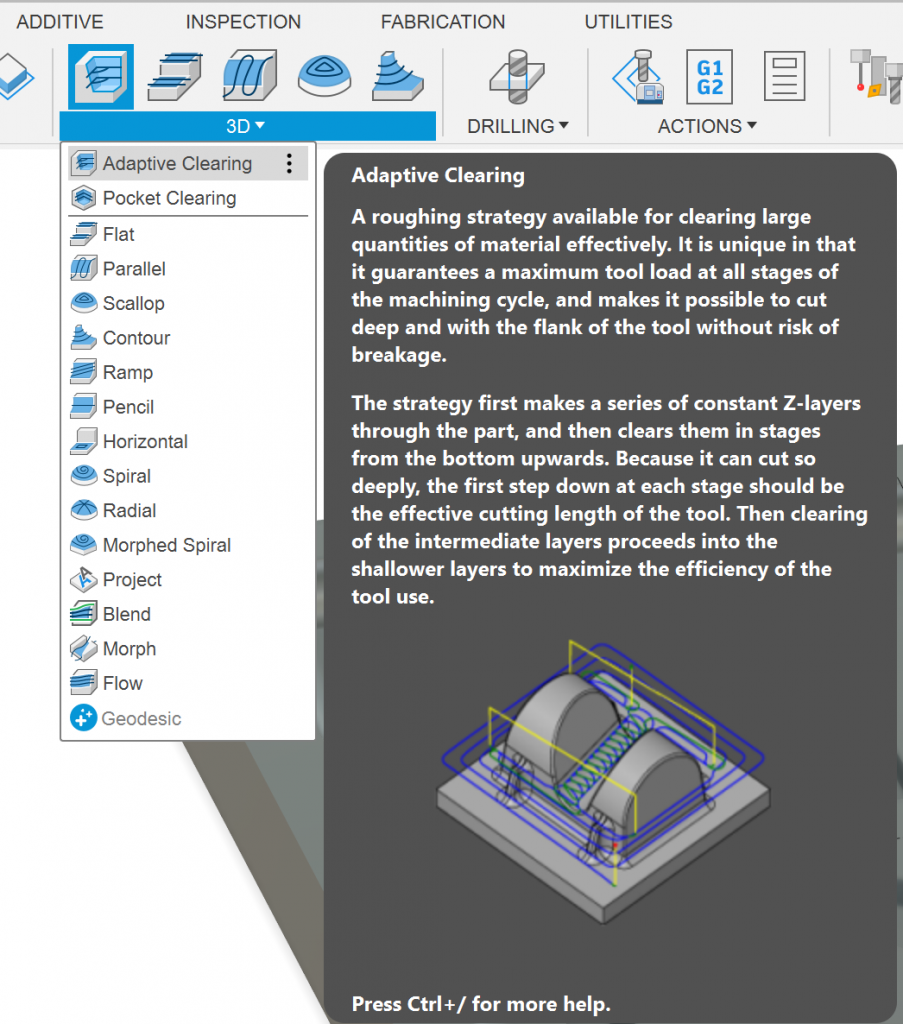
With the stock defined it was time to create the first toolpath that will be used to clear the bulk of the material from the stock to the rough desired shape. From the YouTube videos 3d adaptive clearing seems to be a popular option for roughing:

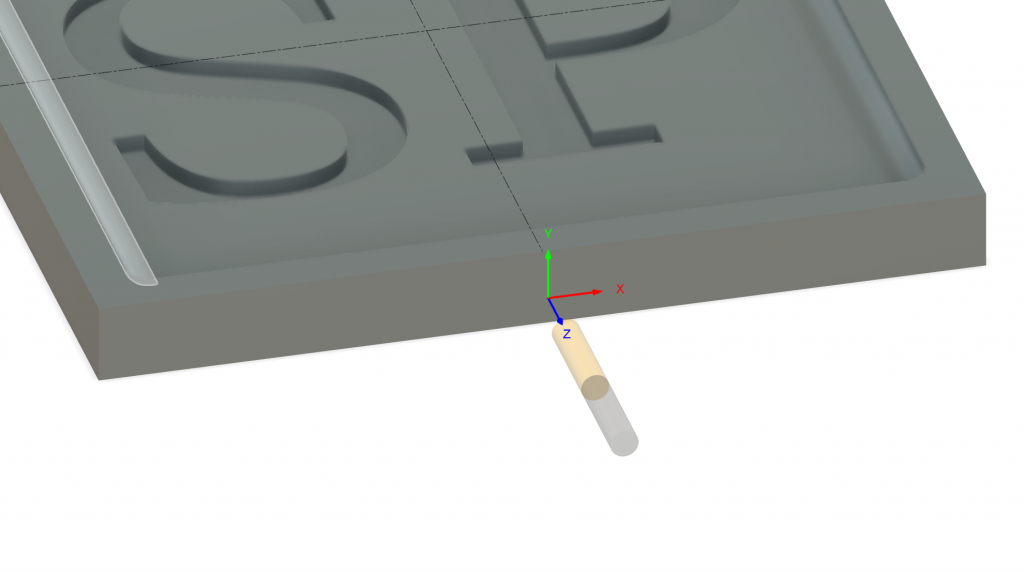
After selecting the tool I noticed the first problem, I had defined the sketch on the wrong axis for milling. The tool is shown going into the side of the piece and not the top:
I needed to go back in to the setup table and select the following options:

Then selected a new z-axis:
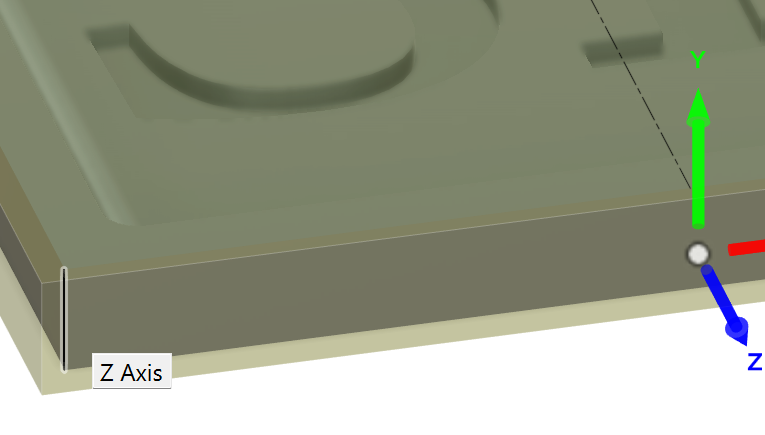
And it was properly translated:
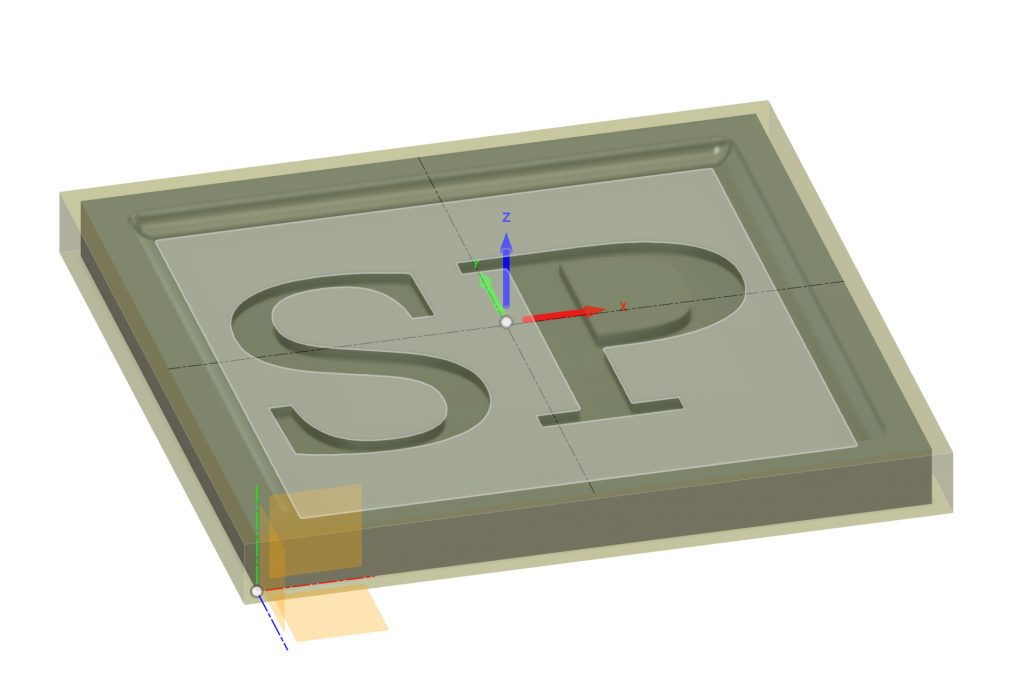
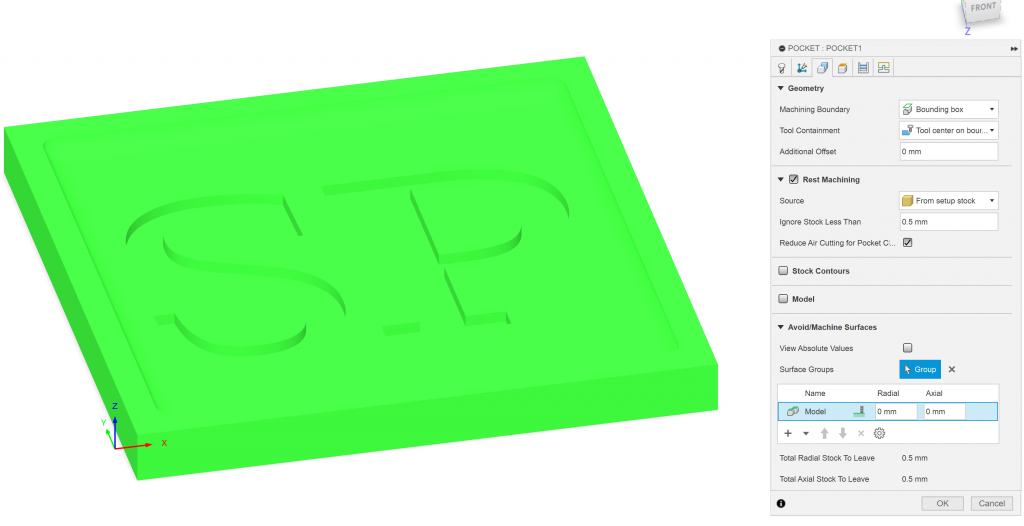
Going back to finish setting up the first toolpath, I created a bounding box to bound the cut in a 2d-pocket cut. I found this toolpath to be the simplest to get setup after fiddling around with the 3d-adaptive for some time. Also worth noting I am using REST machining and this, being the first toolpath, has its source as “from setup stock”.
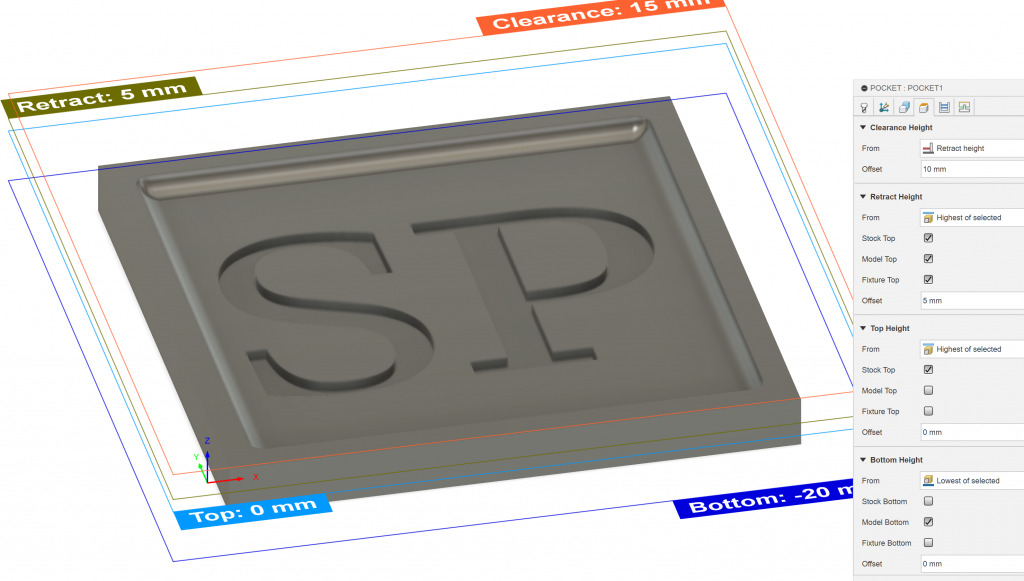
I left all the heights at their default settings:
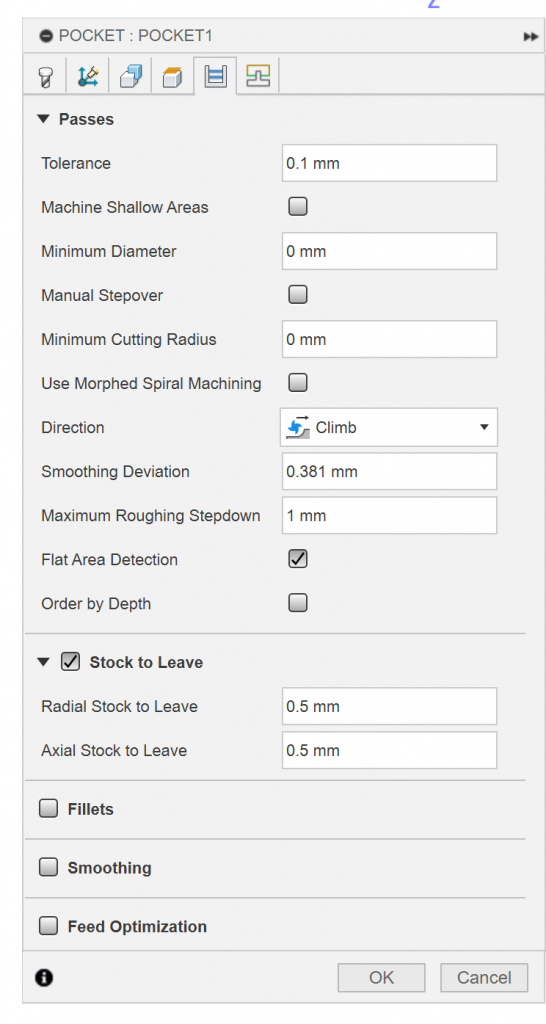
And edited the passes to be 1mm per step:
Second Toolpath
This was a probably unnecessary step if I had been able to figure out 3d-adaptive cutting in the first place, but, because it wasn’t the next toolpath was used to smooth the steps left from the first. This toolpath was used across all the rounded edges:
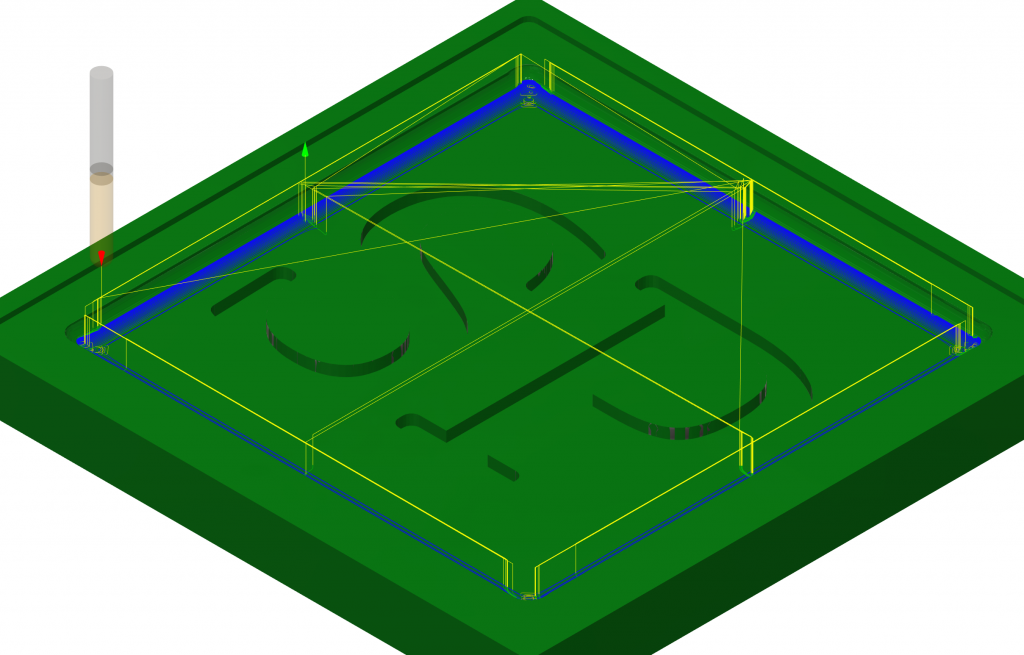
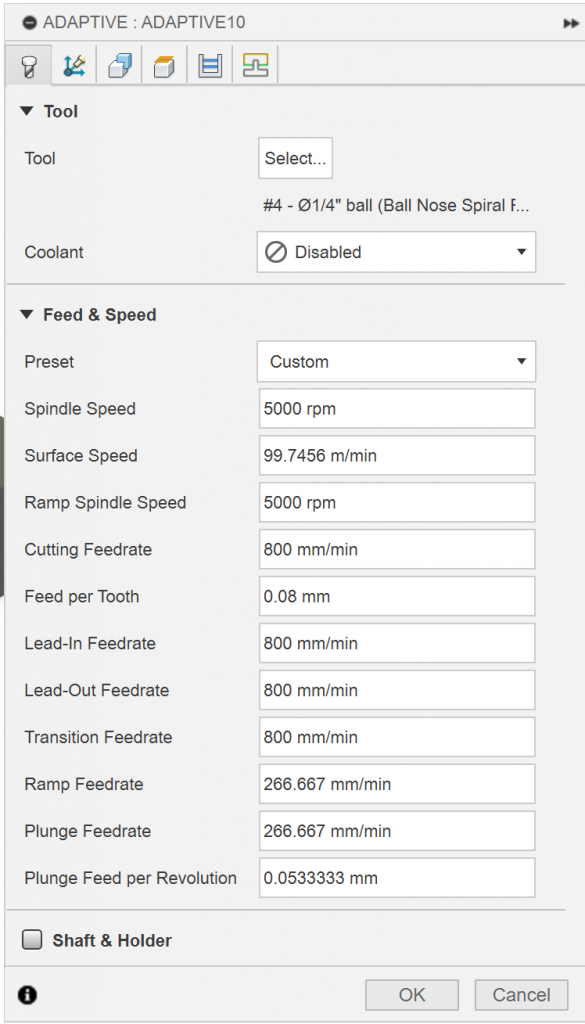
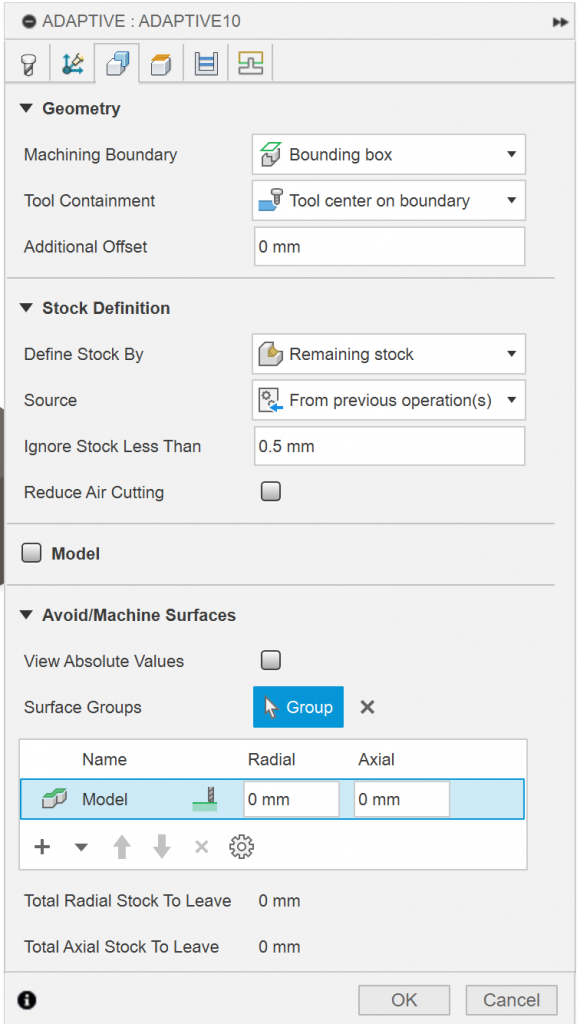
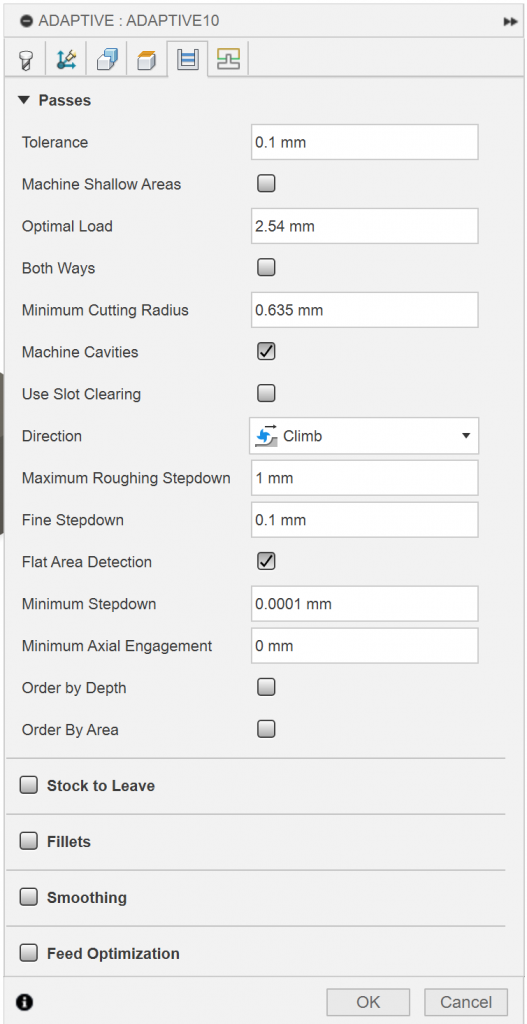
The toolpath details are below, notable settings are the 1/4″ ball nose bit, 800 mm/min feedrate and the roughing stepdown of 1mm. I think the 1 mm was very conservative and could have been increased to decrease the overall tool time.
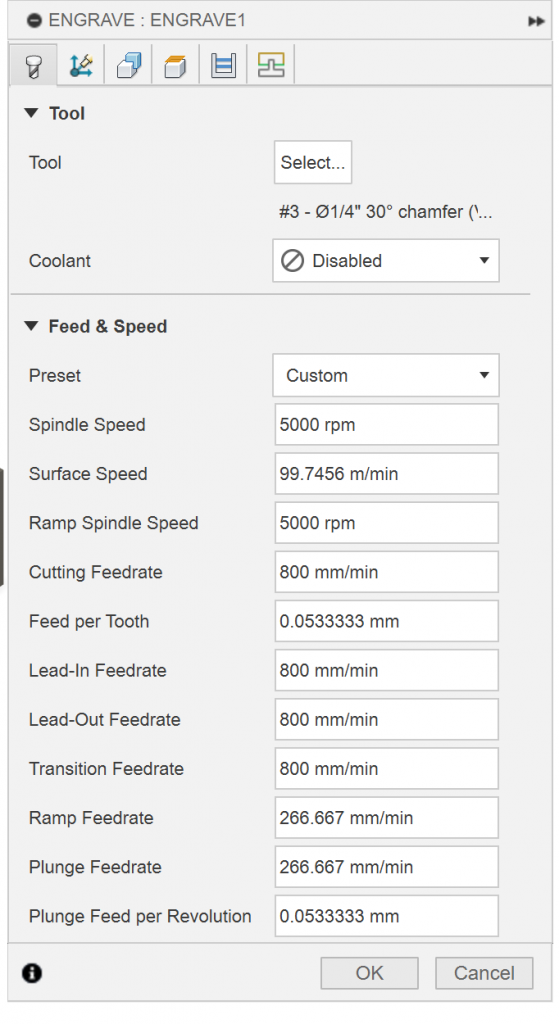
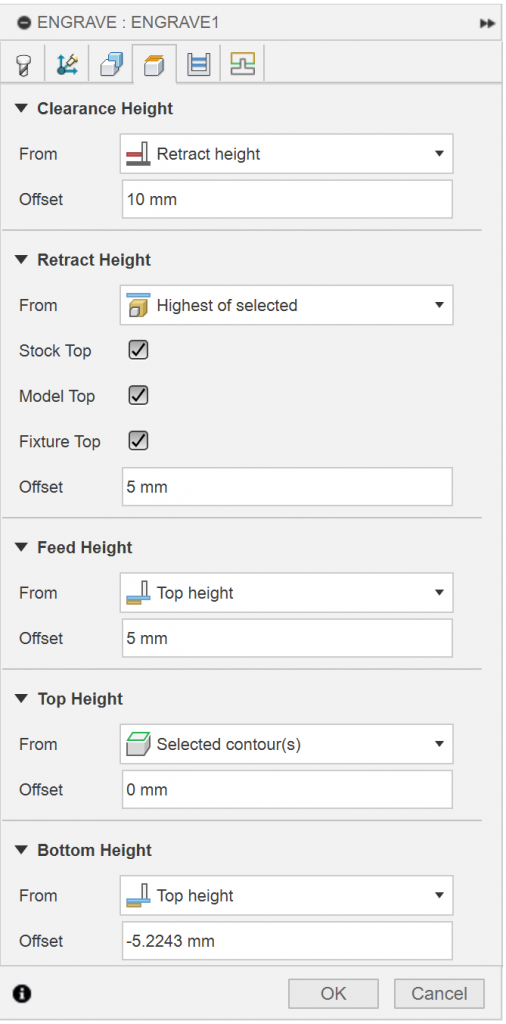
The final step was to use a 60 degree V bit to get fine details on the letters. I decided to omit this during the cut but the tool path was very simple, only selecting the letter edges:
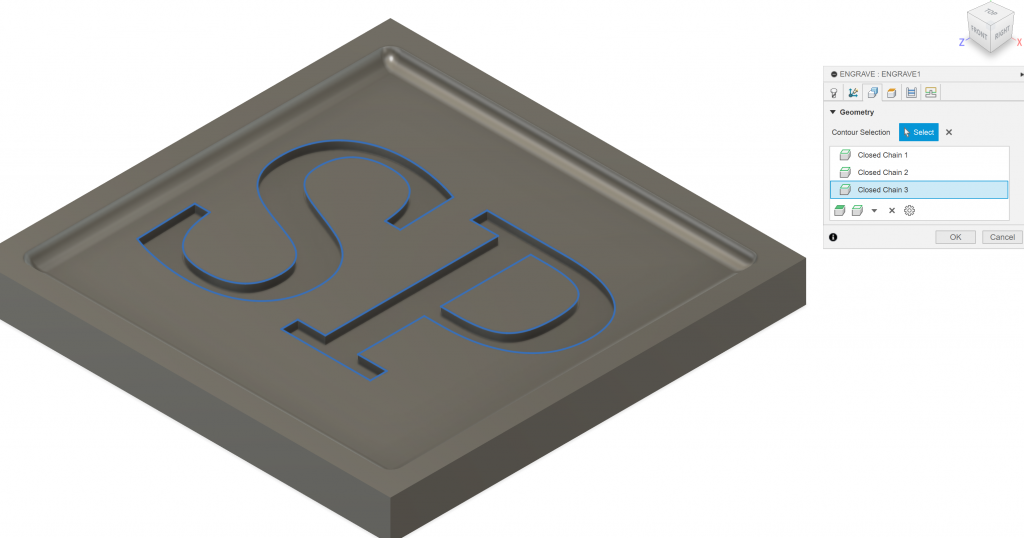
Additional settings:

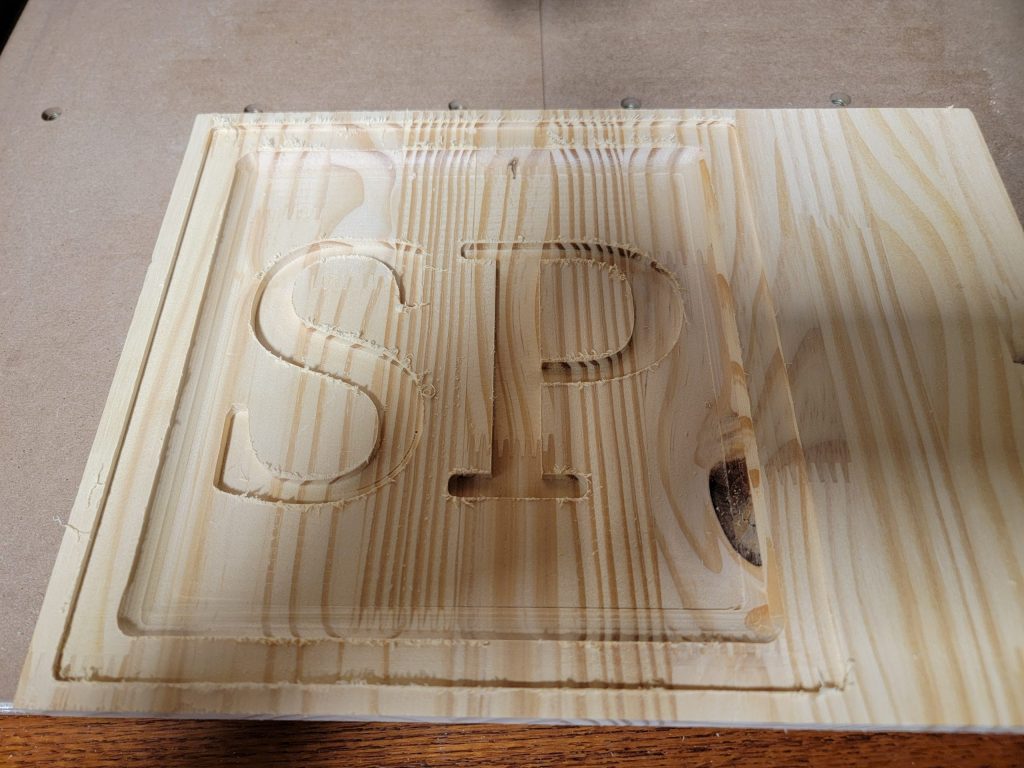
A few hours later here was the final result:
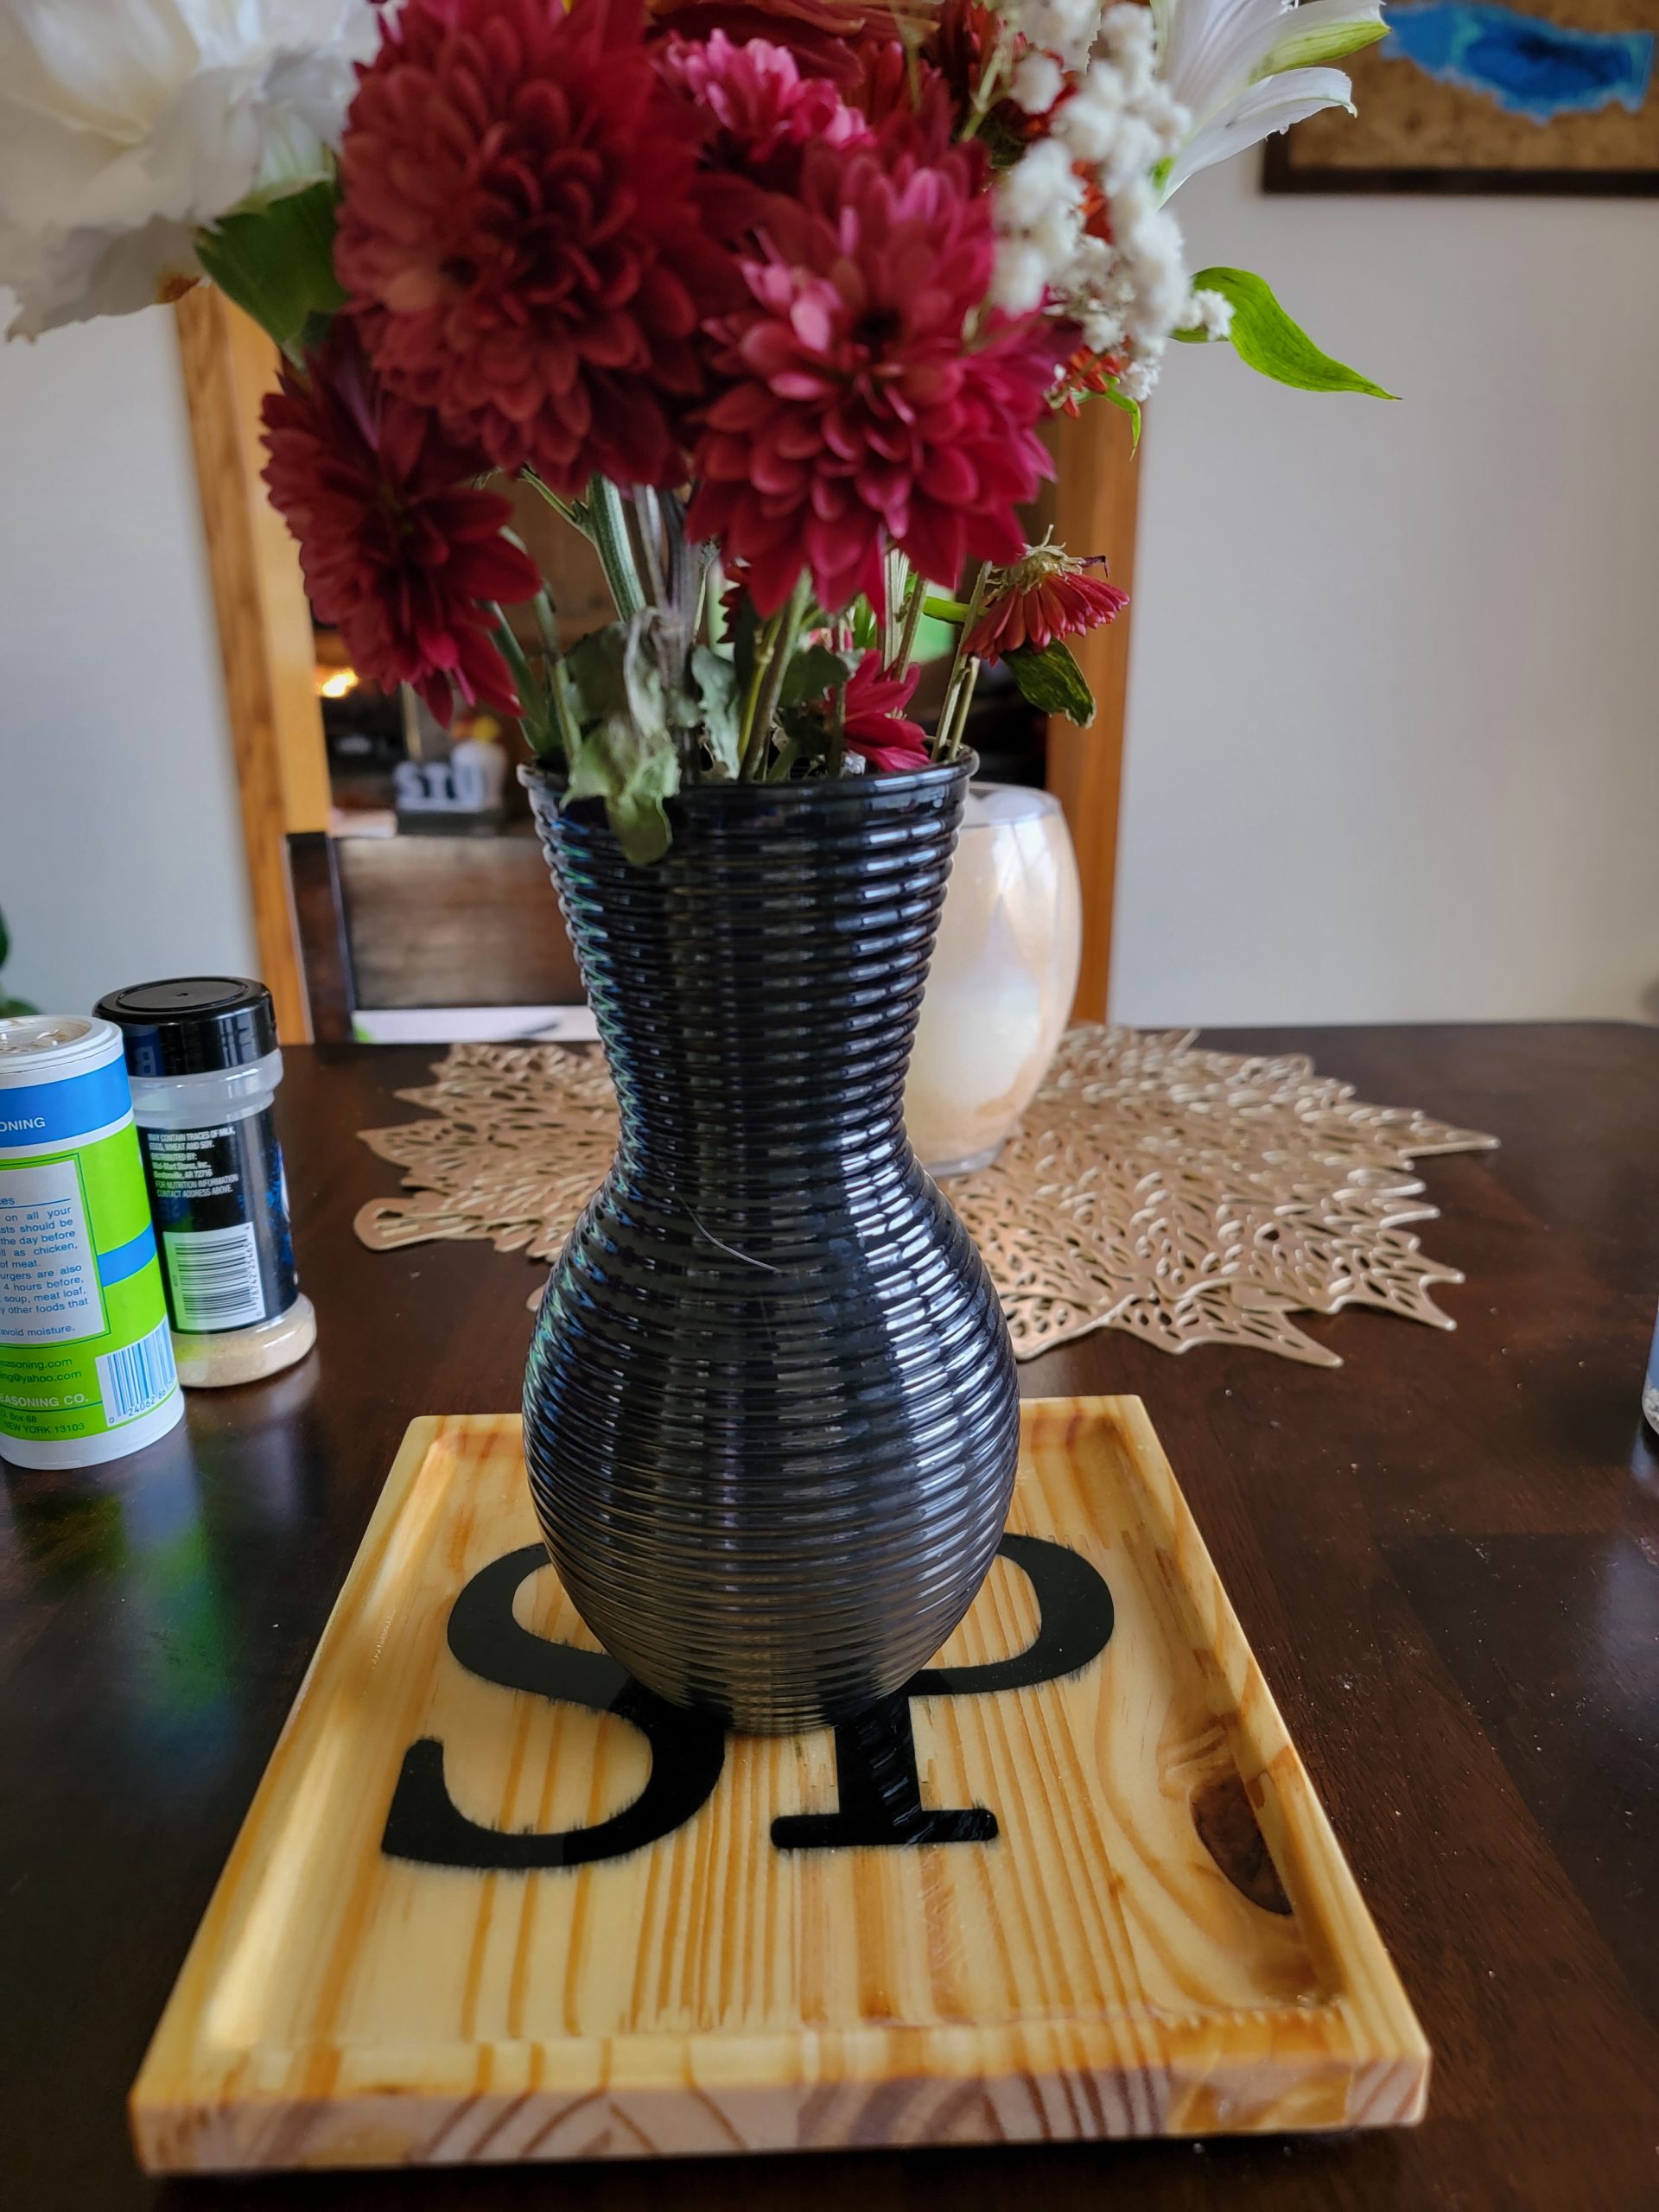
Continue over to part 2 of the project where I use epoxy to finish the letters and seal the wood.

One thought on “First Fusion 360 CNC Carving”