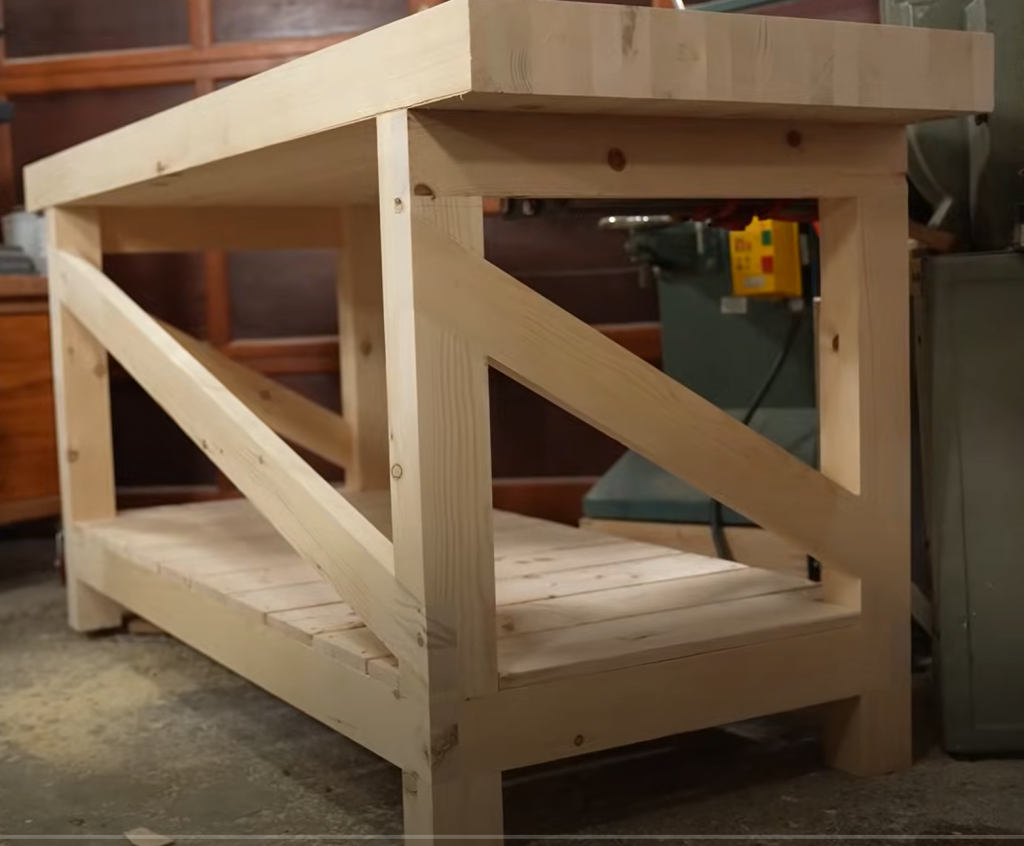
Time for a new garage workbench, or benches depending on how you look at it. I’m mostly going from this build video but mixing it with the aesthetics of this build video which I really liked. Here are the basics of the two videos:
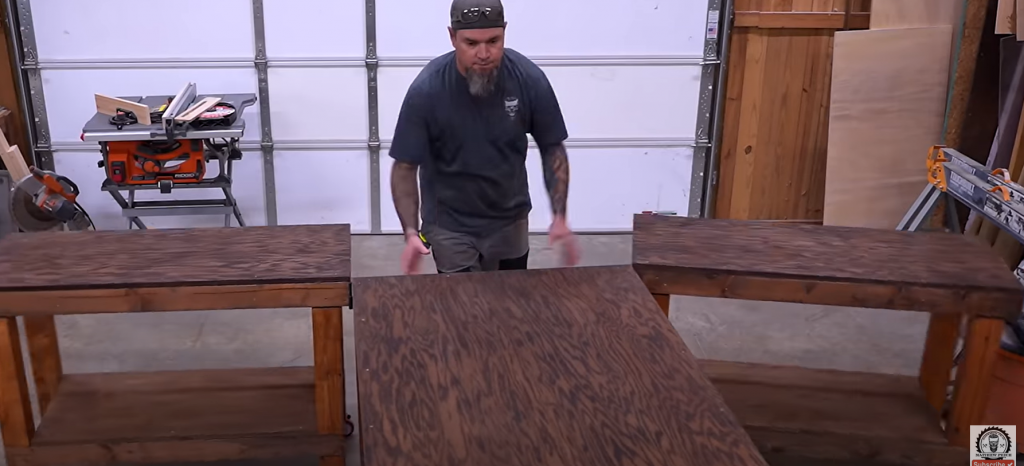
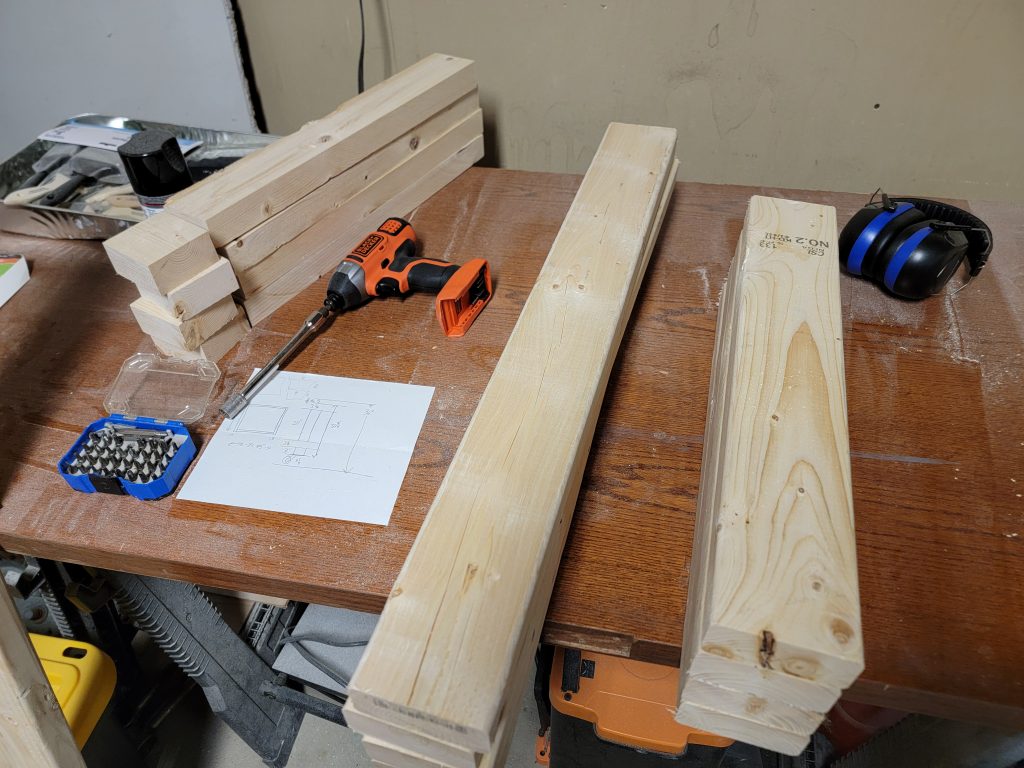
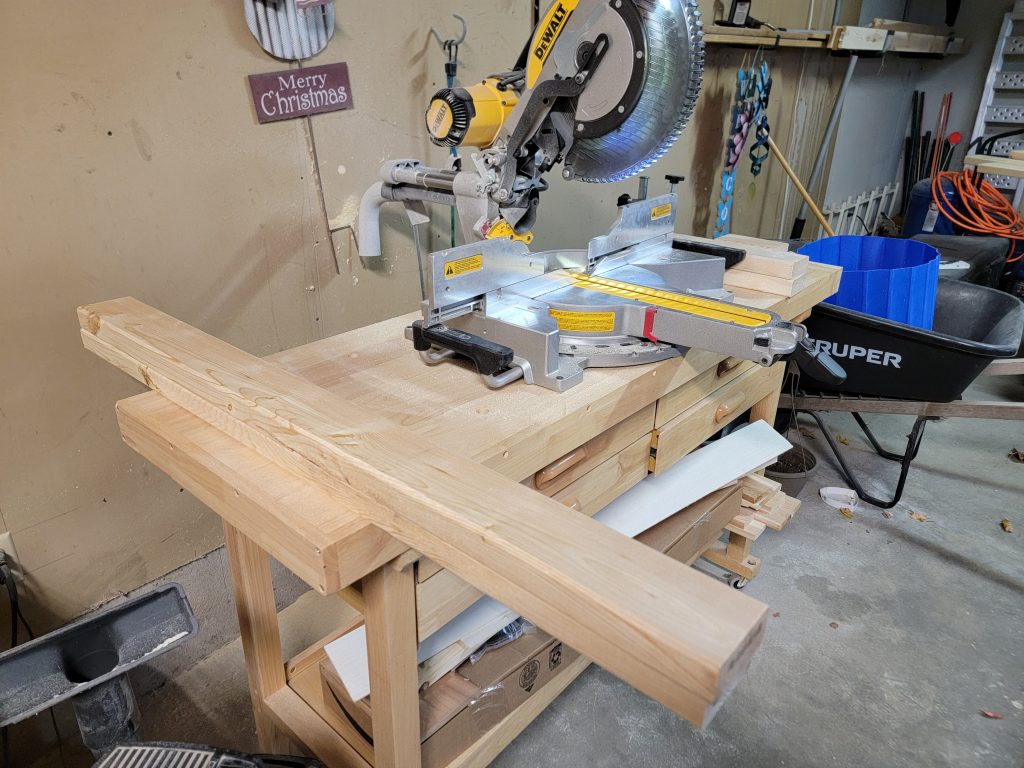
First step cutting all the 12 corner supports for the 3 benches. After cutting the pieces to length I trimmed off the outer ~3/16ths of each side of the 2×4’s on the table saw.
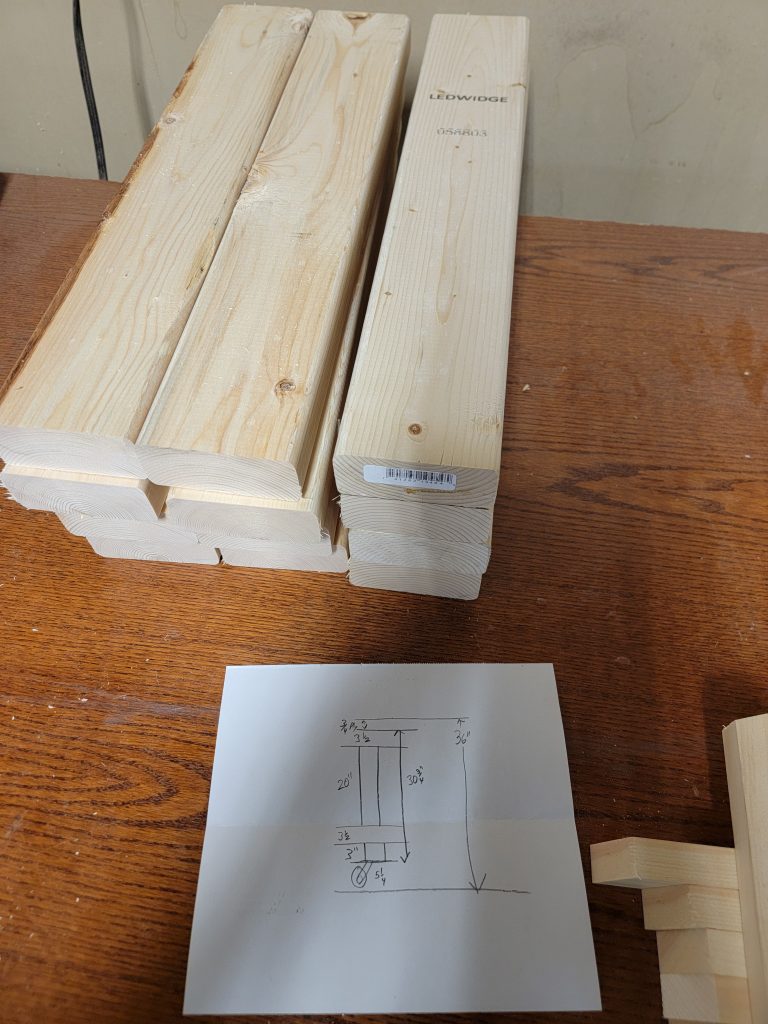
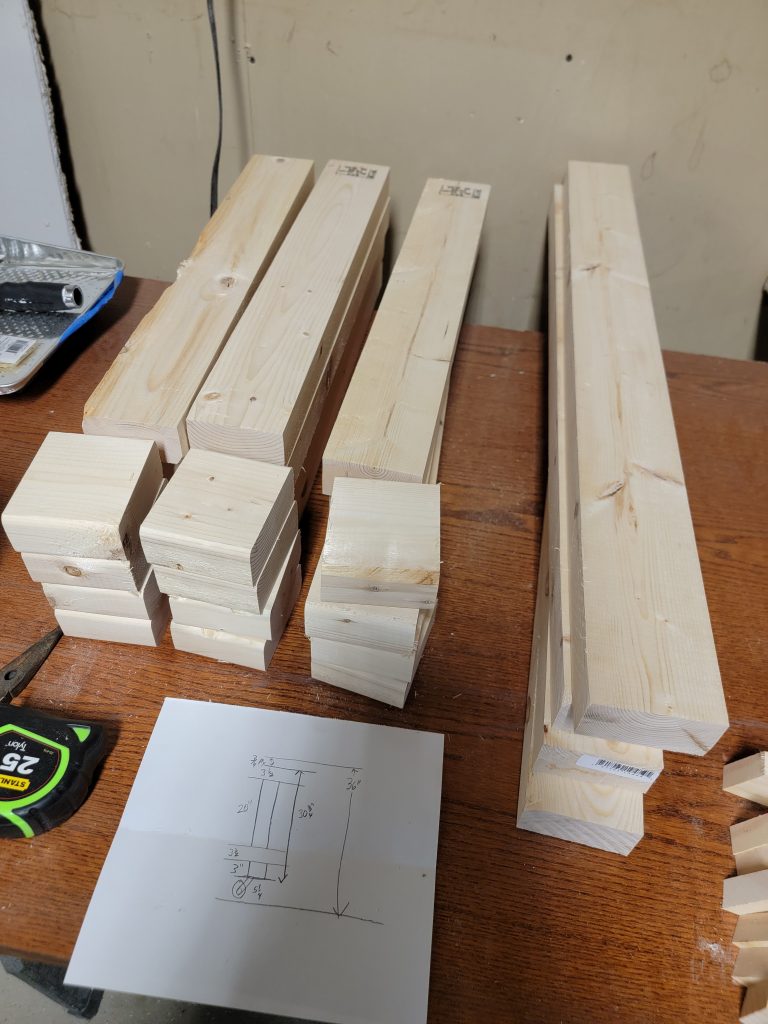
Then I started cutting the pieces that go between the legs, and assembling the larger bench upside down.
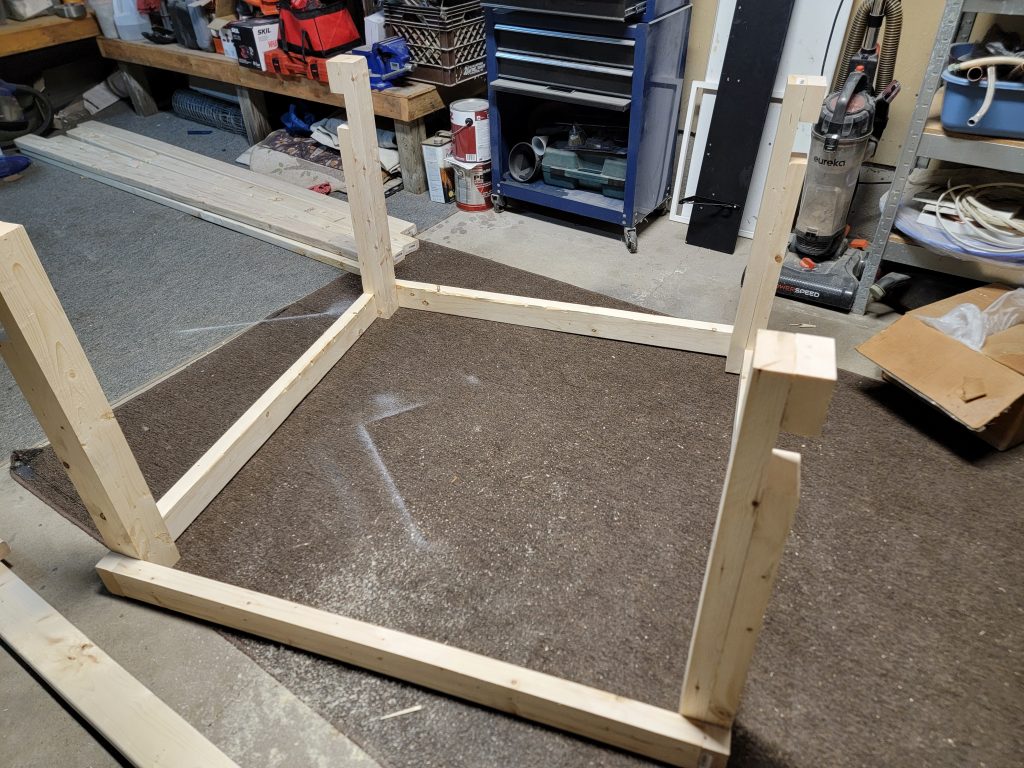
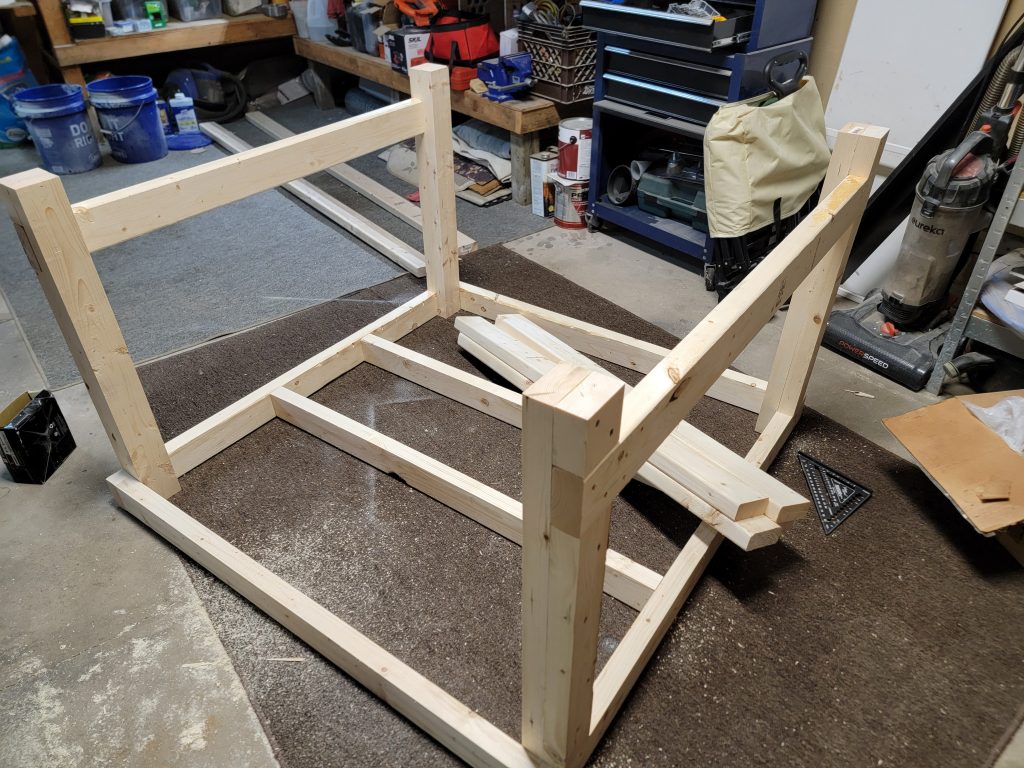
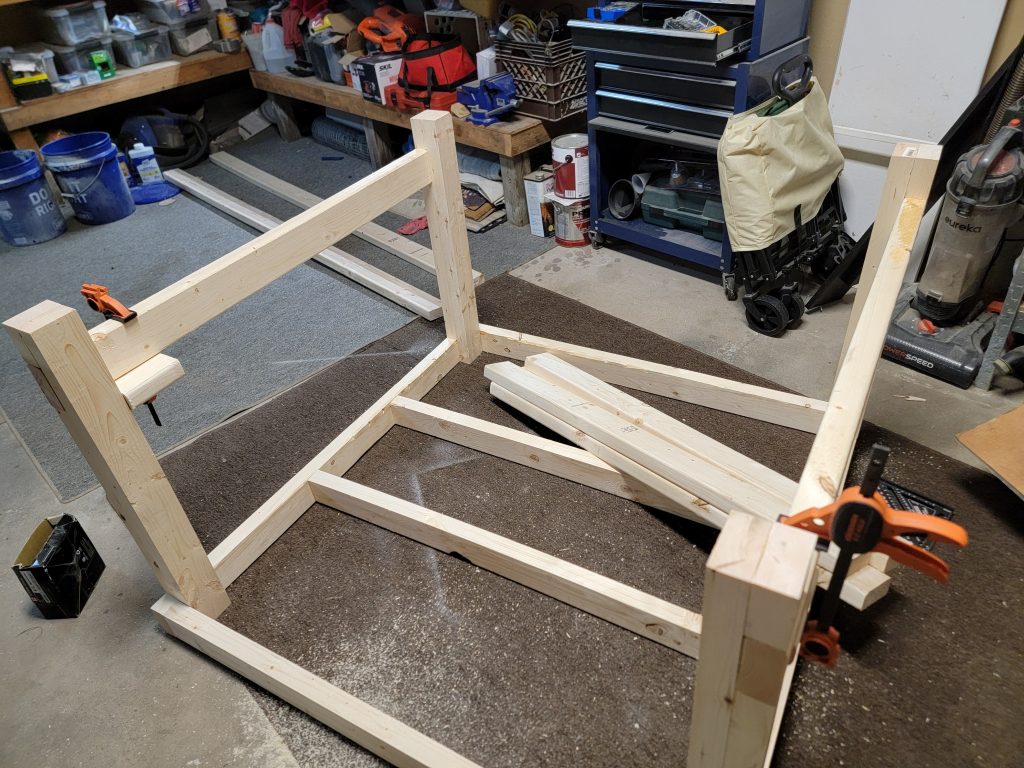
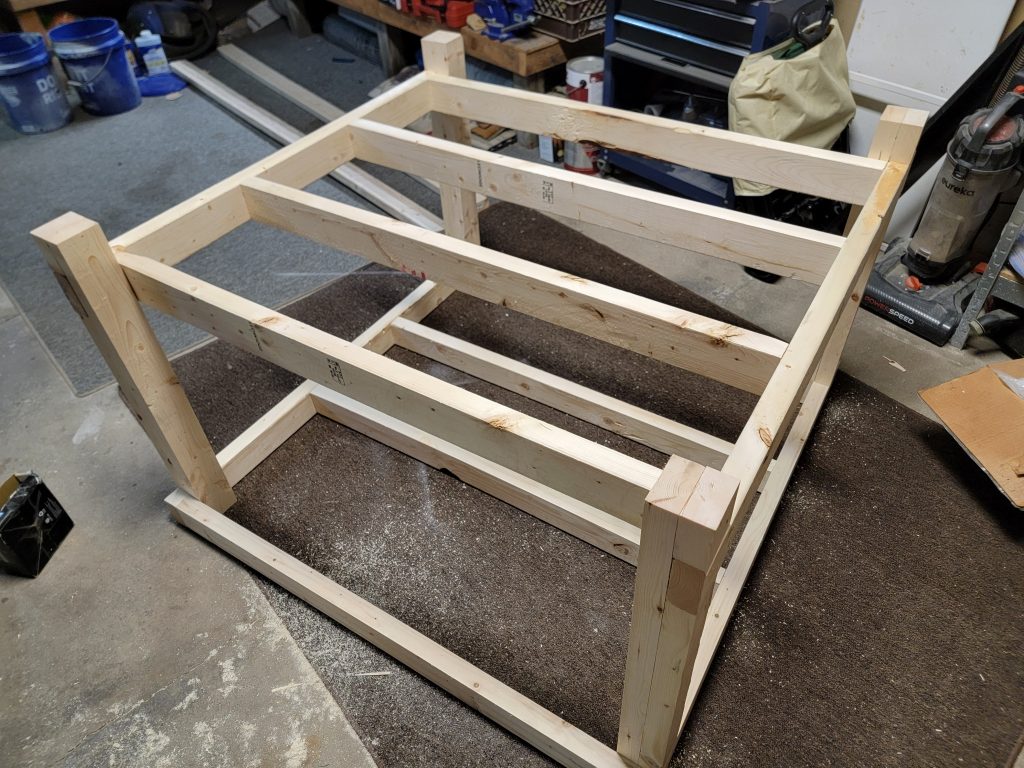
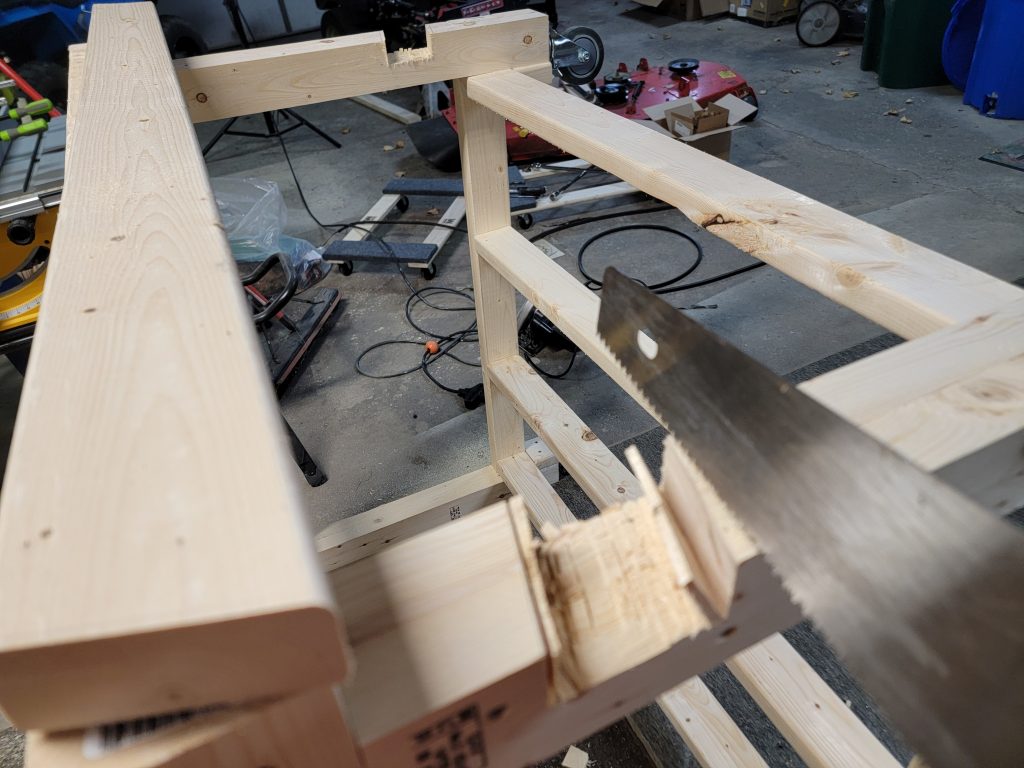
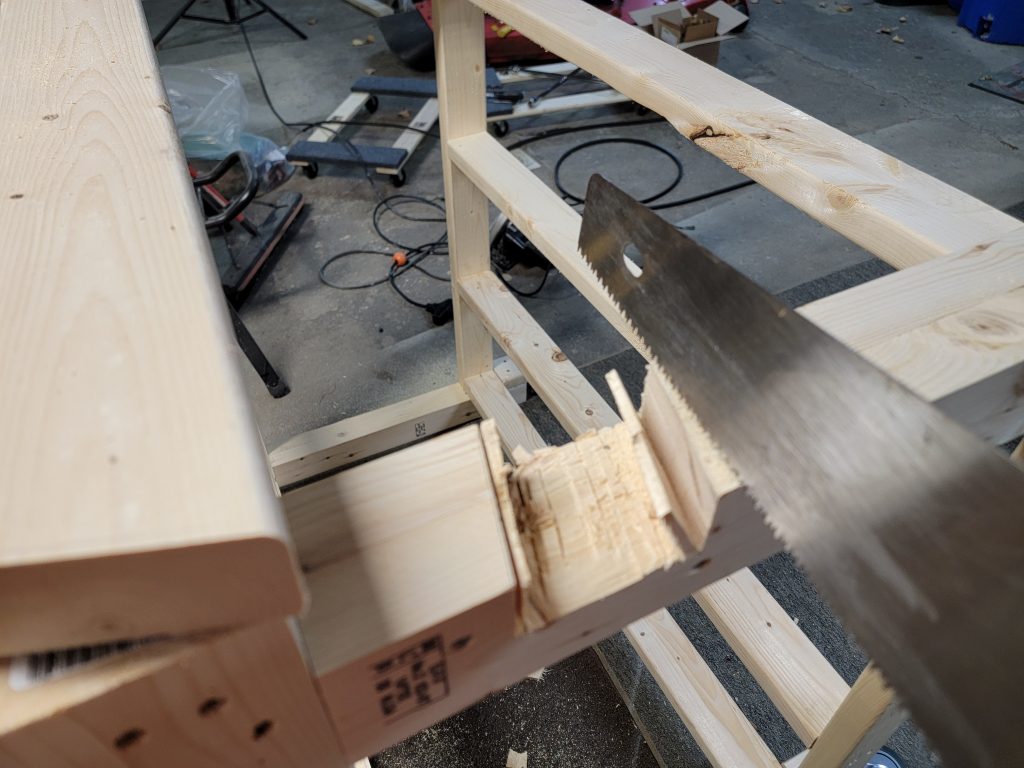
With the basic structure completed I took some aspect of the second YouTube video I mentioned above and added an inset 2×4 diagonally for additional support. Starting by tracing the outline and making several cuts with the circular saw. A hammer and chisel was used to knock out and clean up the slots.
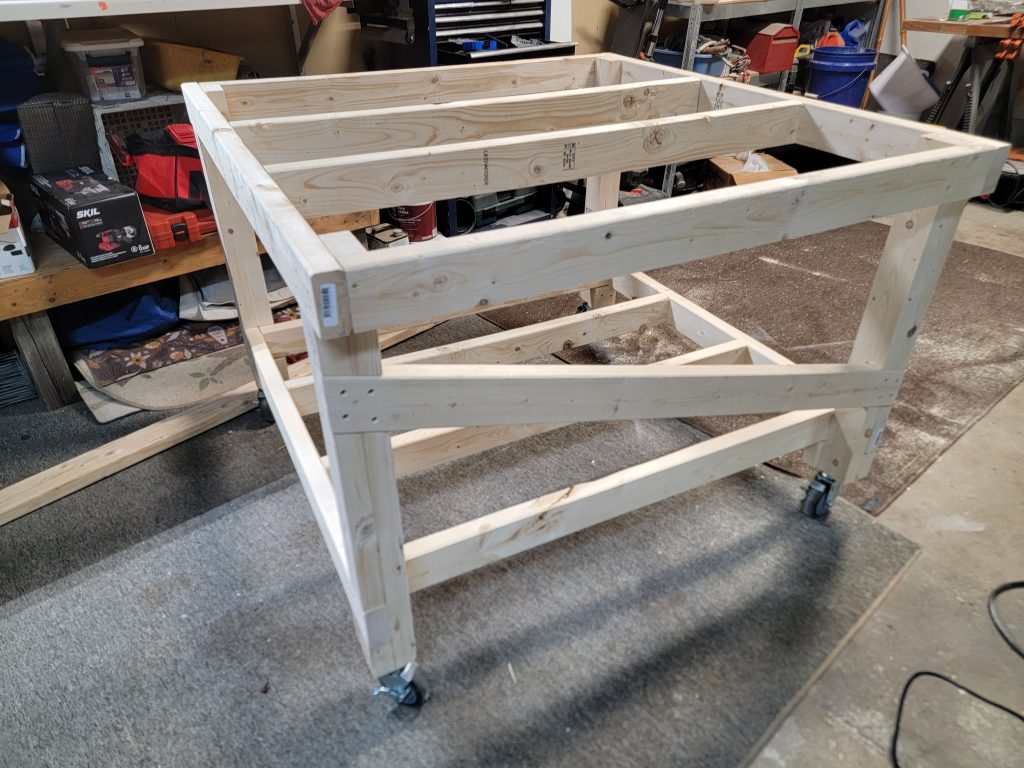
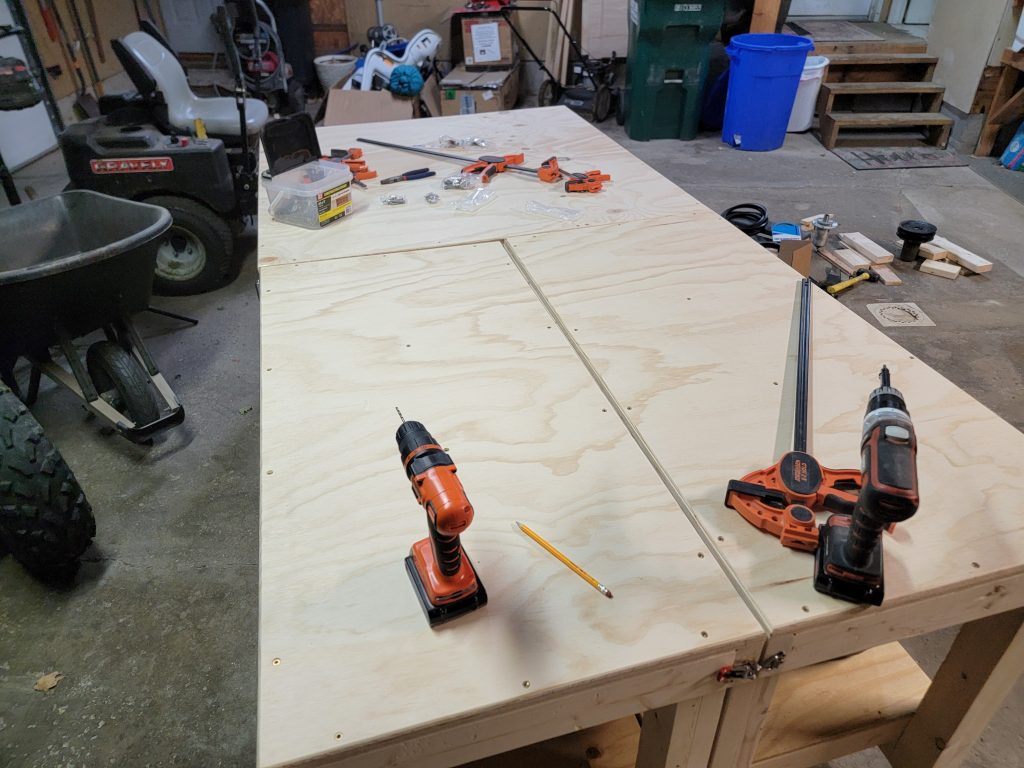
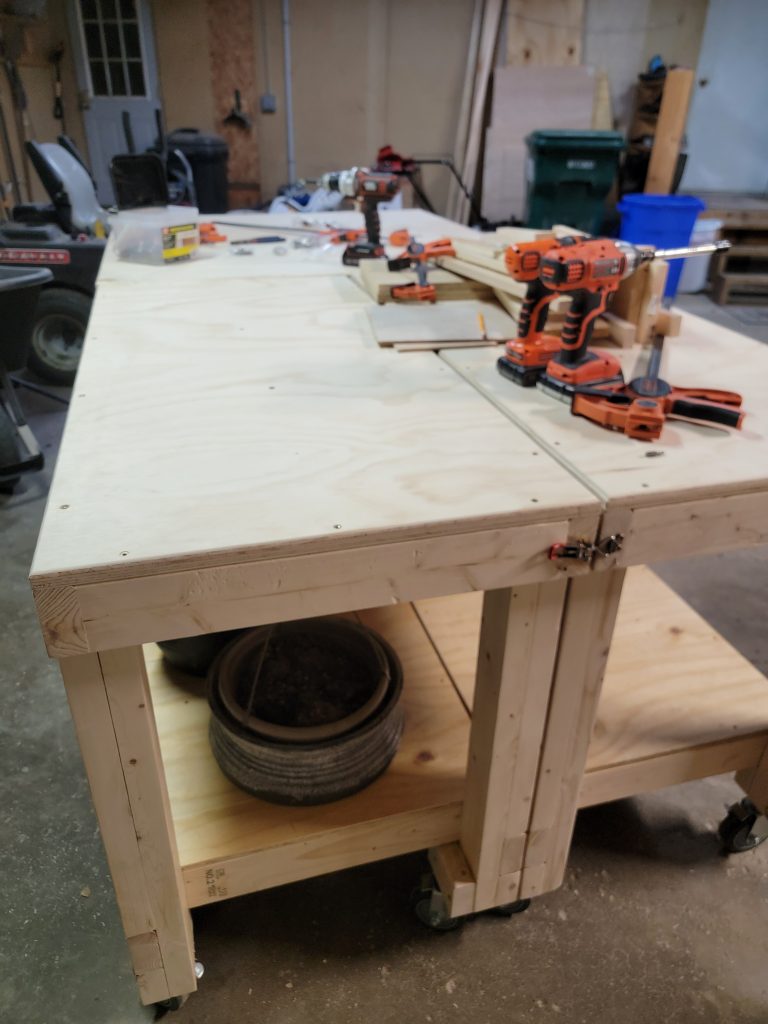
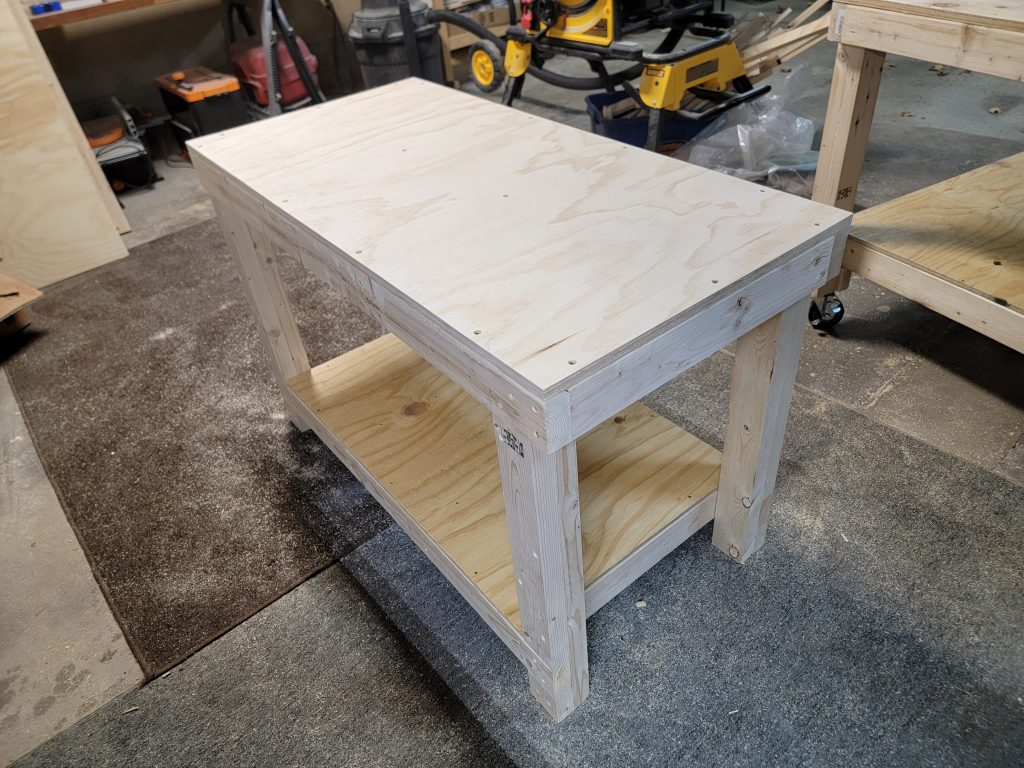
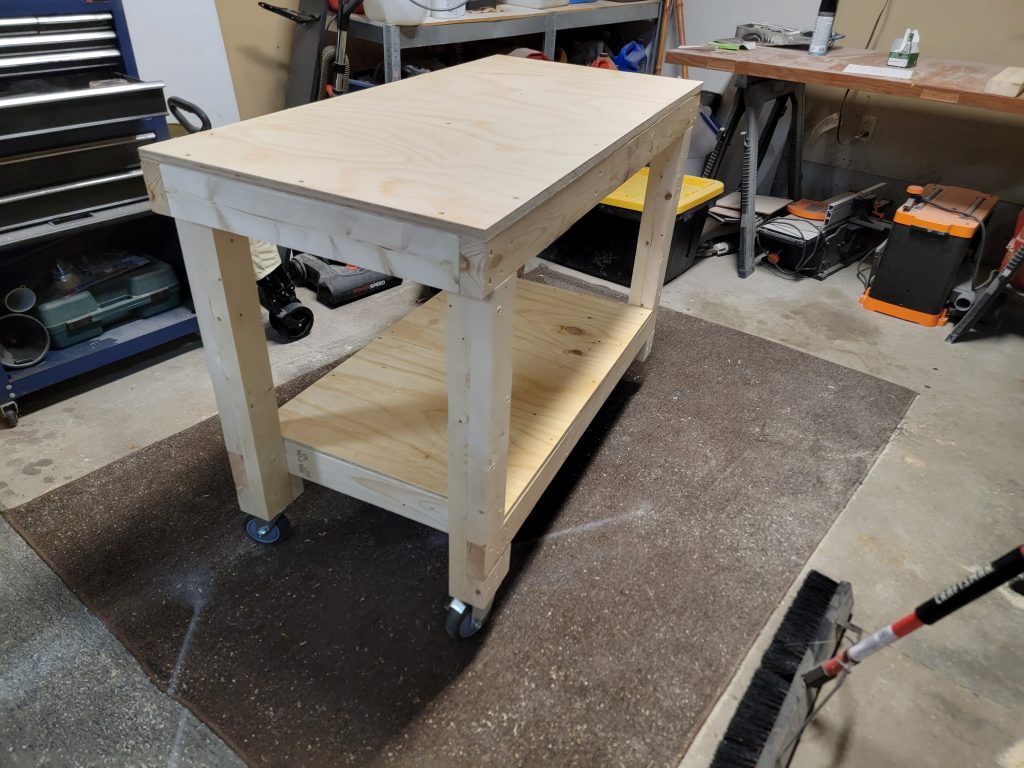
The lower shelf was made with 1/2″ plywood, the upper was made with 3/4″ for added strength and rigidity. Here’s some glamor shots after those were cut and screwed down:
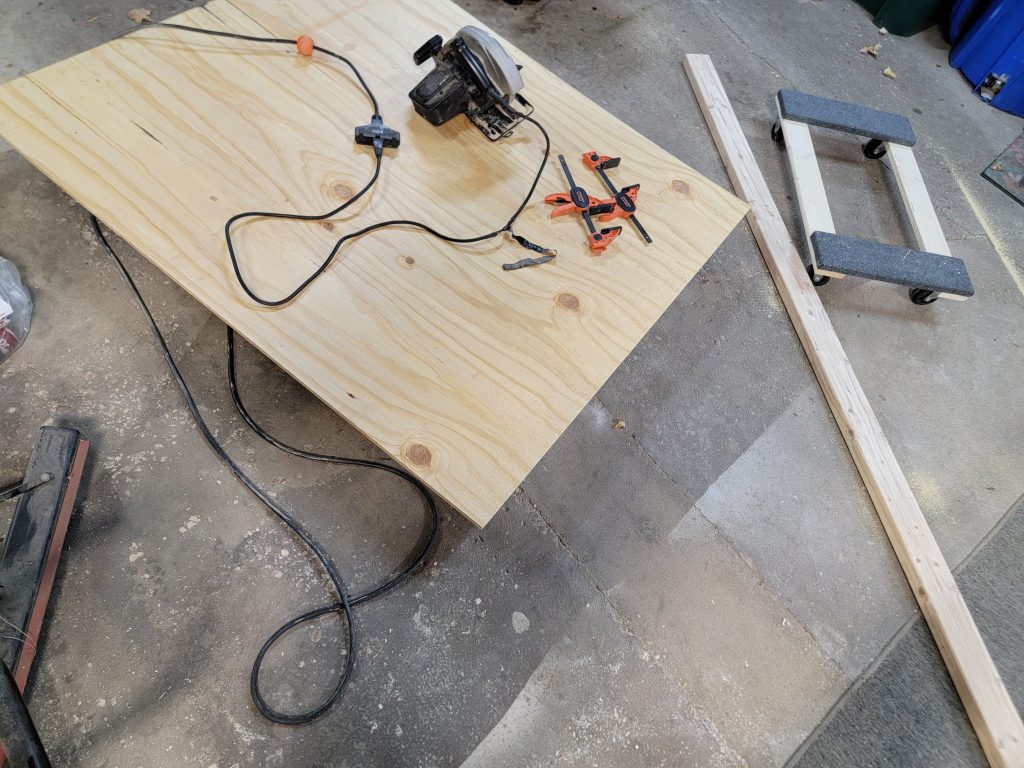
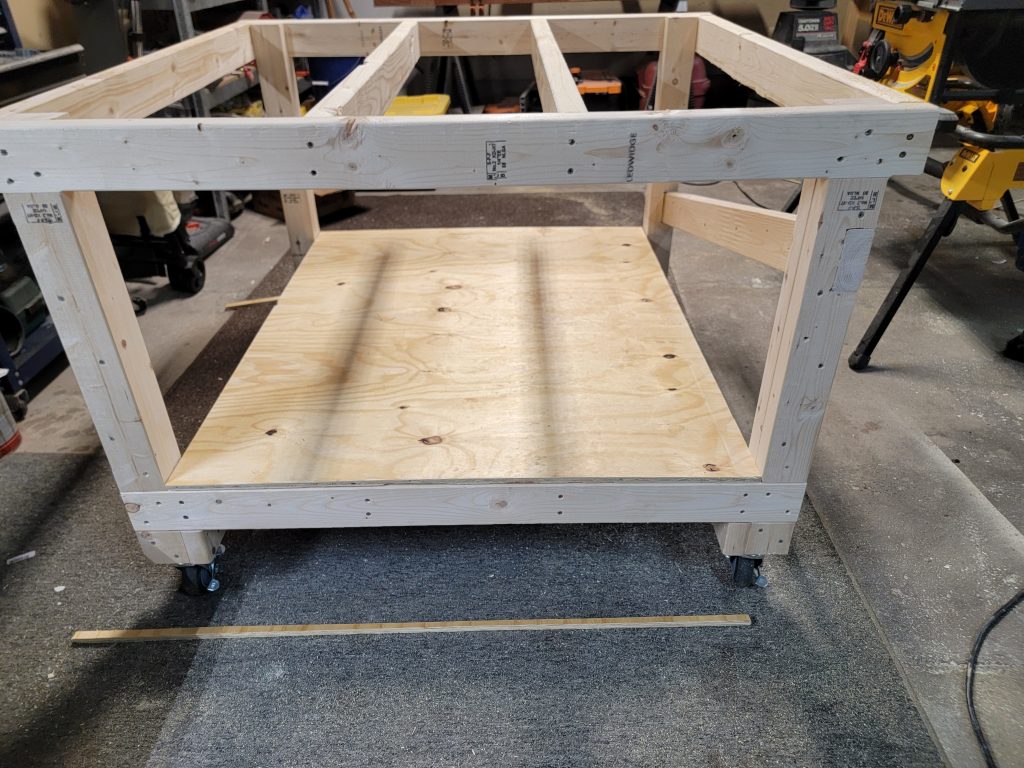
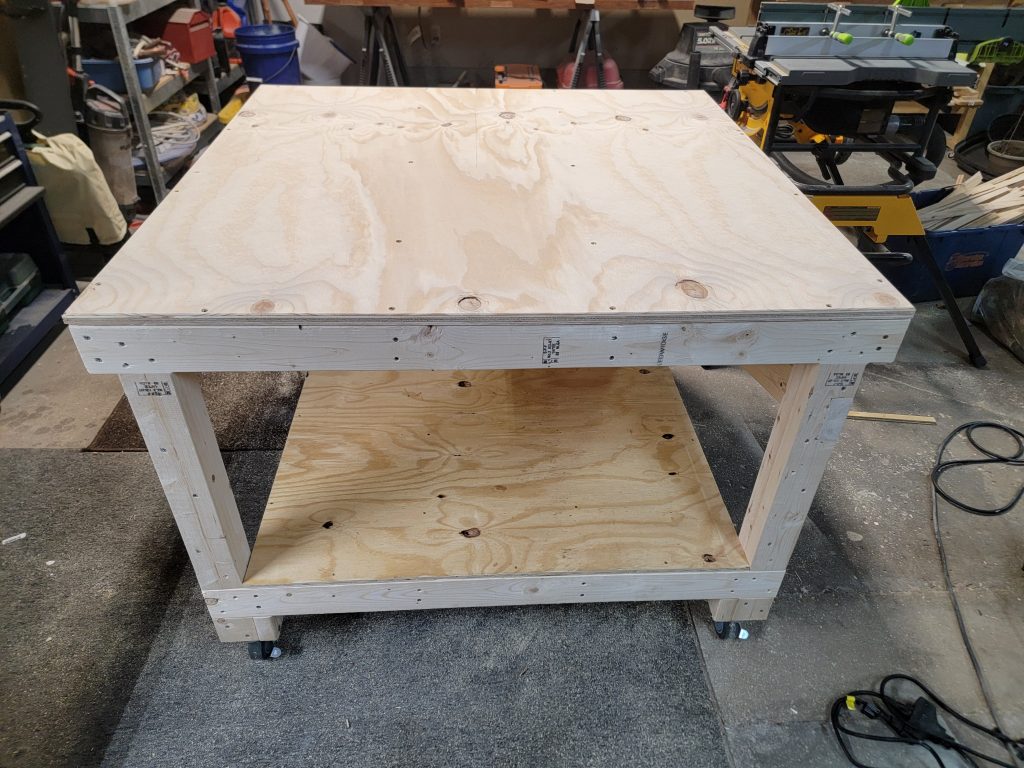
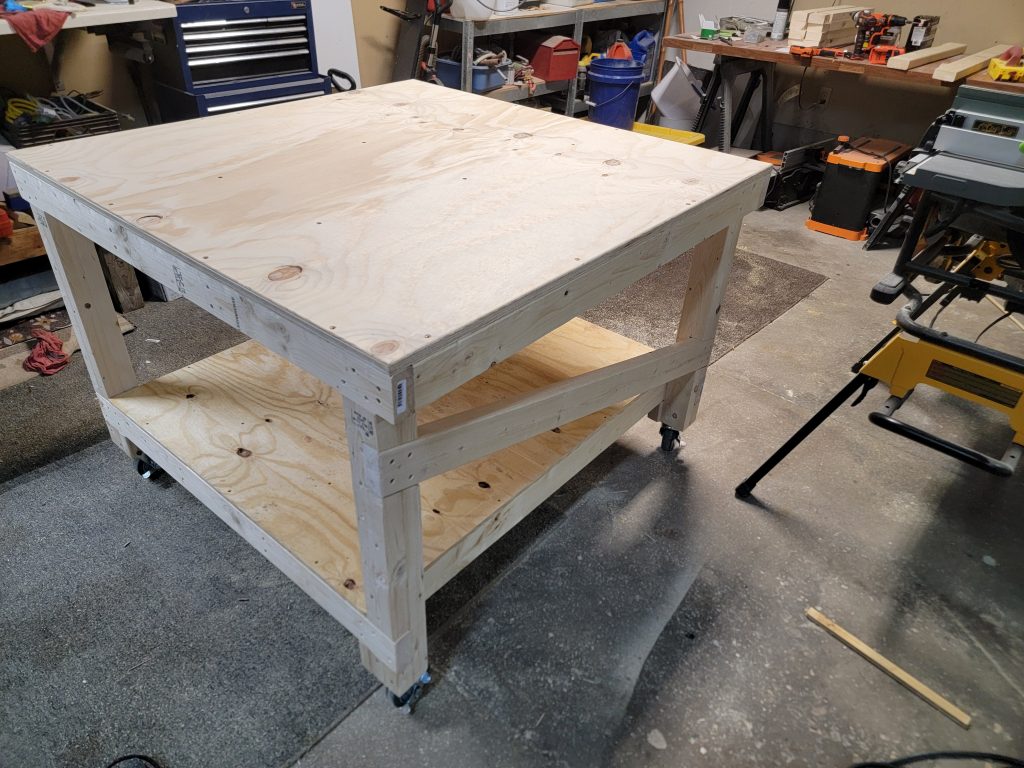
Not exactly as nice as the one in the second video but just as functional…I was able to use it right away to start building the first smaller bench/”wing” of the complete bench assembly. The bench assembly will have two 1/2 width wings on either side.
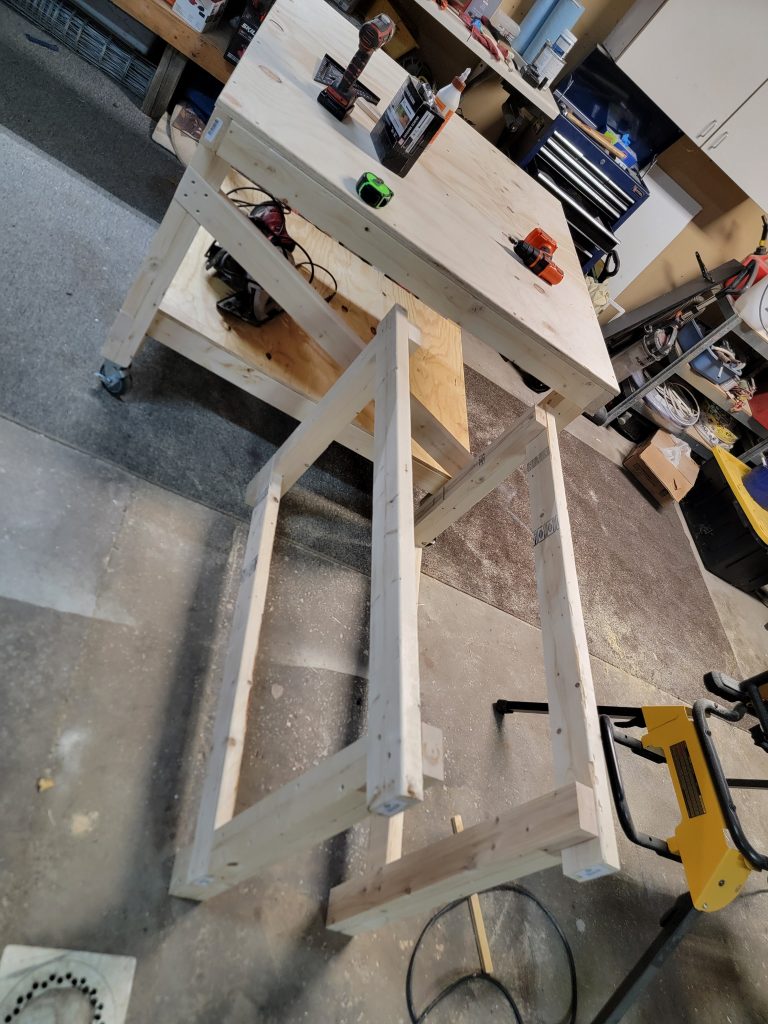
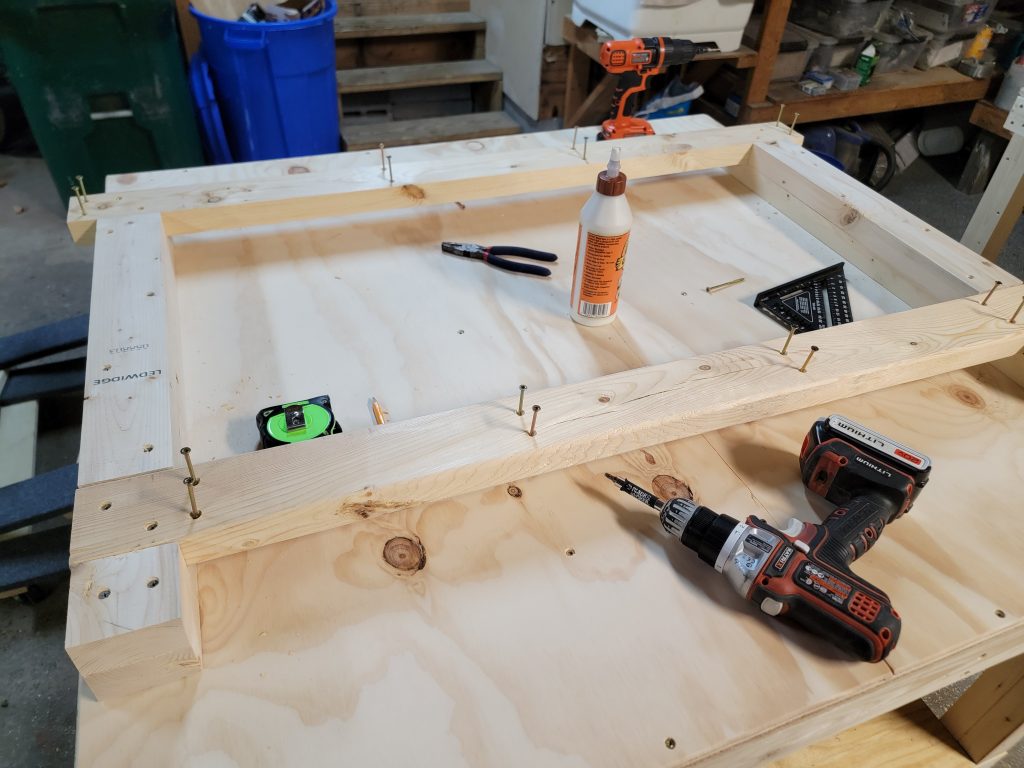
This one went together very quickly using the new large bench to build on and to reference for measurements. Here are shots of that being built:
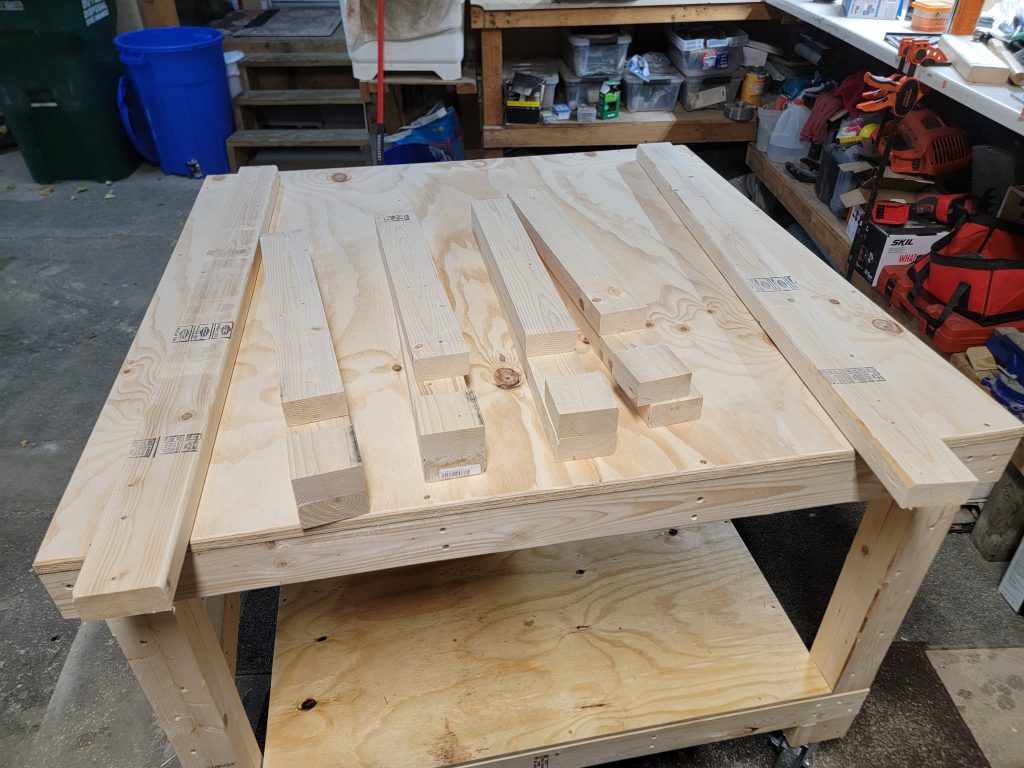
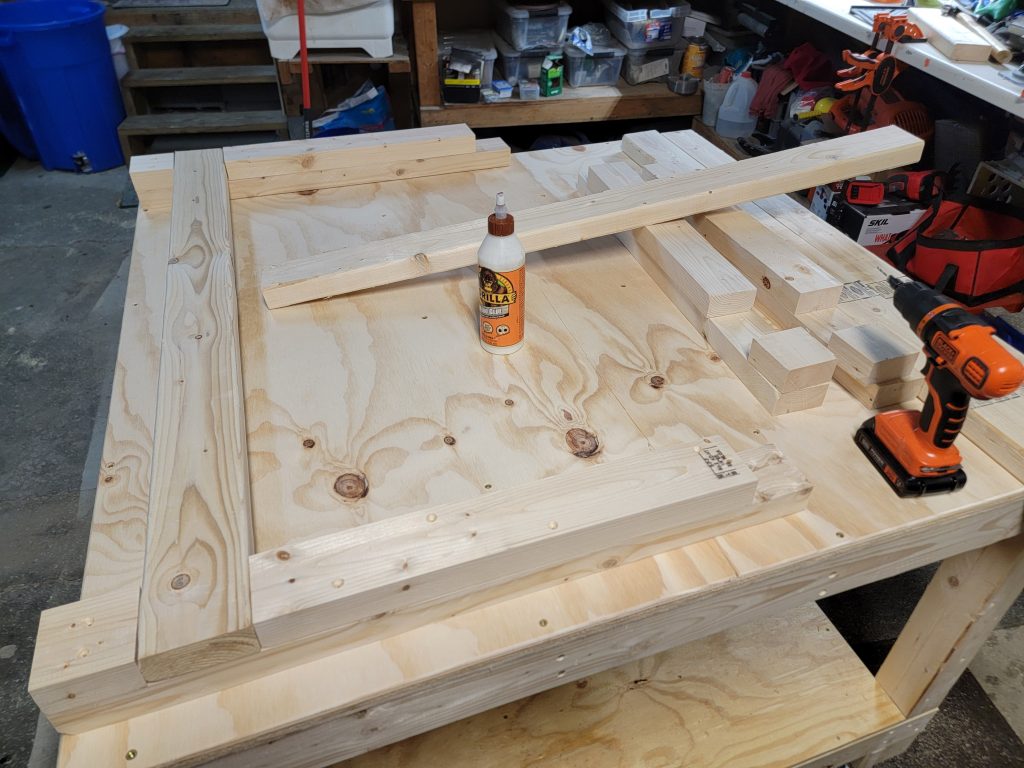
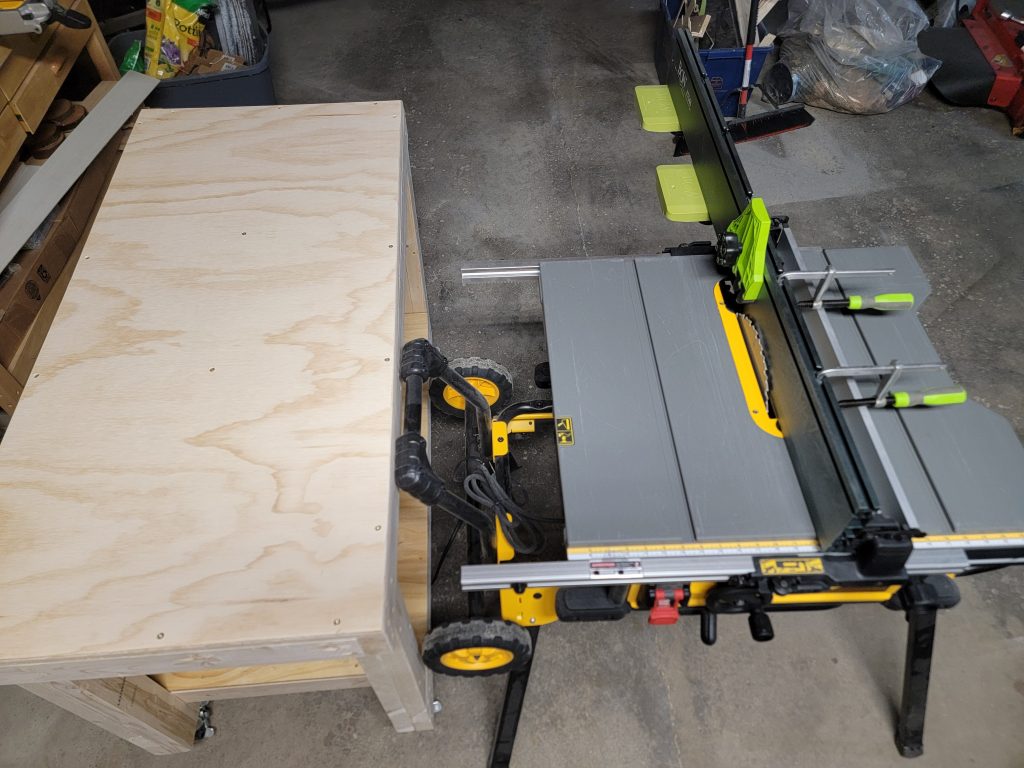
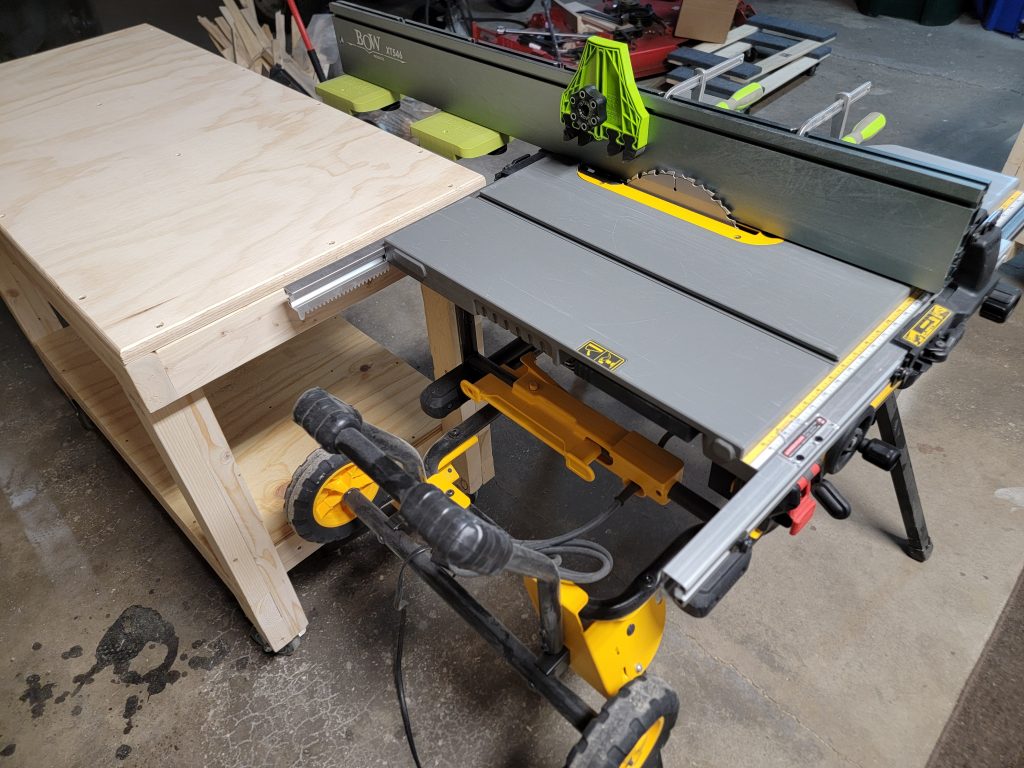
I was also able to use the workbench as a table saw outfeed table while cutting the plywood for these two smaller ones:
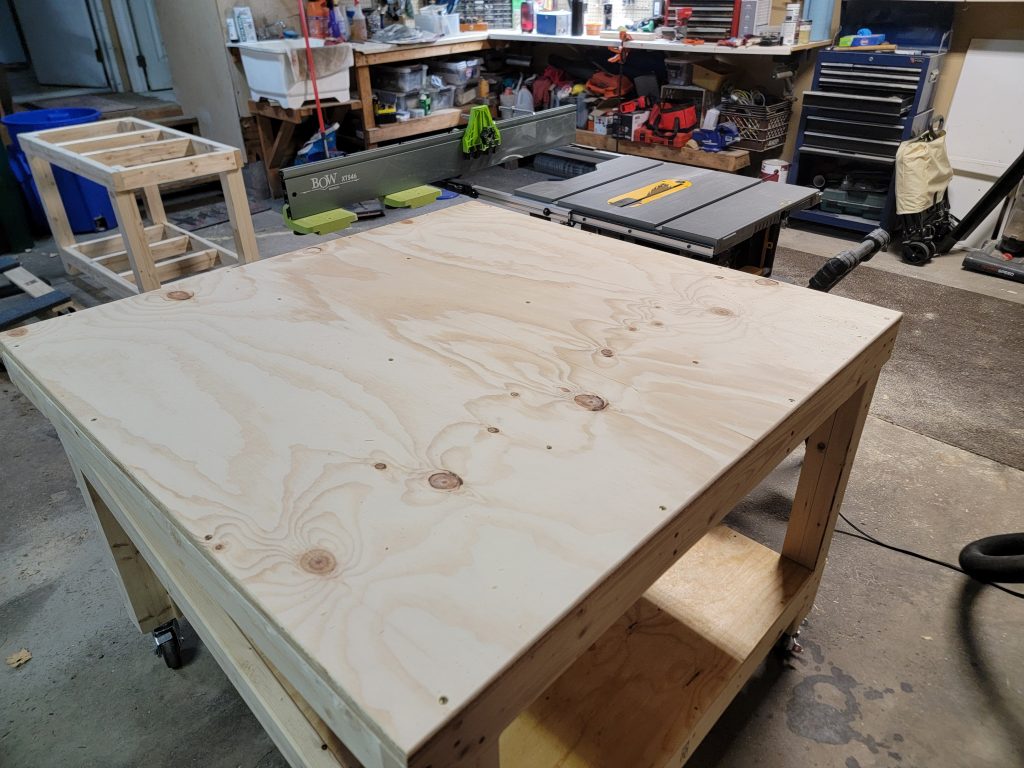
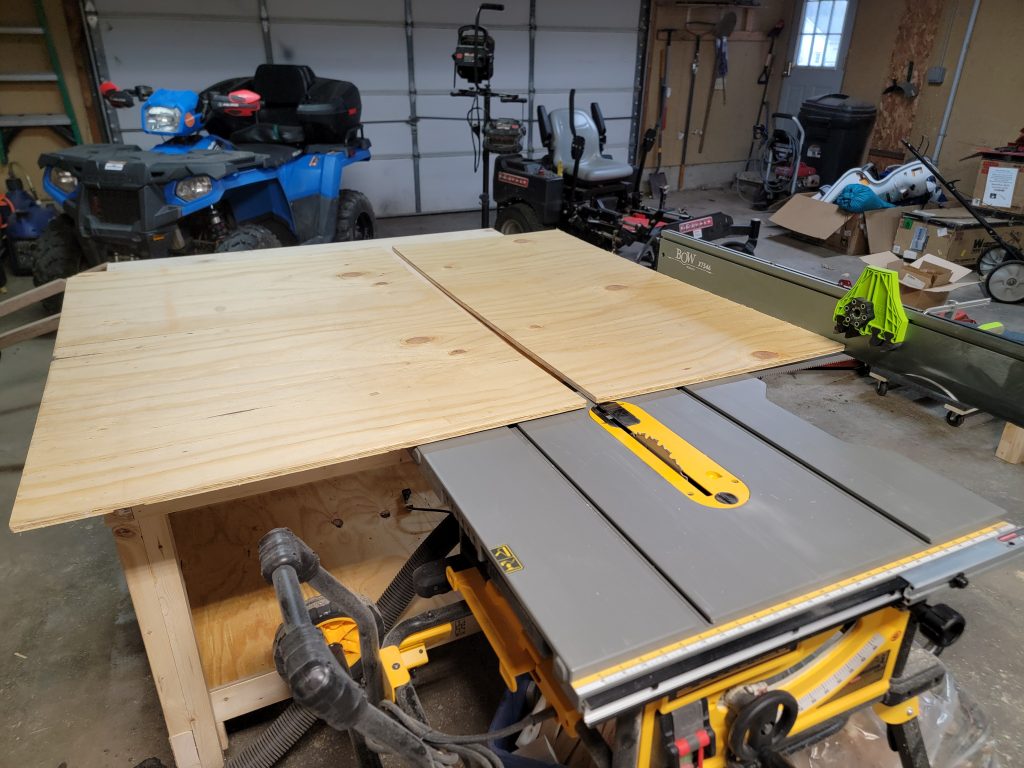
Final shots for the first wing:
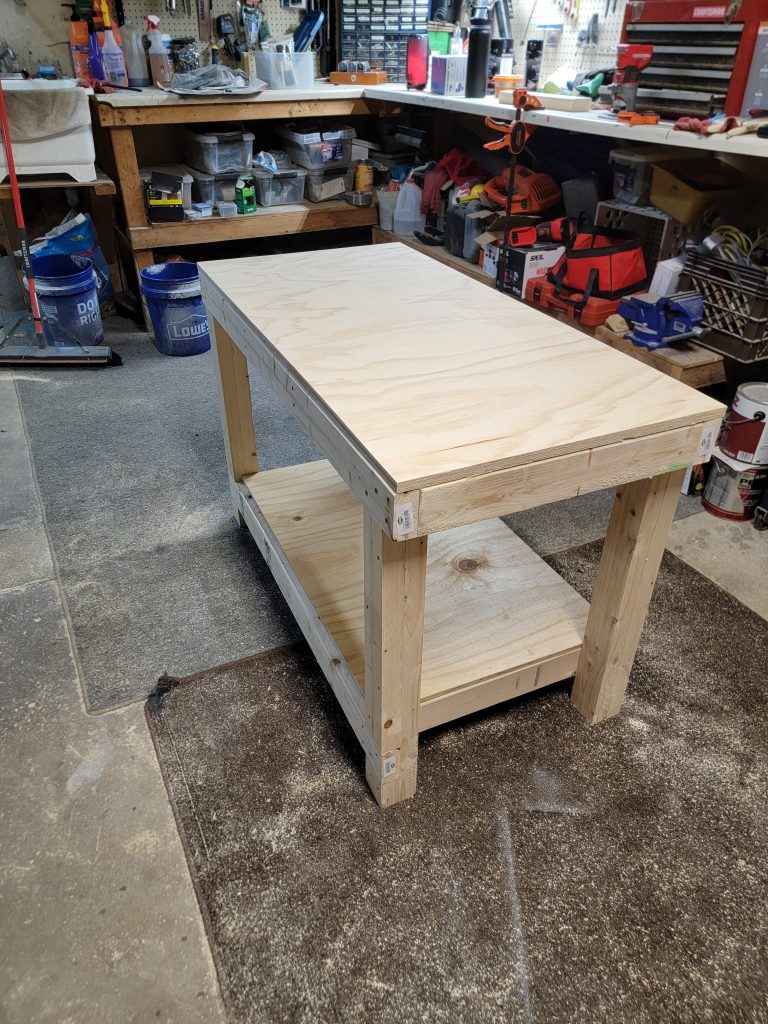
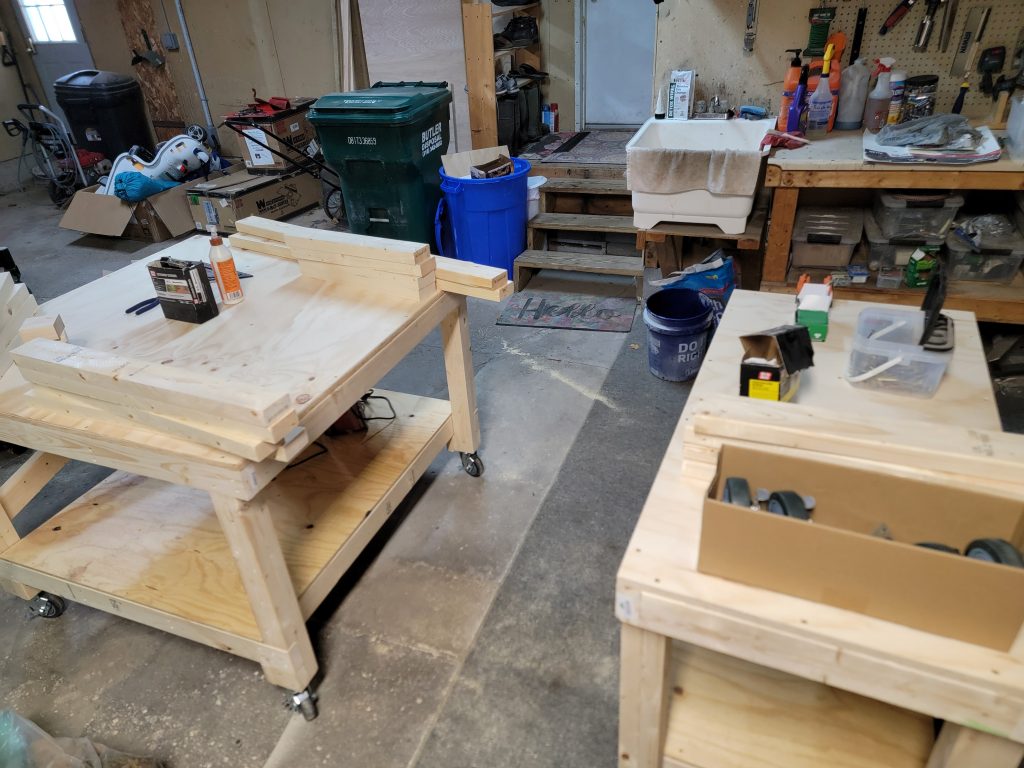
Since I ran out of 2×4’s I was done for the day but picked it back up the next day after a trip to Lowe’s (not sponsored). This second wing went very quickly as well, now have two very functional workbenches to assemble stuff on and leave tools on that I could roll around to where they were needed.
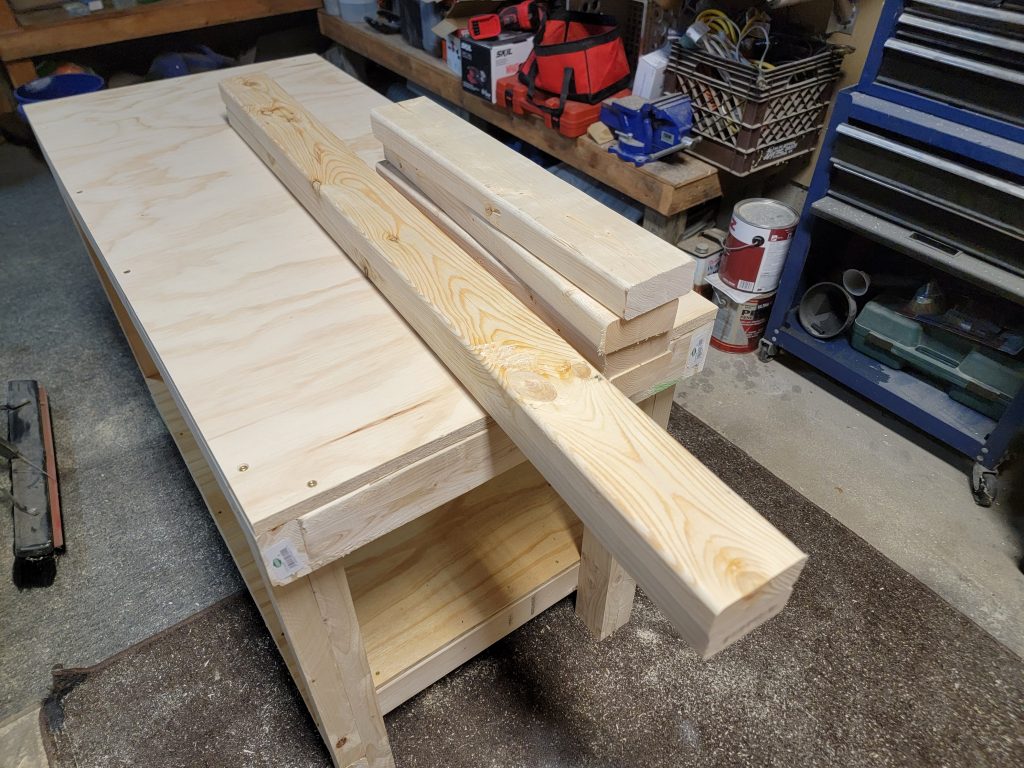
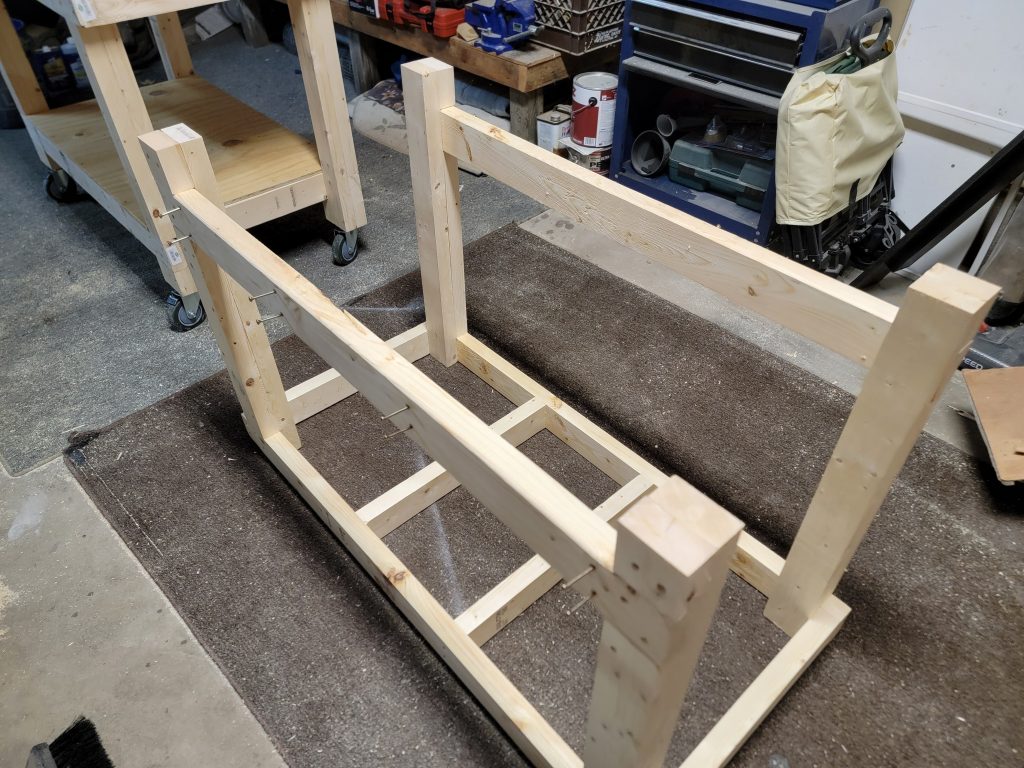
With both legs completed and pre-drilled and screwed I moved them to the floor and started adding the cross supports, 8 in total. The upper 4 had the bottom edge removed to make a nicer look.
When assembled into the largest option, the inside two wheels would interfere with each other so I offset this wheel toward the center by a few inches.
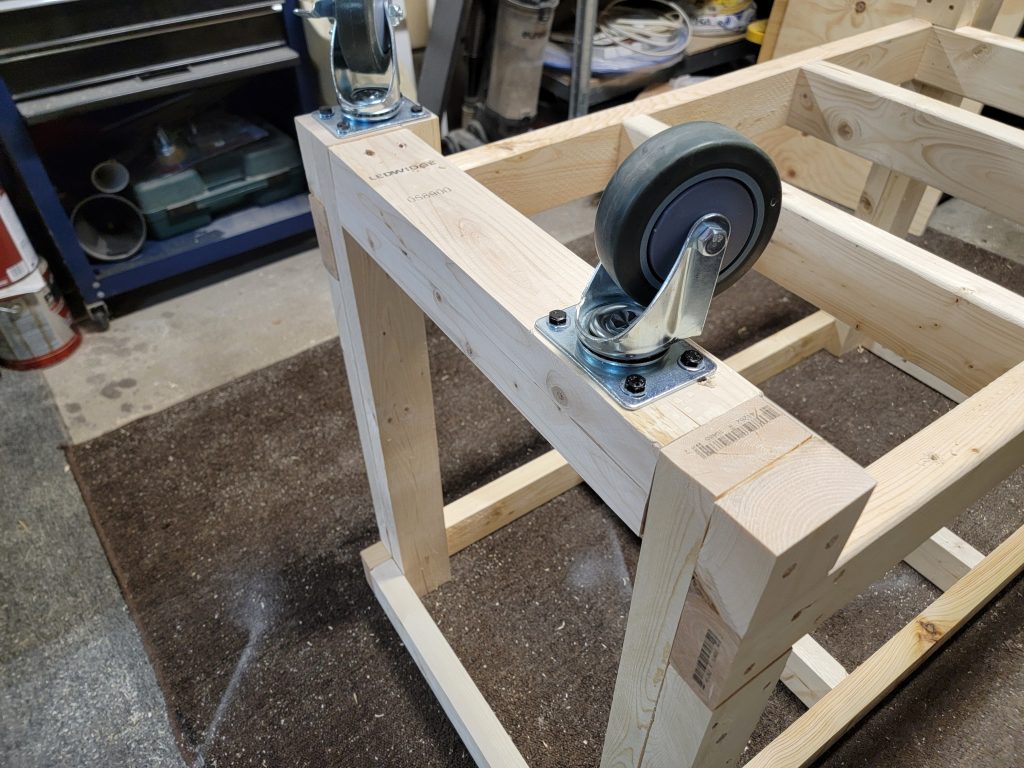
No interference now when they are “closed”. I also used non-locking wheels for the inside two.
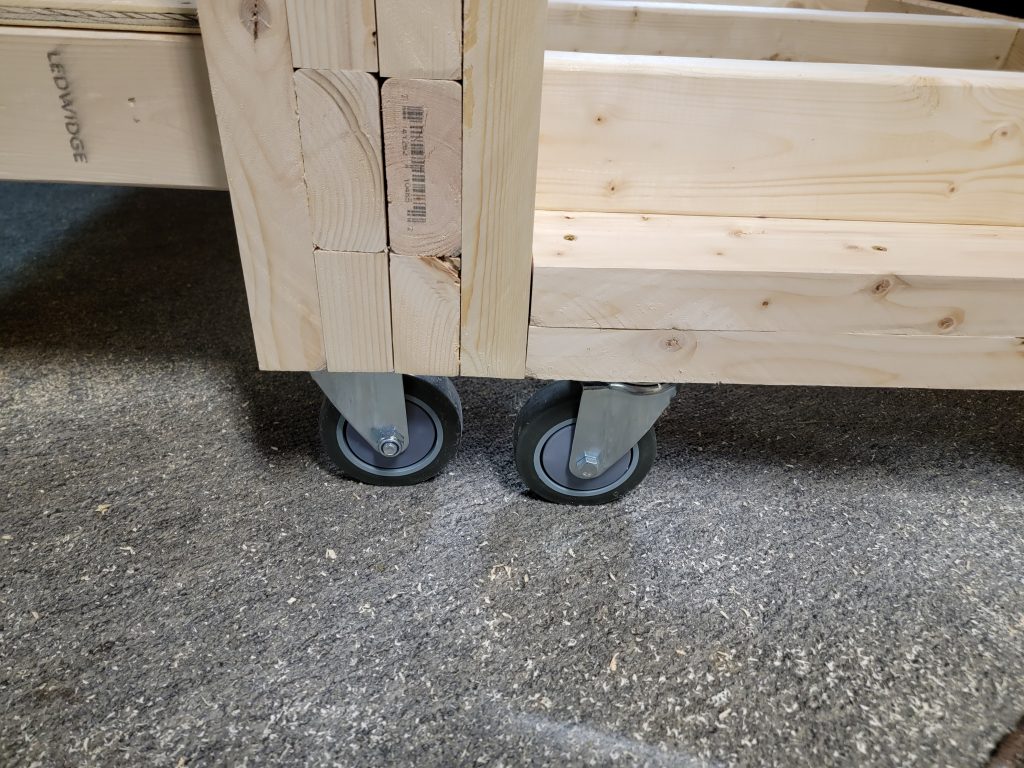
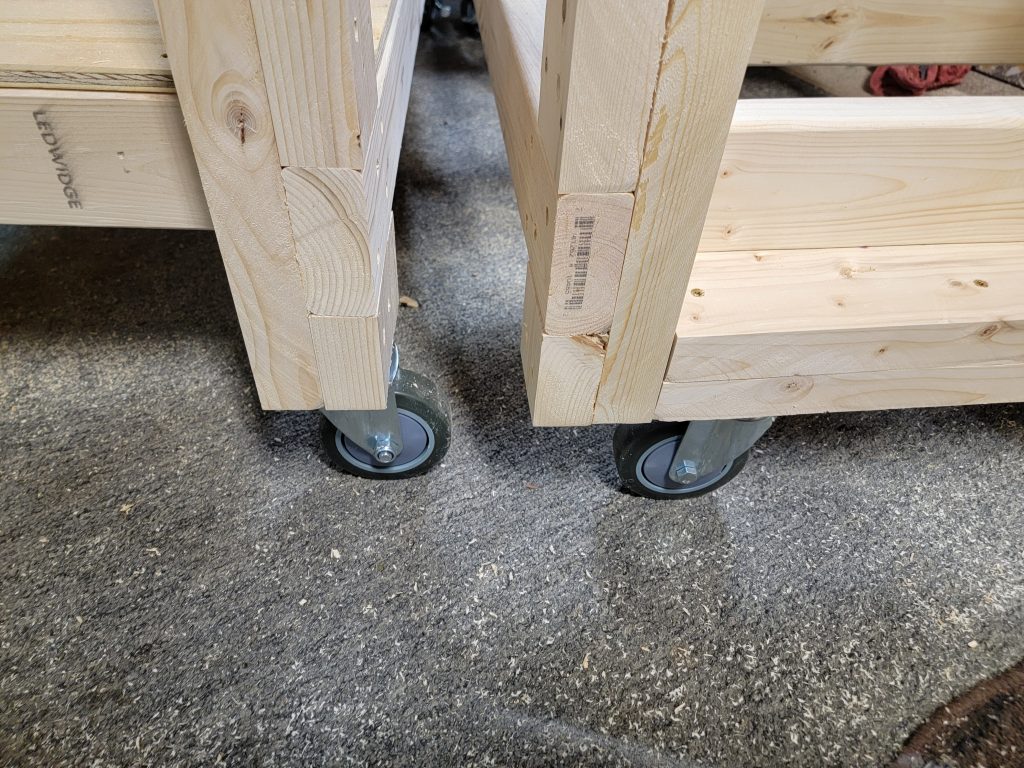
Final shot of the second wing:
A few passes with the sanders to knock down any edges and make the 2x4s more uniform:
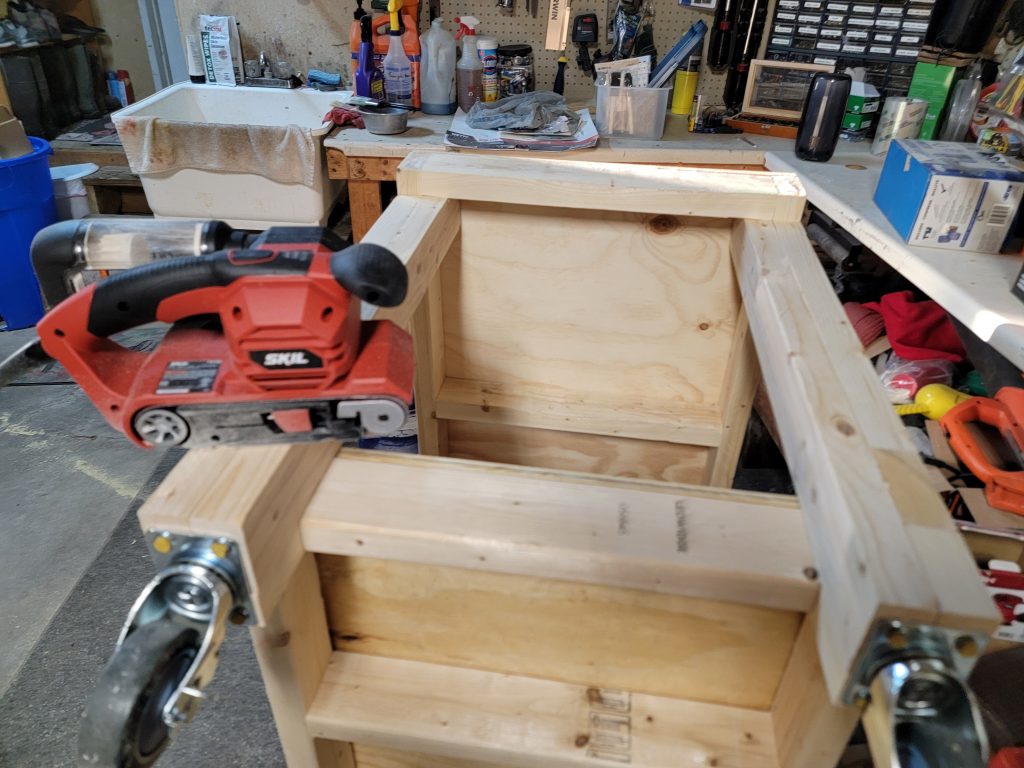
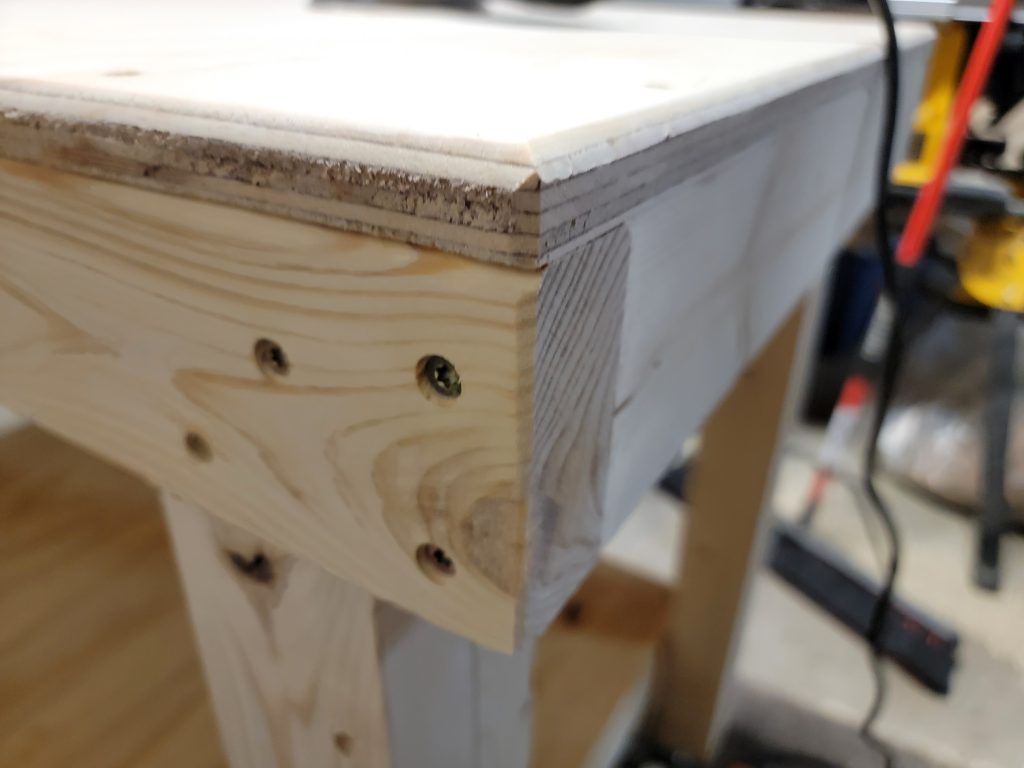
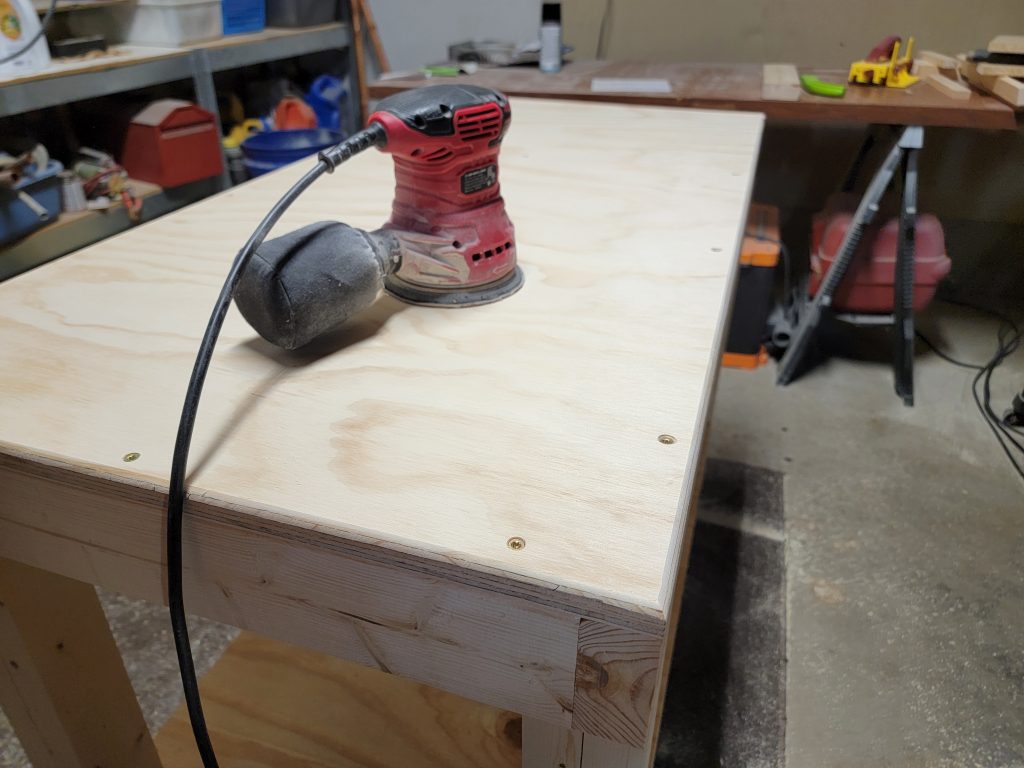
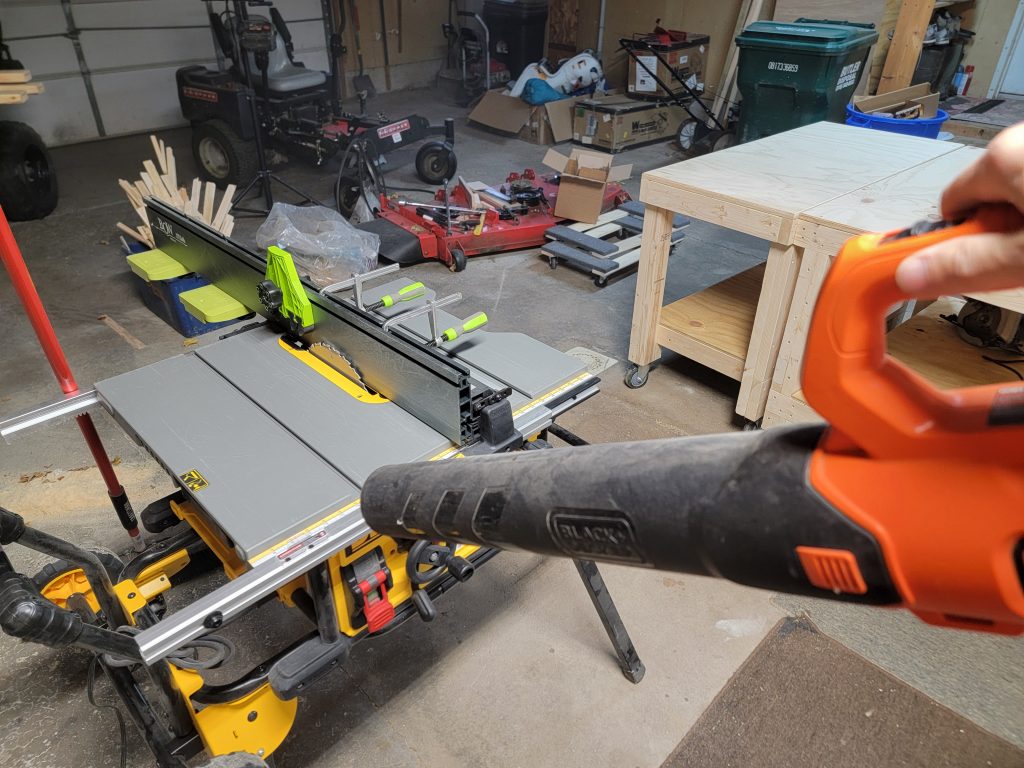
Always vacuum the garage carpet and leaf blow all dust away after each project…
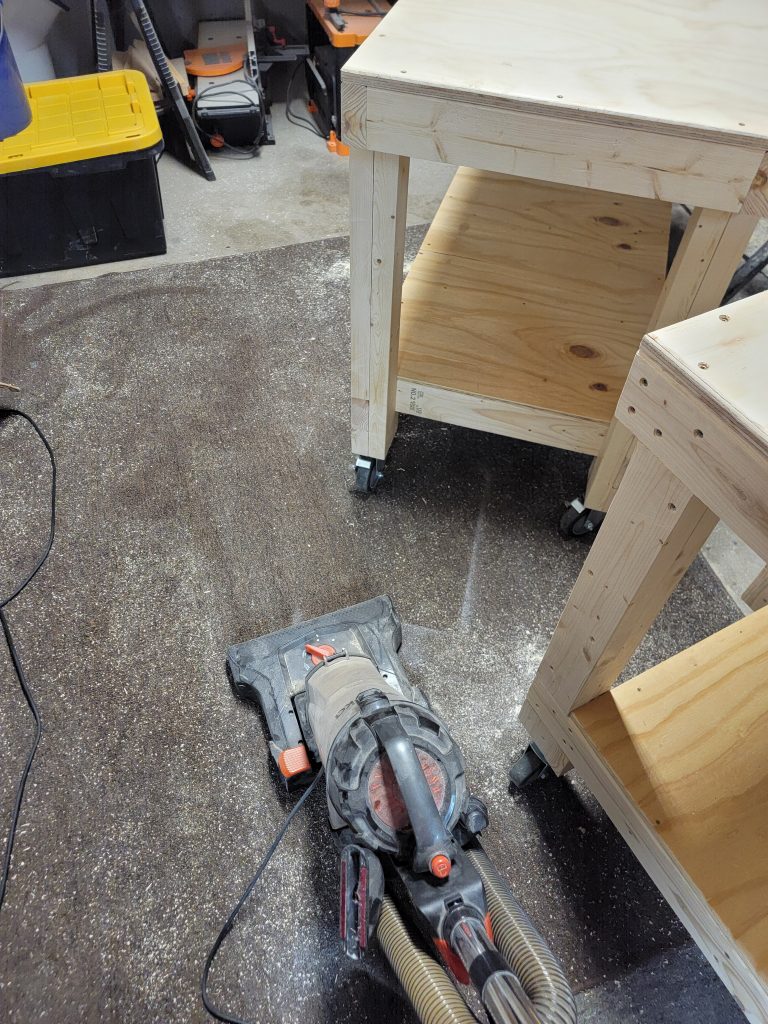
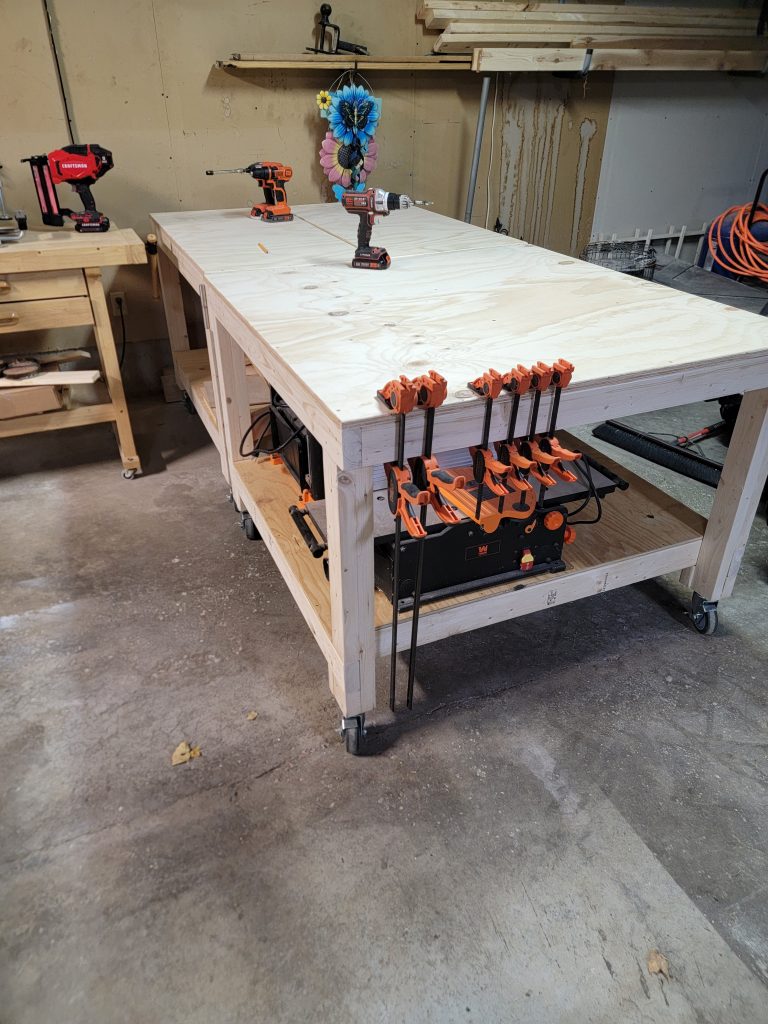
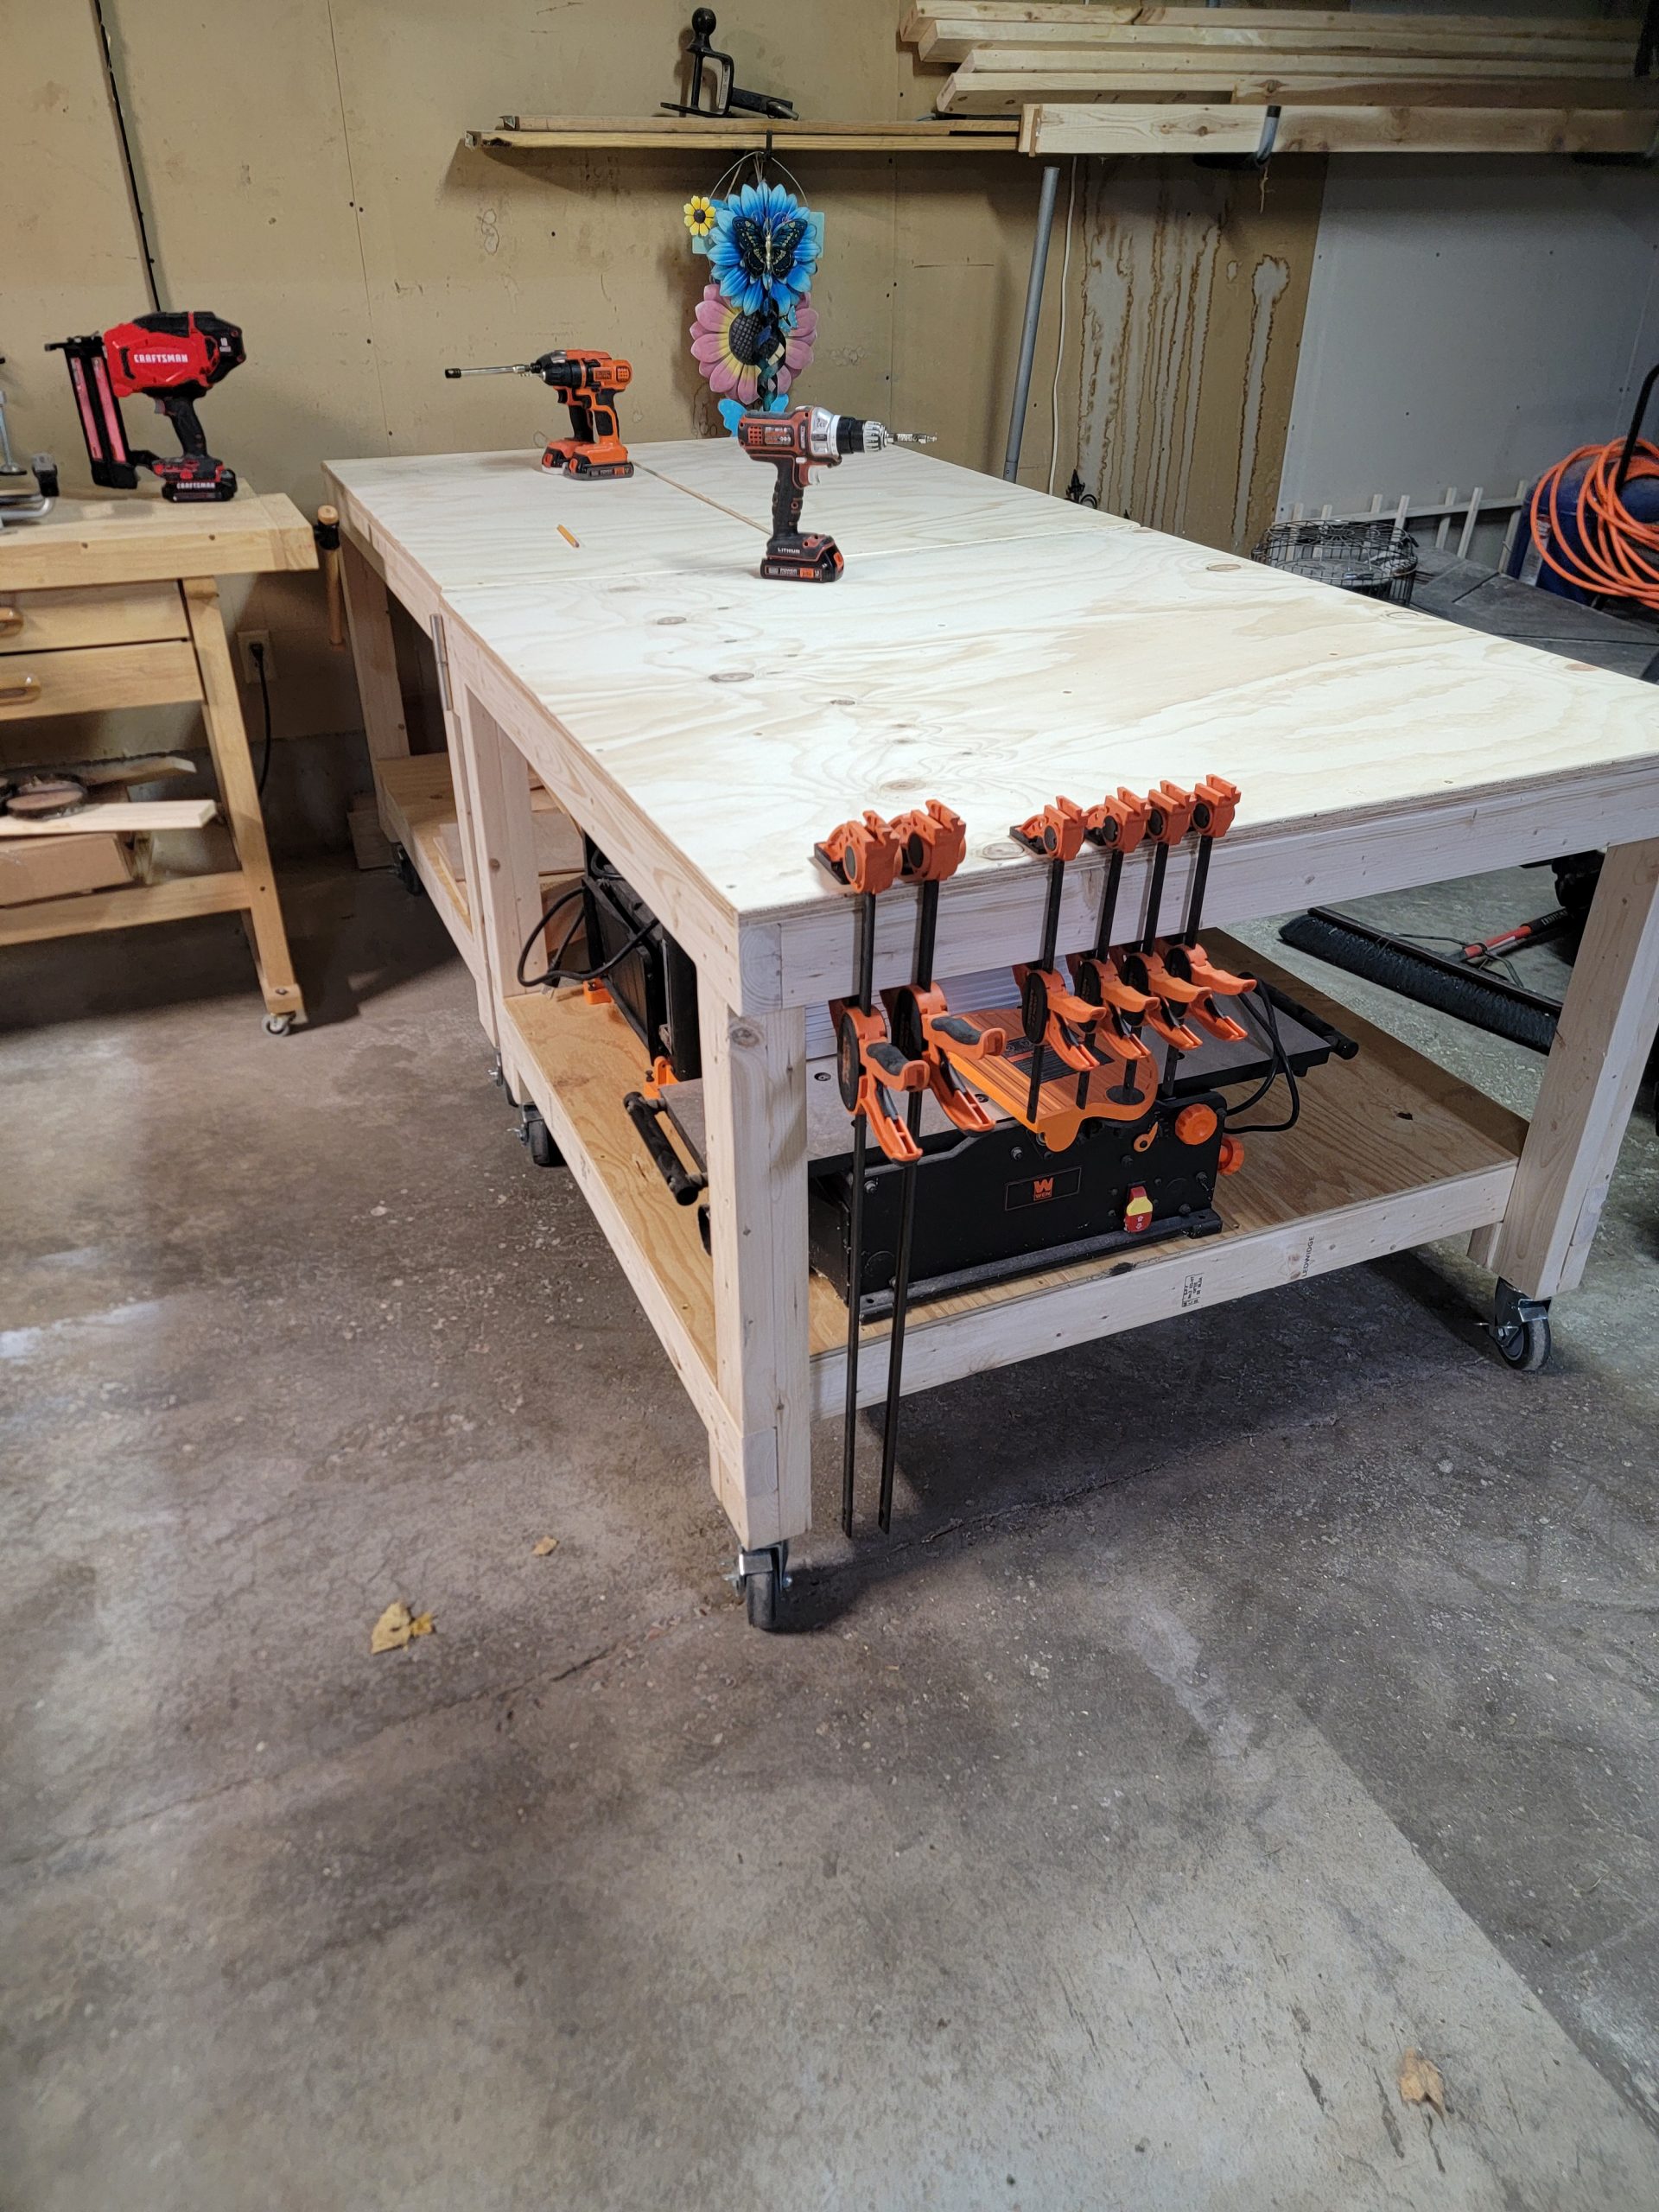
A few more glamour shots of the full set:
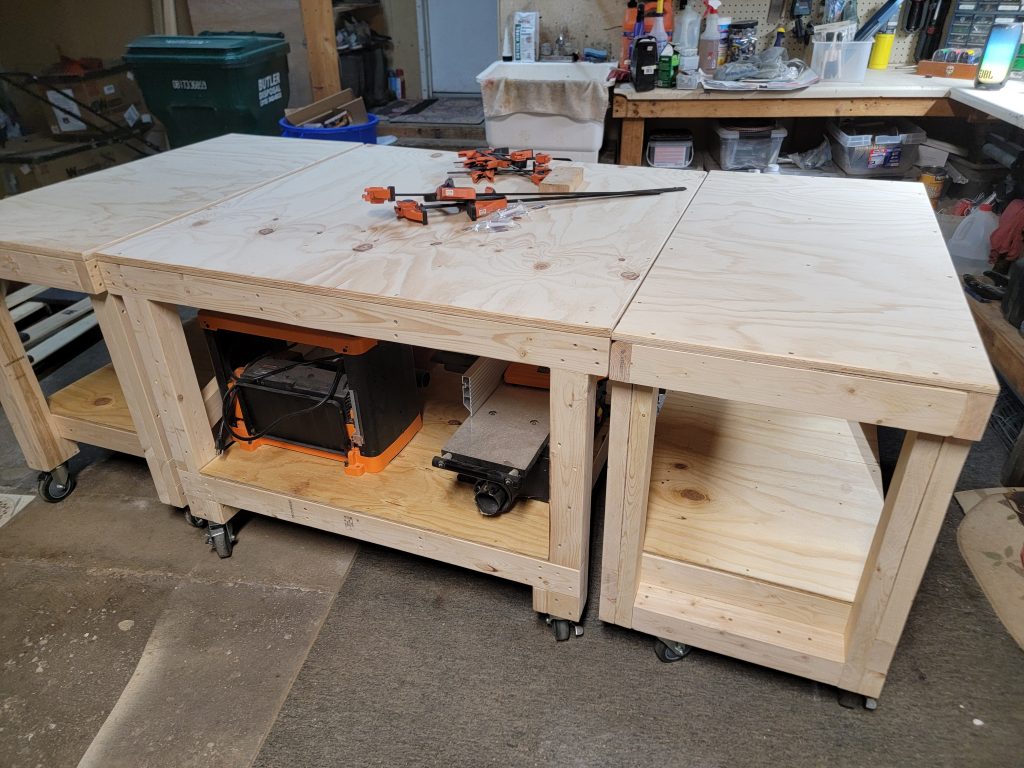
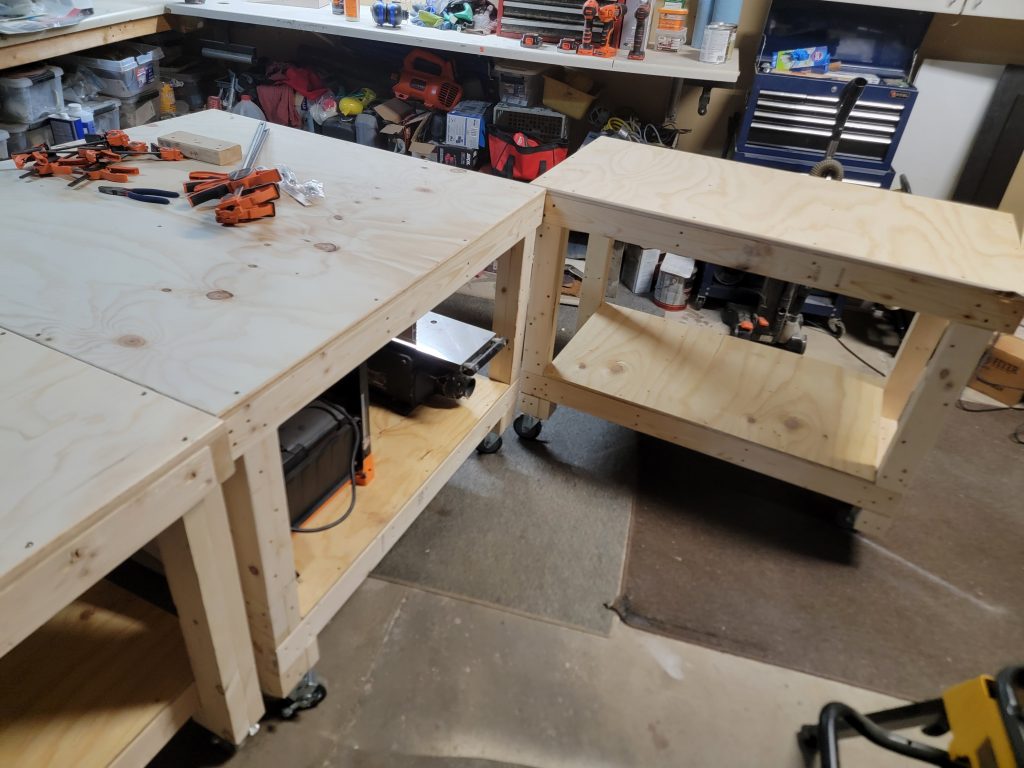
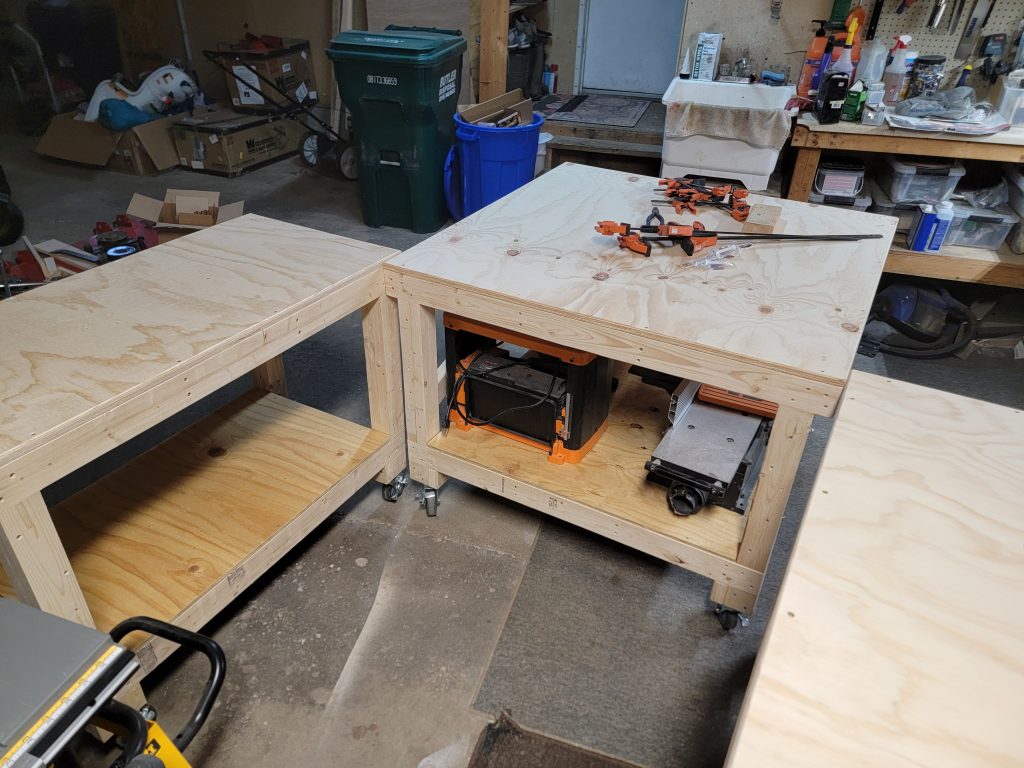
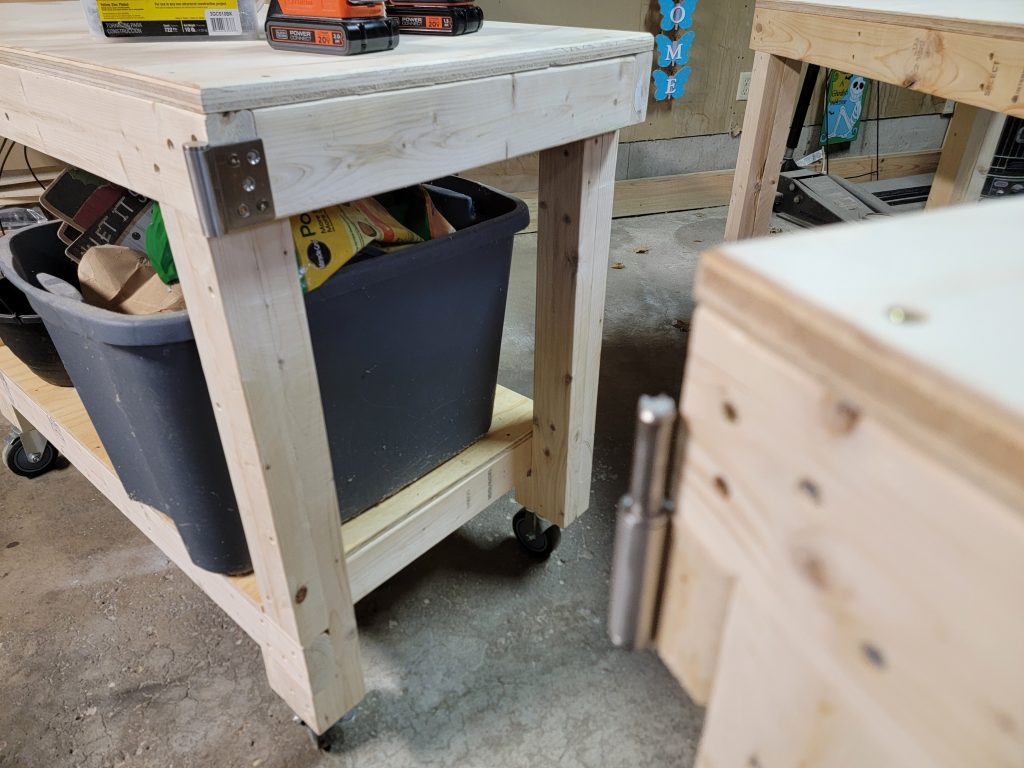
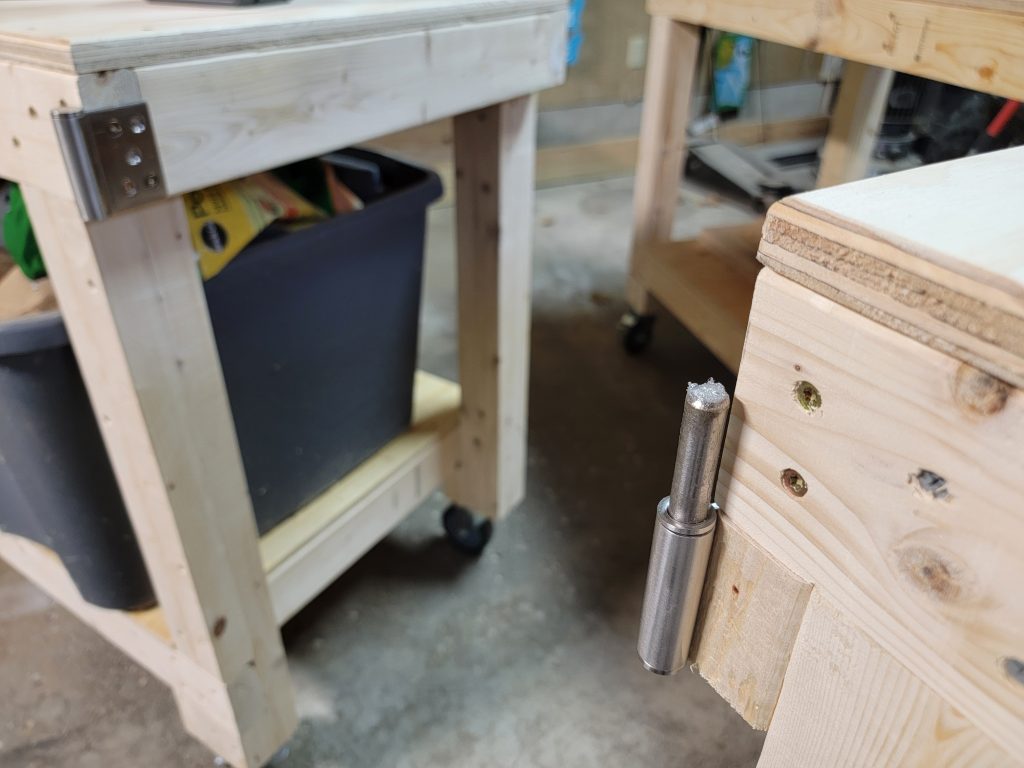
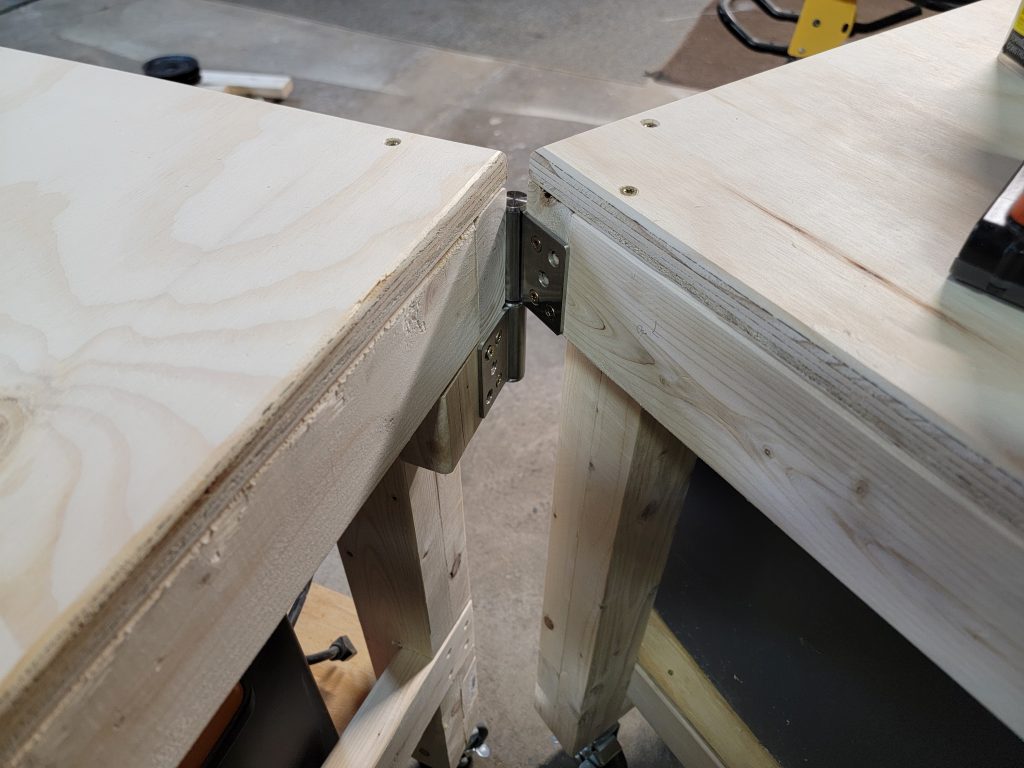
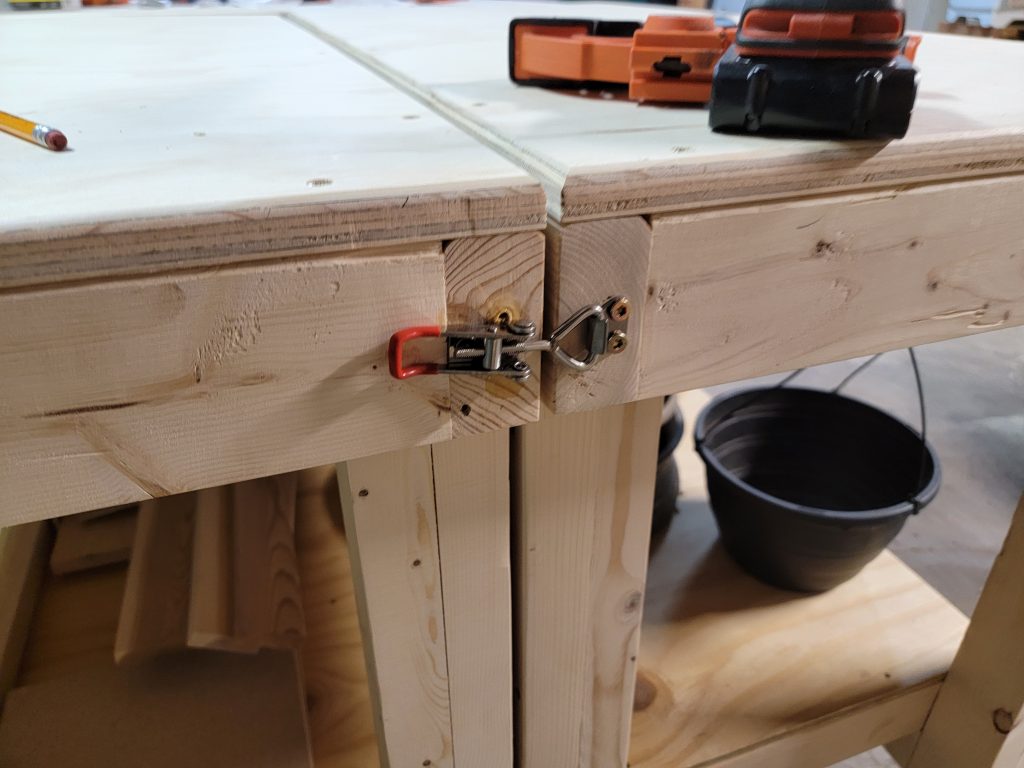
The set was completed after installing flag hinges on each side to allow the wings to kick out but stay connected. As well as a latch to hold all three together in the 4×8 mode.
