Breaking out my Nextion NX1060P101 10.1″ Intelligent HMI Display to play with on a very rainy day thanks to the remnants of hurricane Debby.
A few notes for my reference later:
– Product URL: https://nextion.tech/intelligent-series-introduction/
– Resolution: 1024*600
– 10.1″ Screen
– Nextion App: V1.65.1
I hadn’t thought of it before but somehow I came across a few YouTube videos on using Figma to help design HMI displays that sparked my interest:
– https://www.youtube.com/watch?v=ATPutFn6jfk&t=942s (Nextion + Figma)
– https://www.youtube.com/watch?v=AkESqeVf_aM&t=1338s (Figma HMI)
– https://www.youtube.com/watch?v=3DpJQ5R5si8 (Nextion 10.1″)
I set a reasonable goal to create a simple background, simple inset frame, and 4 crude buttons. Not going for professional results just looking to familiarize myself more with Figma, Nextion Editor and the process in general.
First stop Figma
I created a frame that was the size of the display (1024×600), them inserted a background image and scaled it down to match the frame’s dimensions.
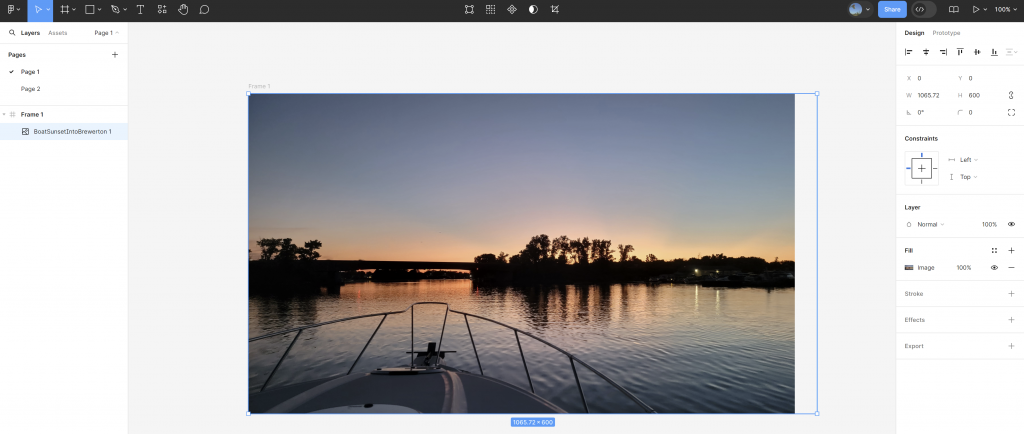
Added a centered frame, along with a simple menu on the right with four text buttons
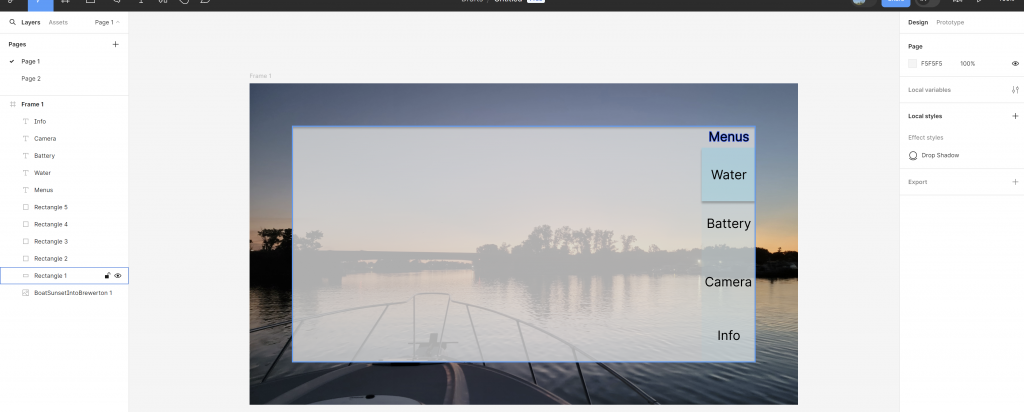
That seemed like a good enough point to switch gears and figure out how to export assets from Figma to the Nextion Editor. Starting with the background first I selected the image and went to the export settings then saved it into an “assets” folder within the Nextion project. Within the Nextion app I went over to the “Picture” tab and imported it from the same folder.


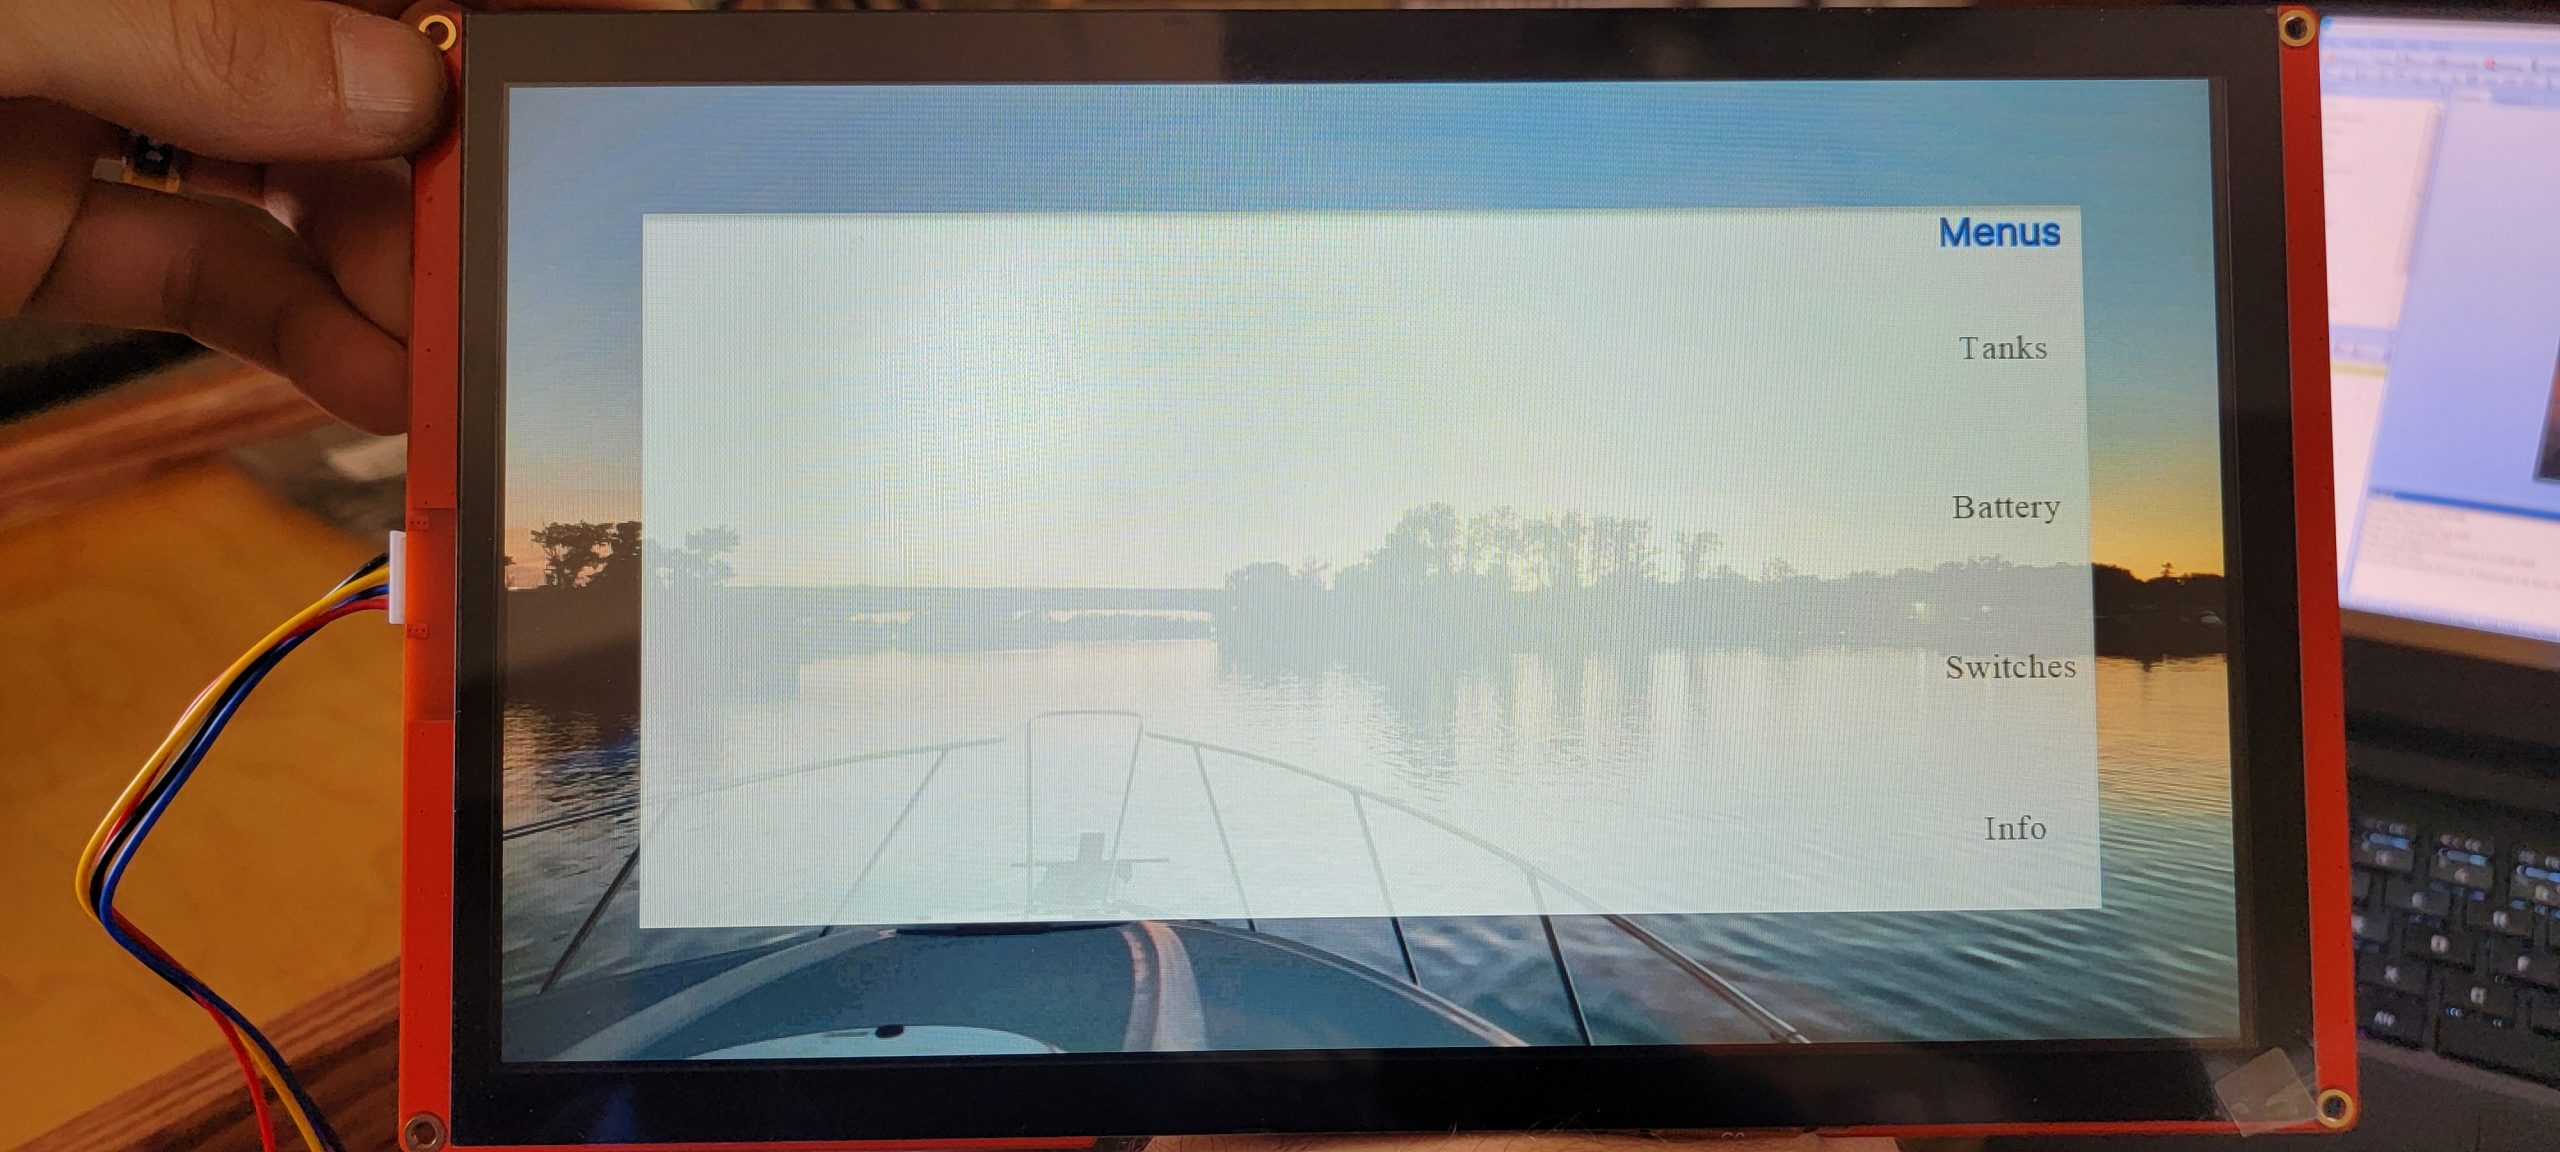
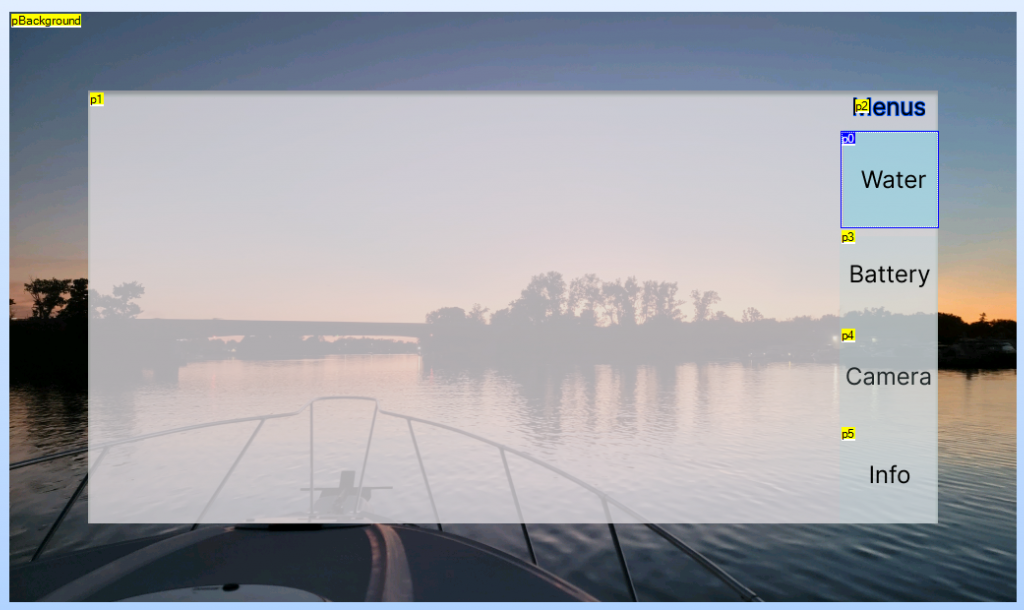
Similarly I exported the other assets, frames and buttons and imported into Nextion Editor. Using the layout dimensions from Figma I created 5 new buttons, aligned them and assigned the images that were imported. Final results looked like this:
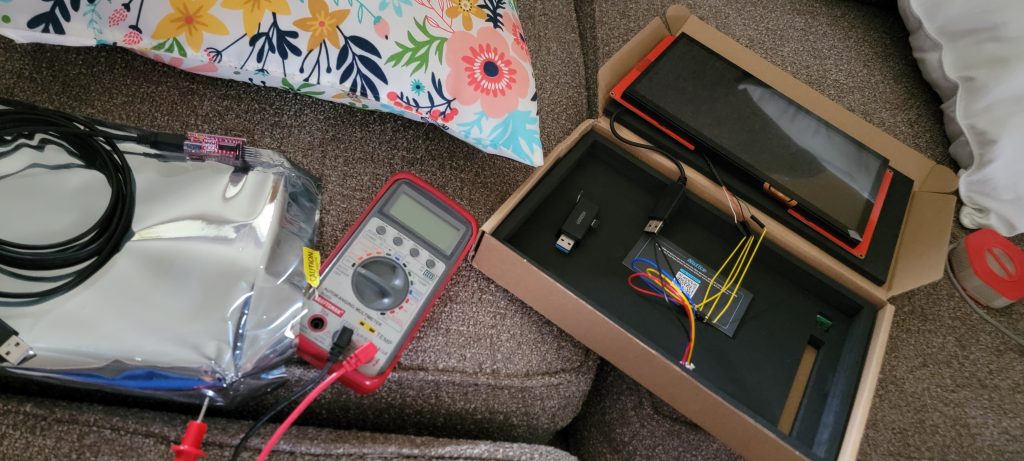
Ran into trouble trying to program the display, likely an old/faulty USB to TTL converter. I ordered 3 new ones amazon to try they should arrive in two days… 🙁
Day 2
Two of the three new converts came today. I picked up the Adafruit converter first to try.
| Purpose | USB Converter | Nextion 10.1″ Display |
| +5V | Red | Red |
| Ground | Black | Black |
| Tx (PC -> Display) | Green | Yellow (Rx) |
| Rx (Display -> PC) | White | Blue (Tx) |
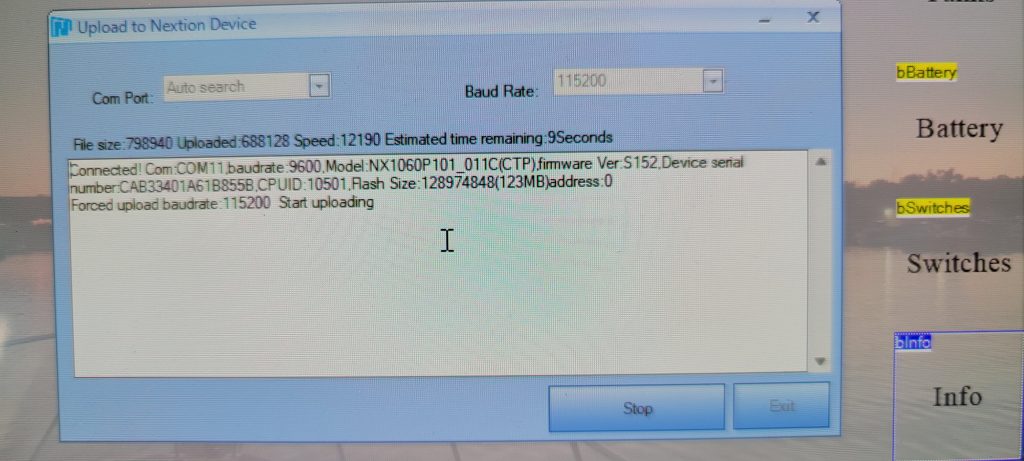
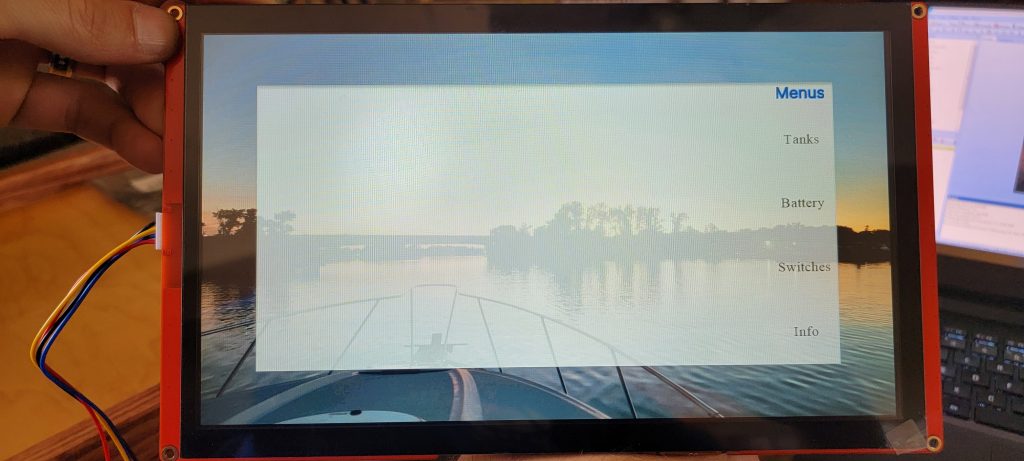
After power-on, I attempted to program through the application…and it worked this time! The application updated the firmware on the display and then programmed what I had created. Here are the results:
Storing this video link here so I don’t forget it…simple instructions for creating an animation: https://www.youtube.com/watch?v=gsF8nstpJQ8
