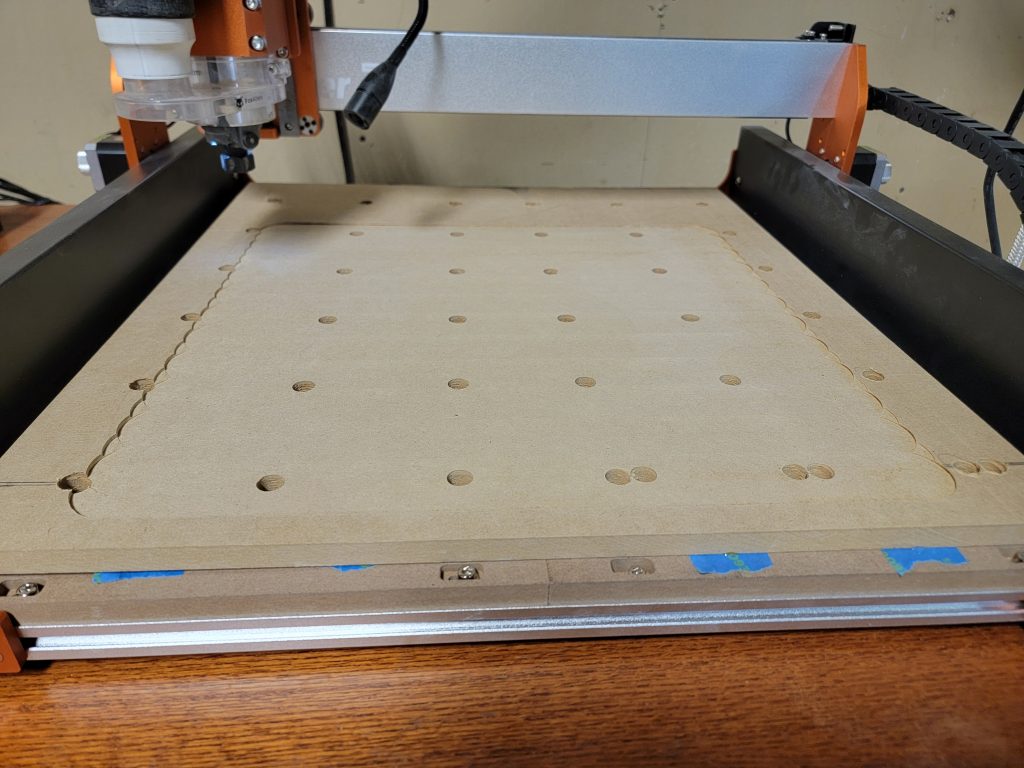
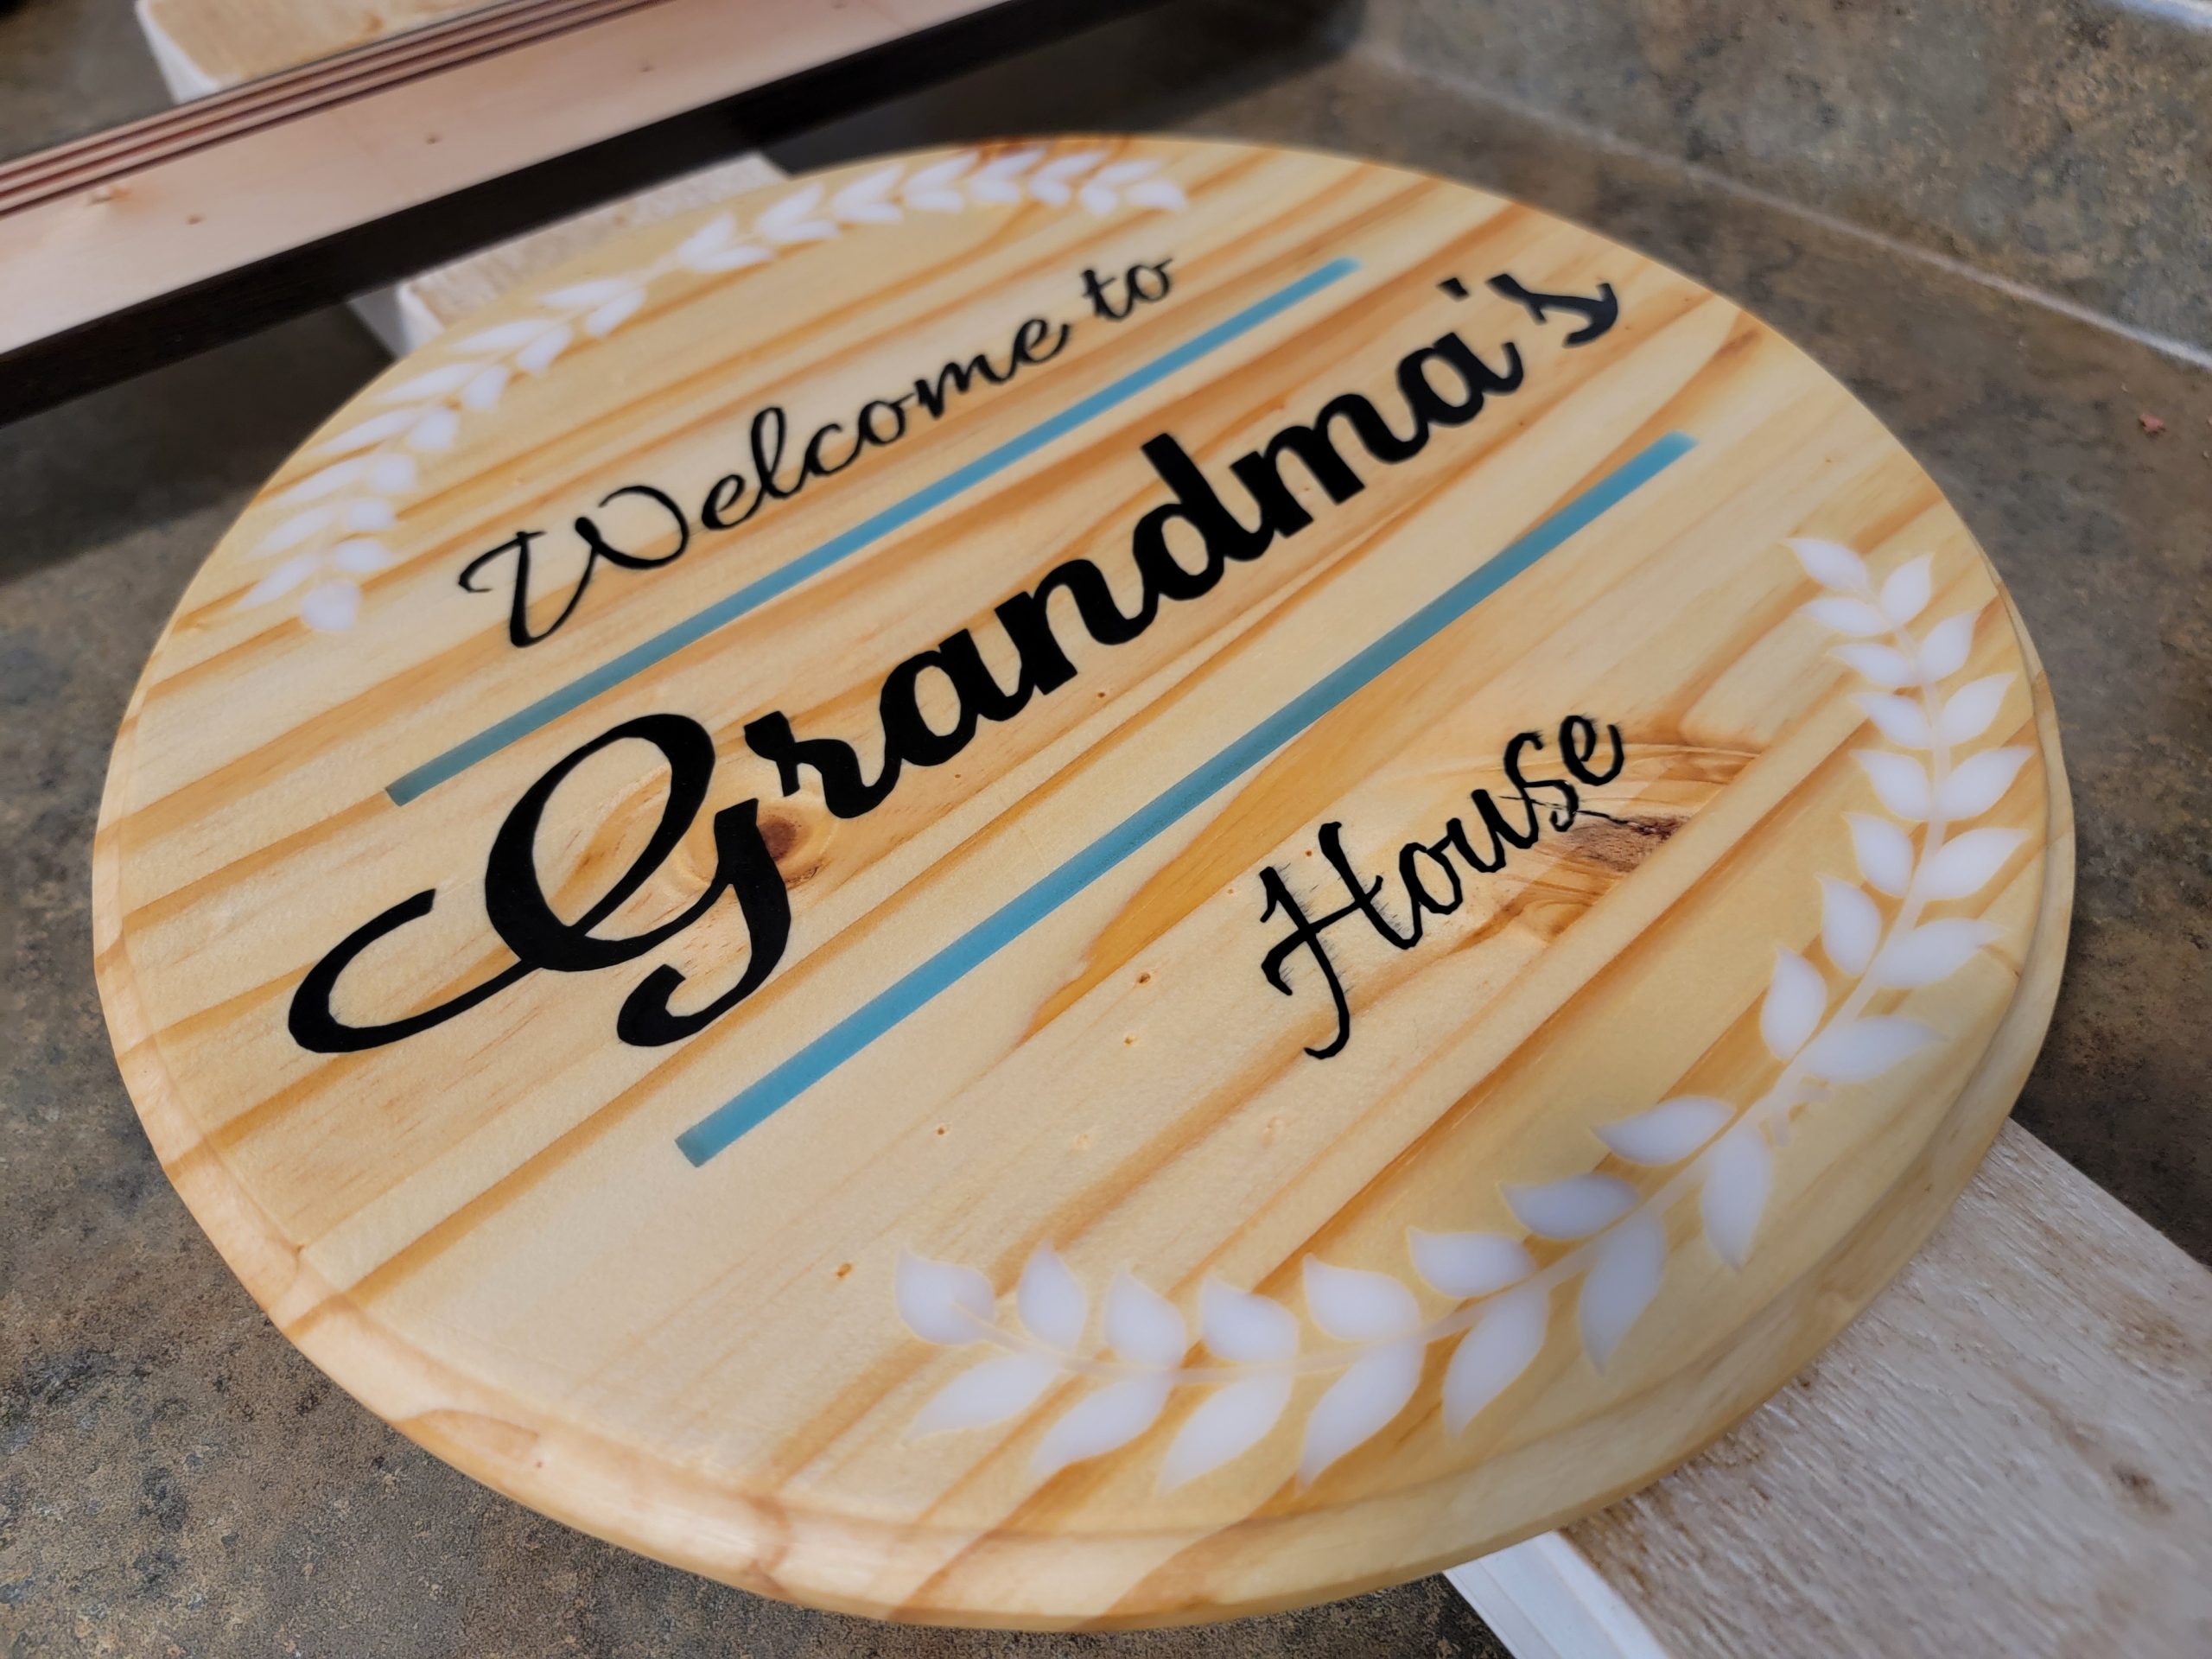
In preparation for an upcoming project (Grandma’s House Sign), I wanted to make sure the CNC bed was level. That project will be a 12″ diameter sign with a lot of engraving and its essentially the work piece is level to the router. I know this is the not the case after assembly since the left of the bed typically cuts deeper than the far right side – meaning the bed itself was not level to the router.
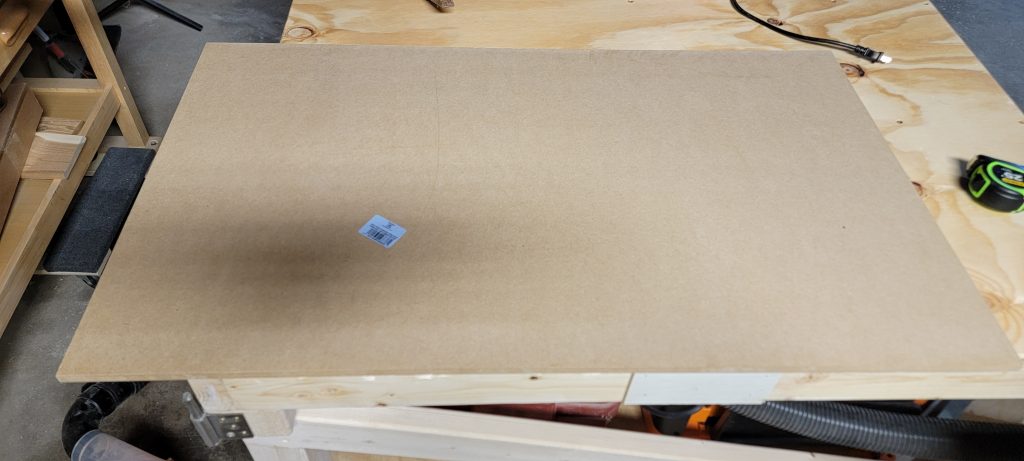
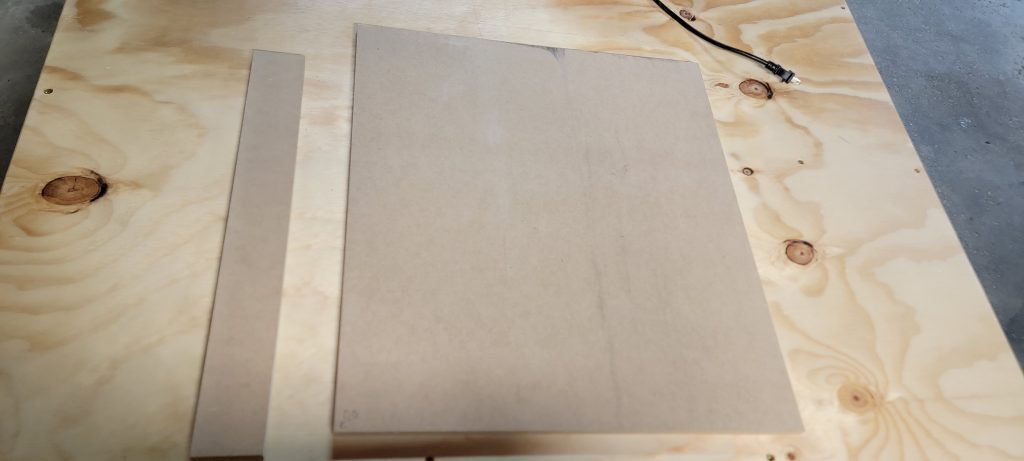
I started by cutting a piece of MDF to roughly the size of the workable area on the CNC bed.
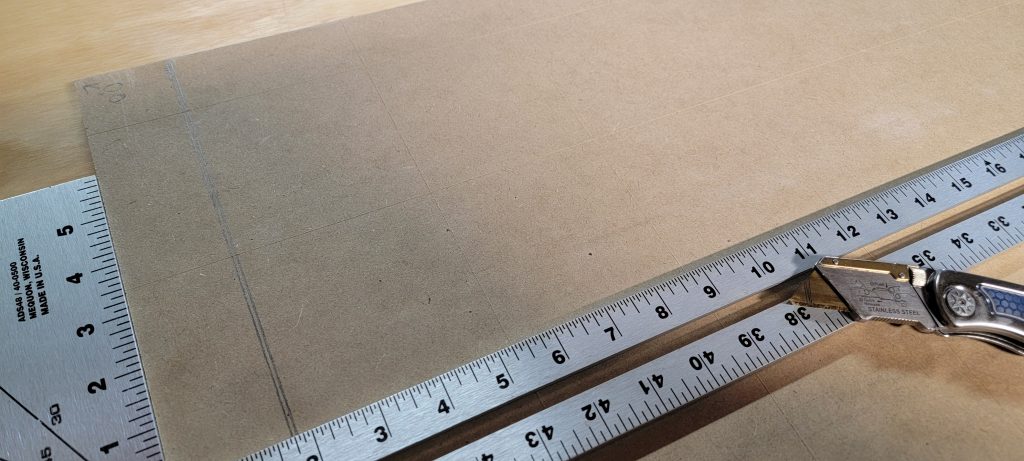
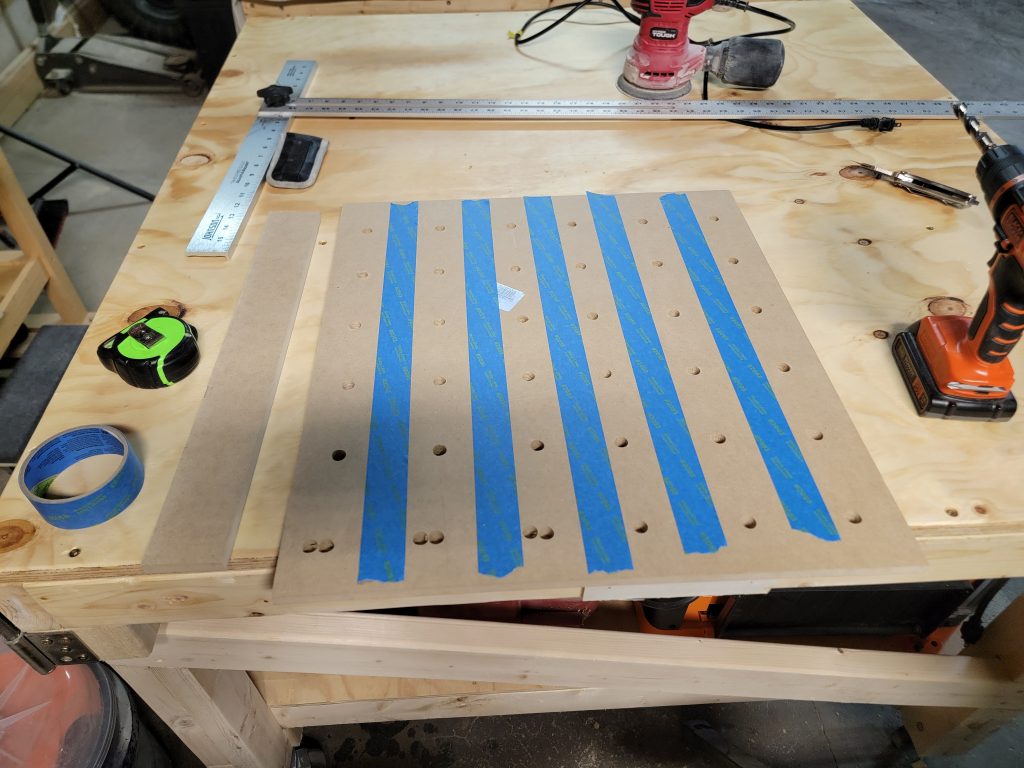
Next I measured out the hole pattern for the clamp mounts and decided to drill these out by hand. The pattern was 3.5″ x 3.5″, except for the middle which I assumed was the same but it was only 3″.

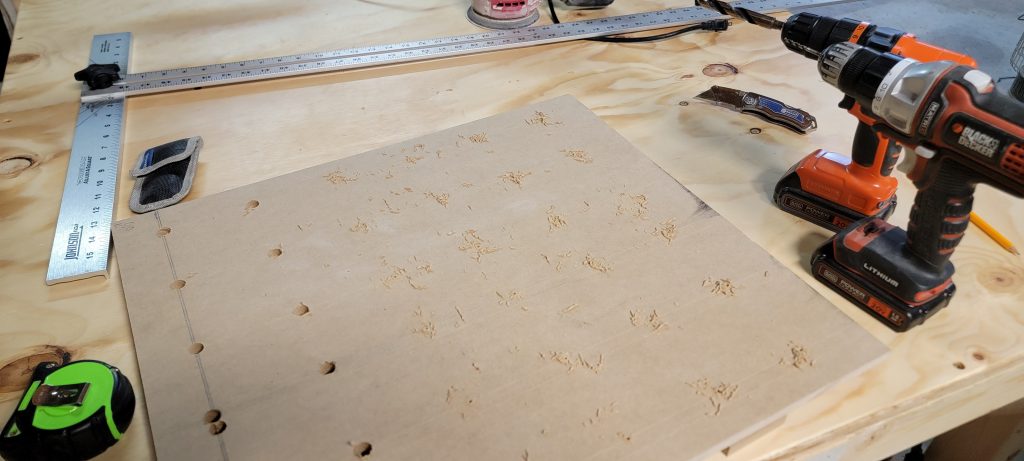
After all the holes were drilled I applied blue tape on the existing bed and the new MDF board and glued them together making sure to align the holes.
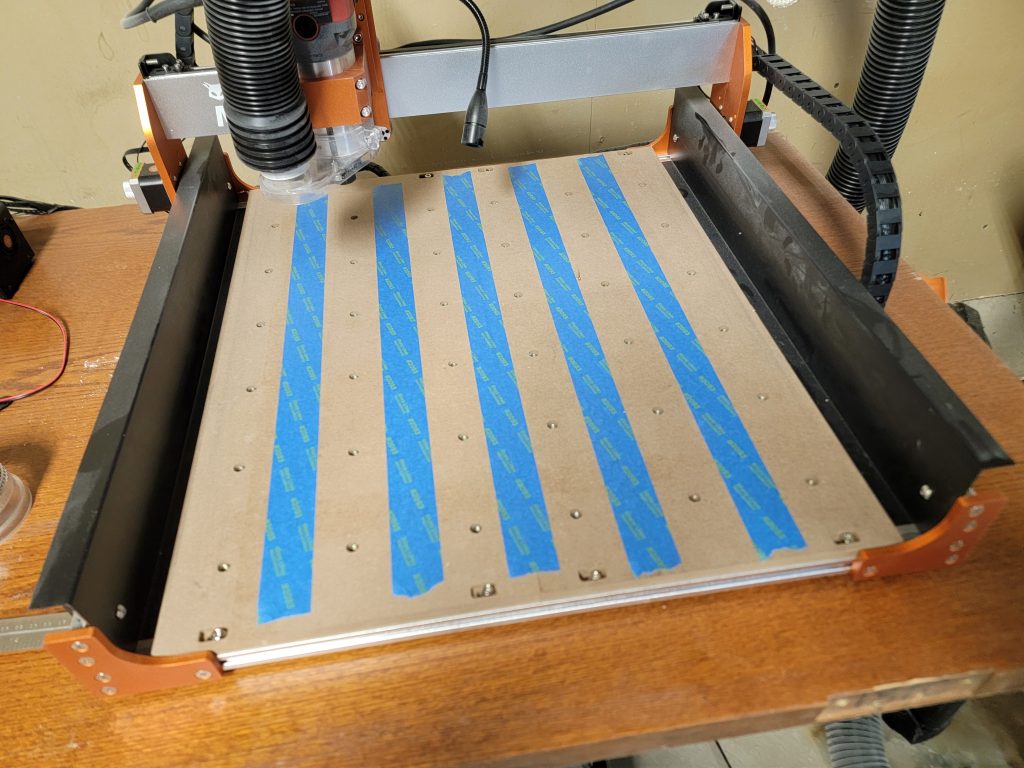
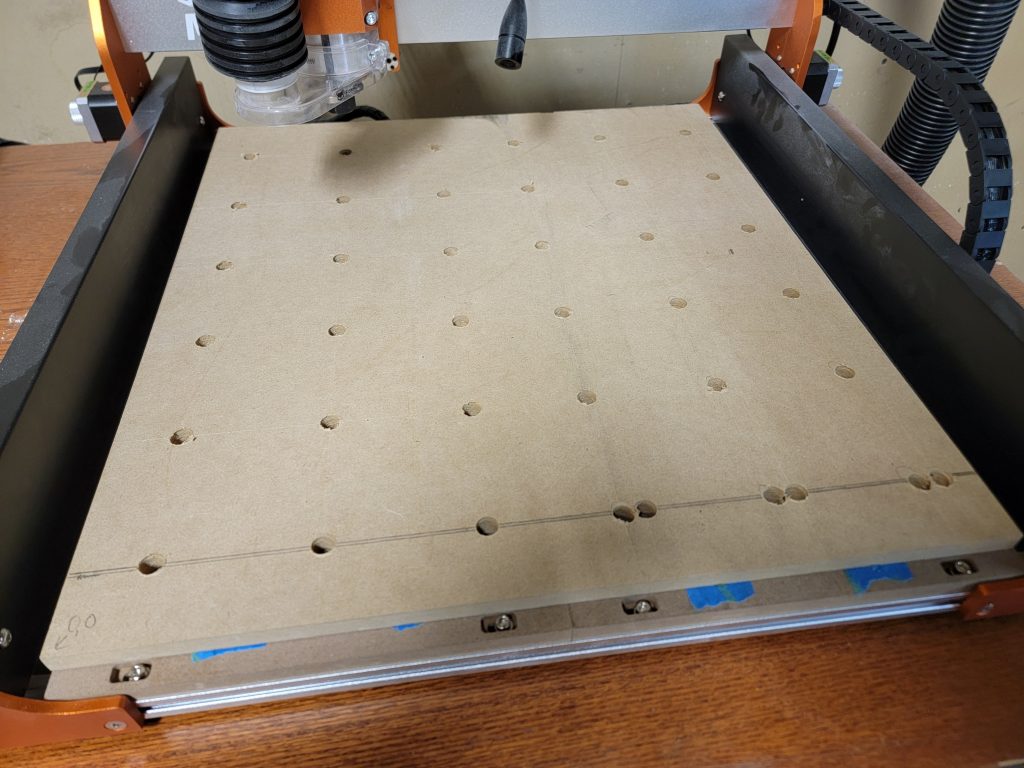
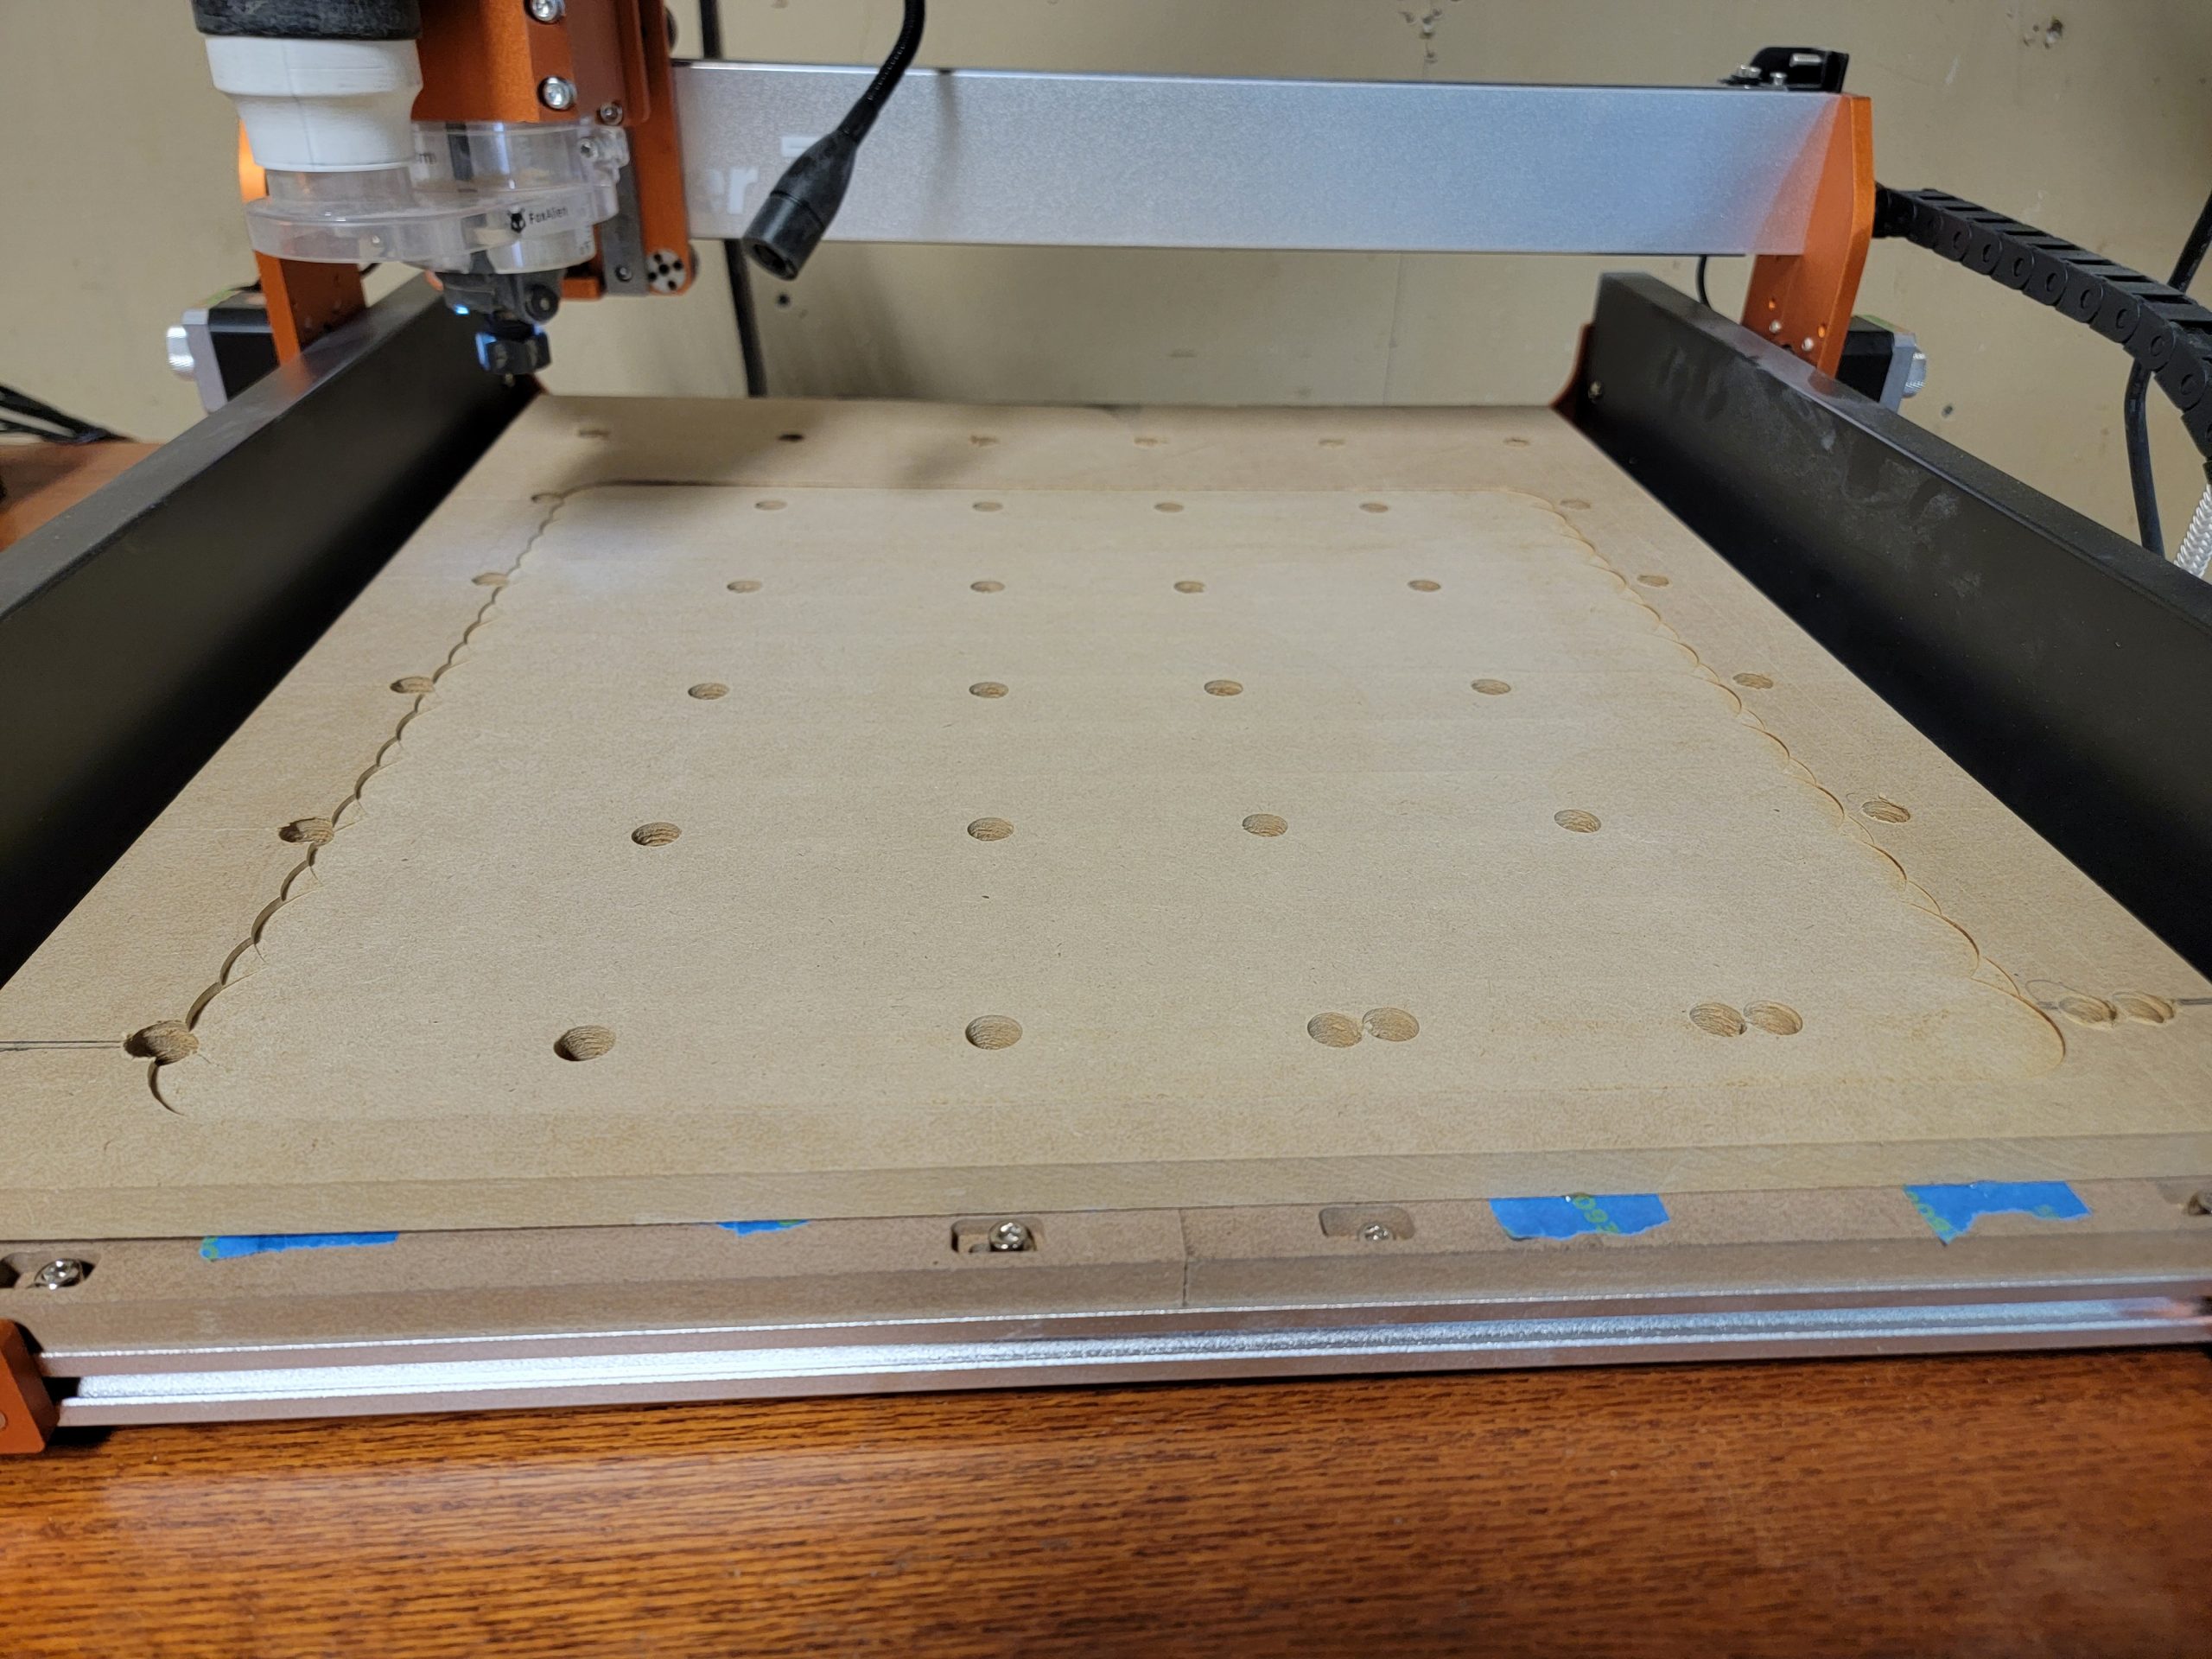
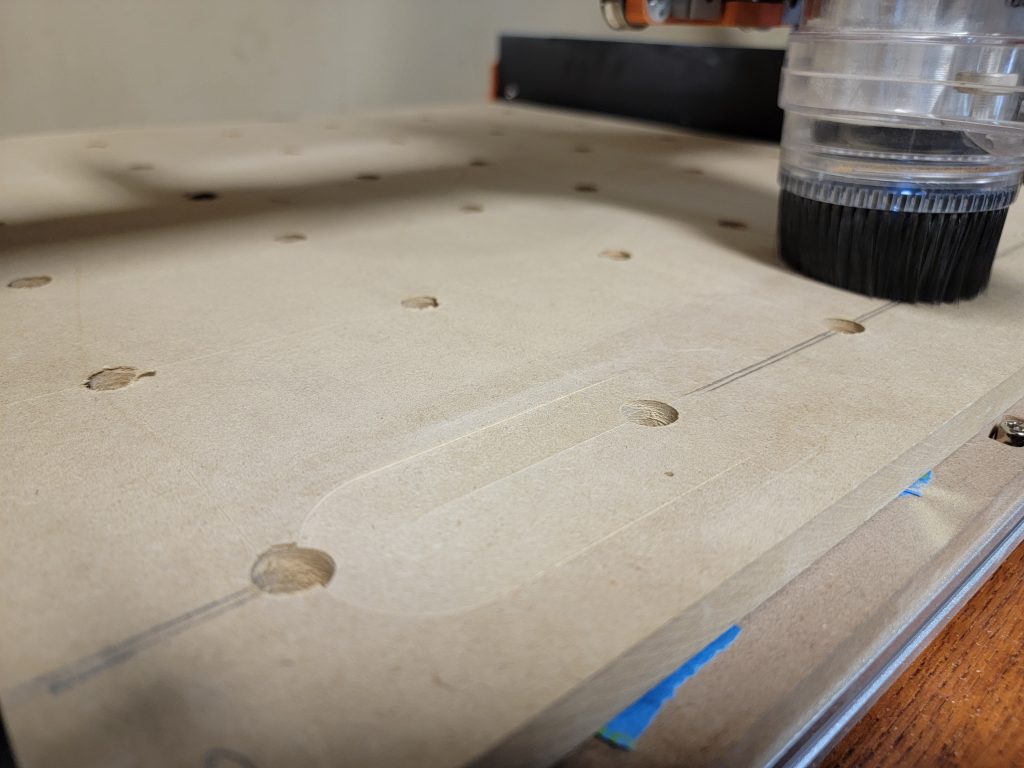
I created a surfacing toolpath in Fusion 360, sizing it down to fit within the limits of the CNC. I set the stock size to be 1mm greater than the block drawn, this creates a toolpath to remove 1mm. To be safe I did it in 2 passes, 0.5mm each at 750 mm/min. It was a very conservative setting but the left side was removing material 2mm before the right side reached the router.
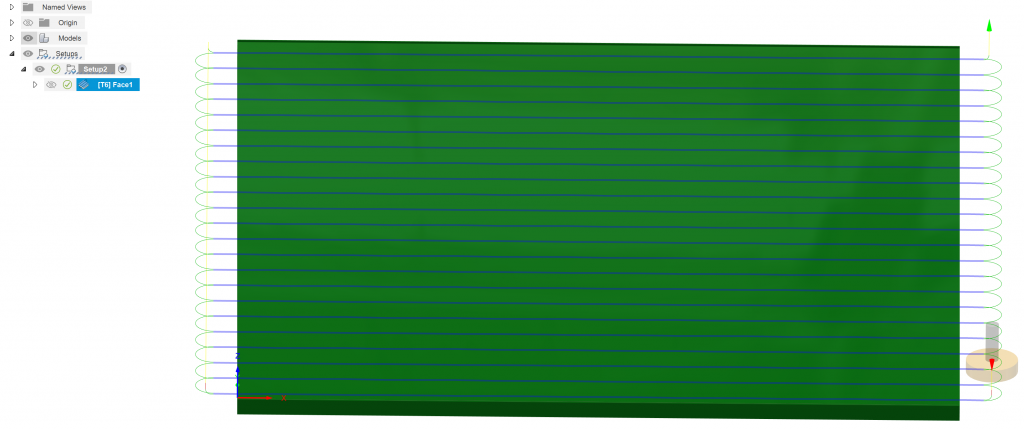
Here’s the first pass:
Completed surfacing after 3 runs, removing 3mm total:
