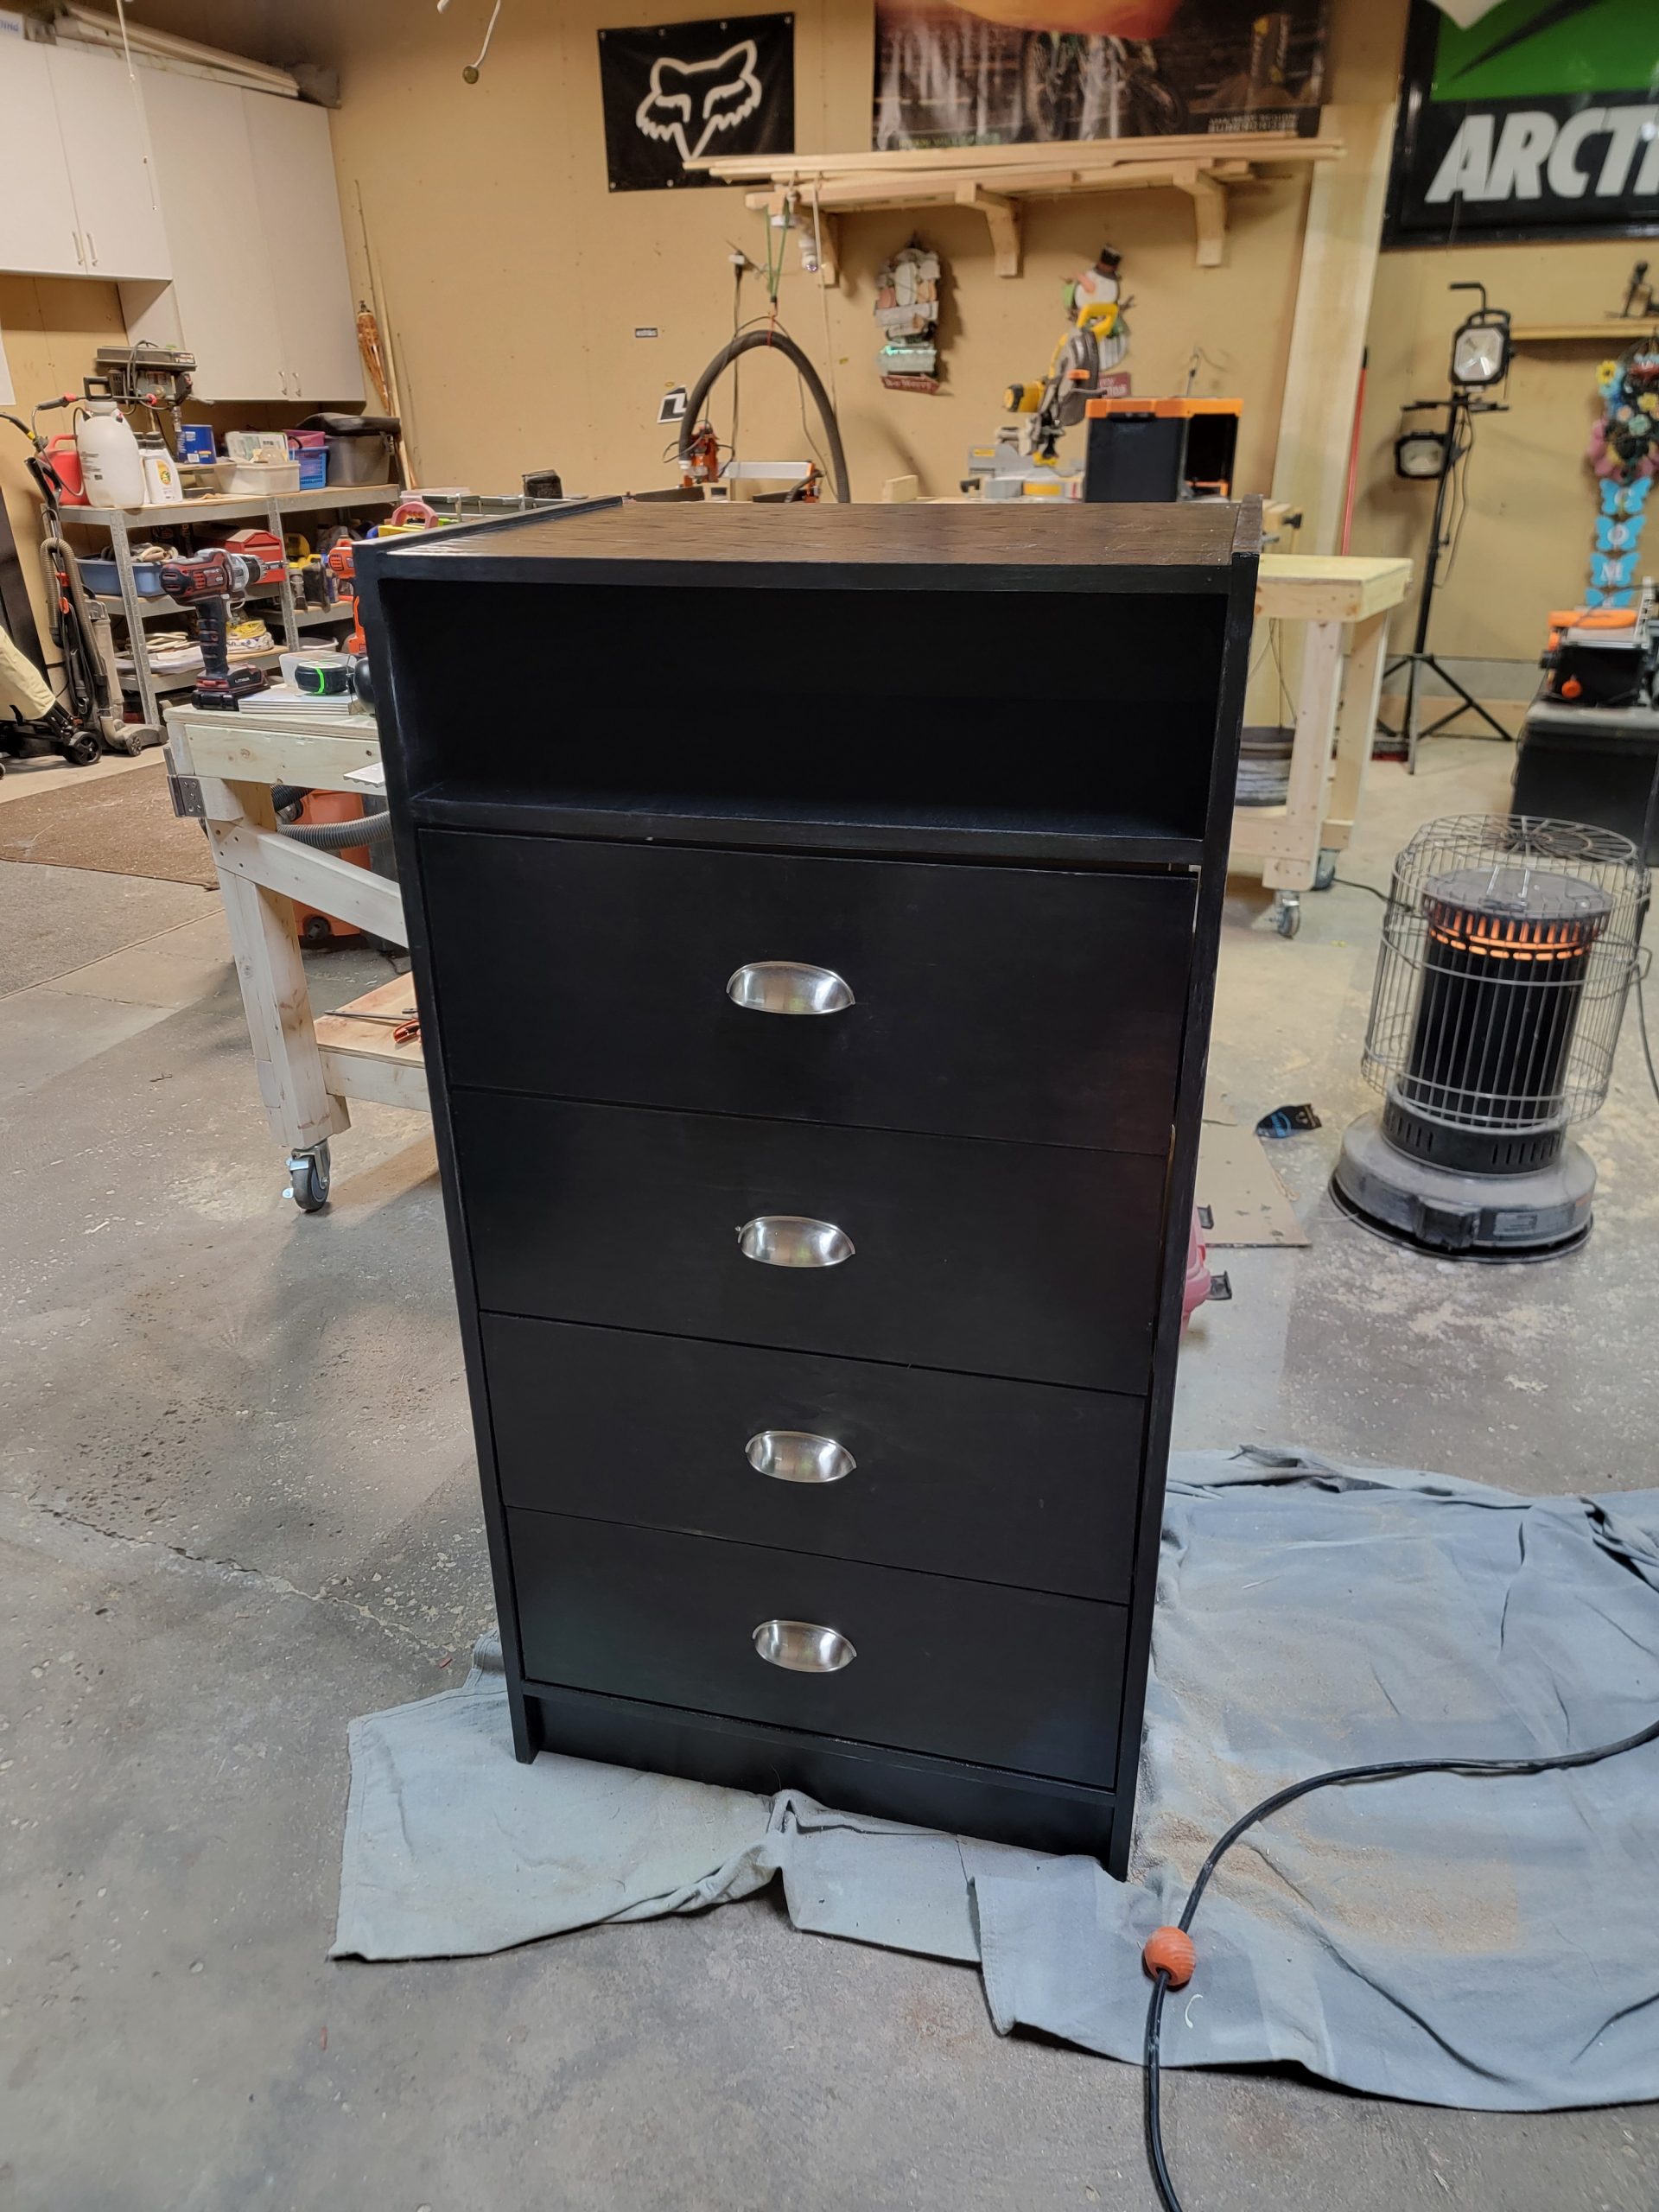
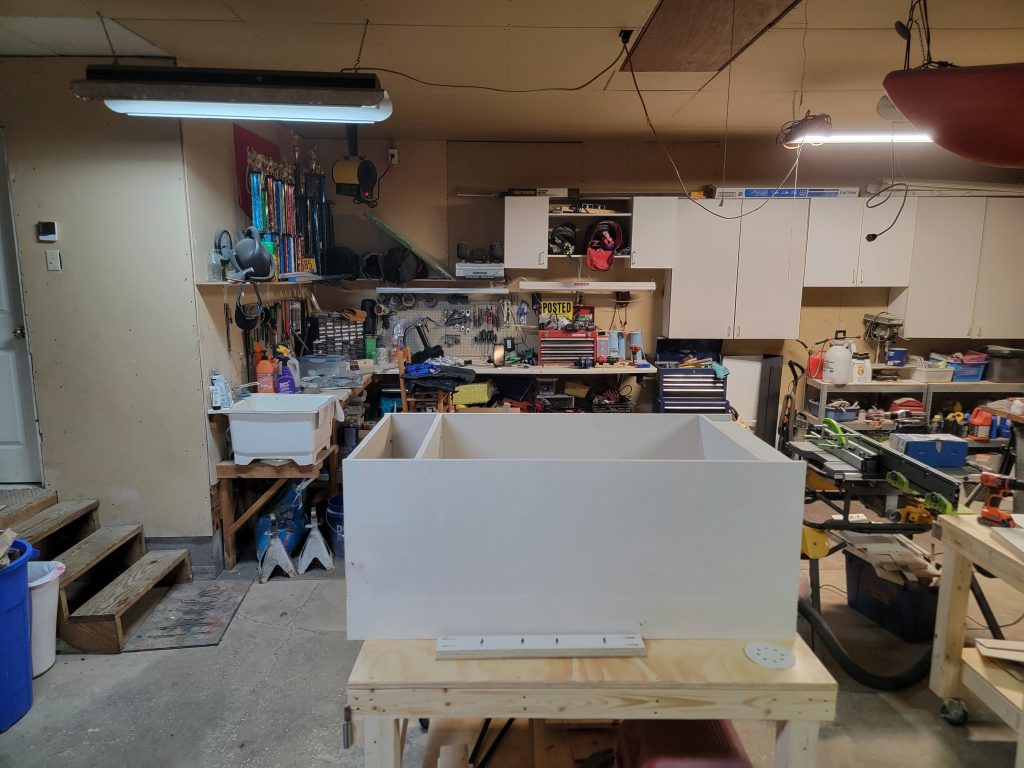
My first large piece of “real” furniture would be this dresser for the master bedroom. Previously, I did another piece of furniture but it was a smaller night stand.
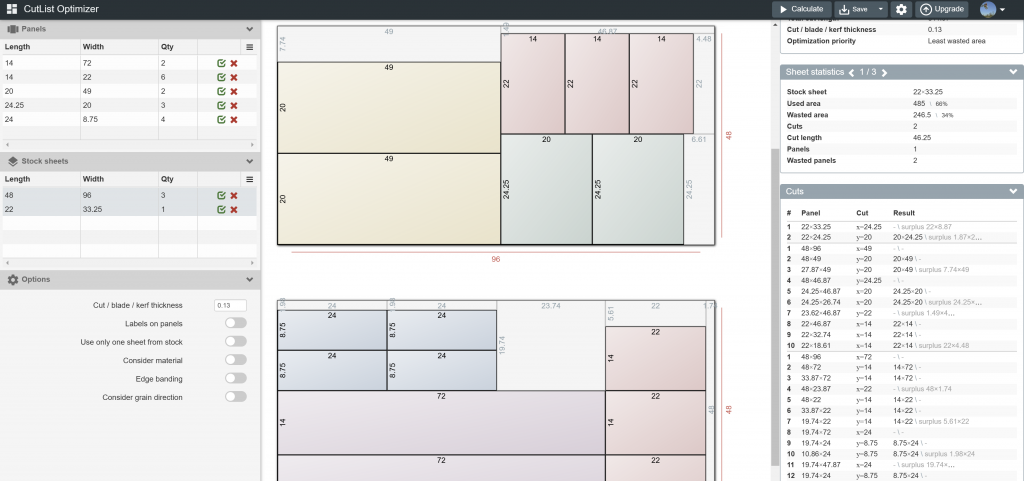
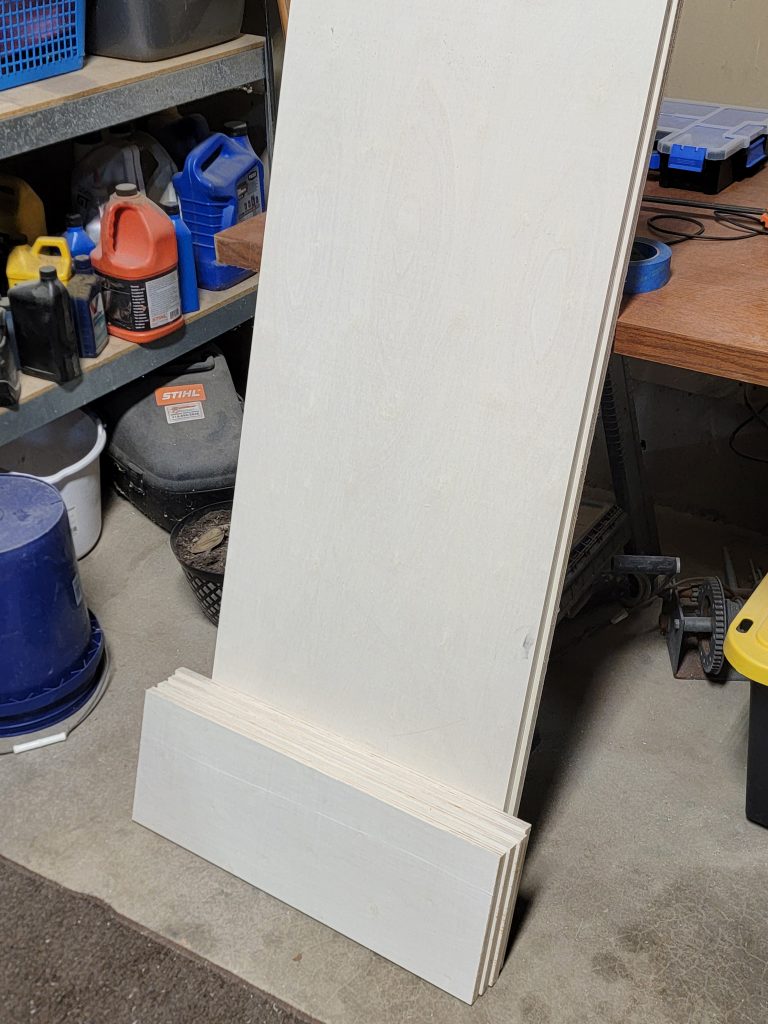
Cutting down the panels from a sheet of birch plywood was the first thing up. I used a cut list optimizer for the first time on this project to help arrange the cuts to minimize waste. Here’s a snapshot of the layout (I was also cutting pieces for a bookshelf too):
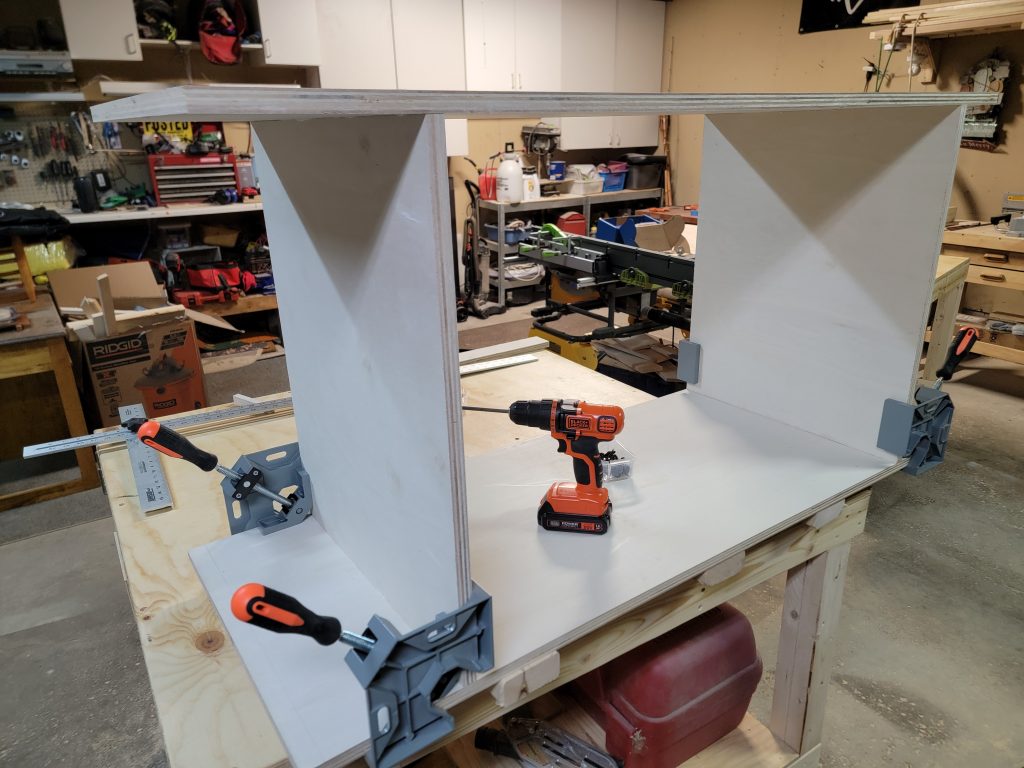
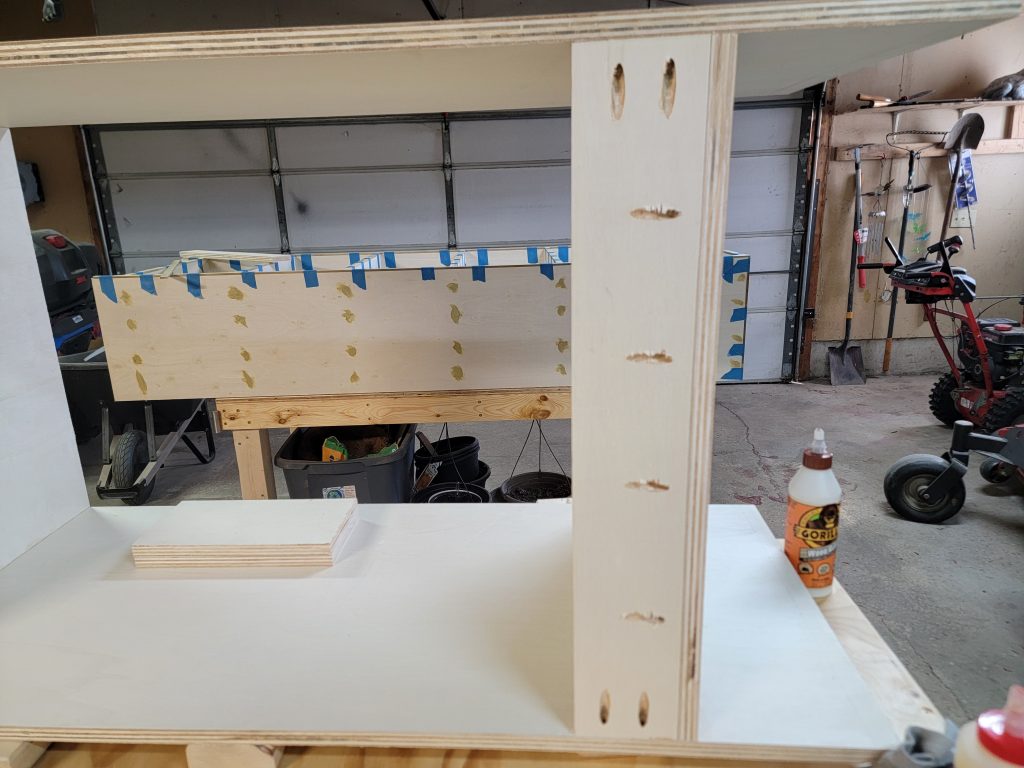
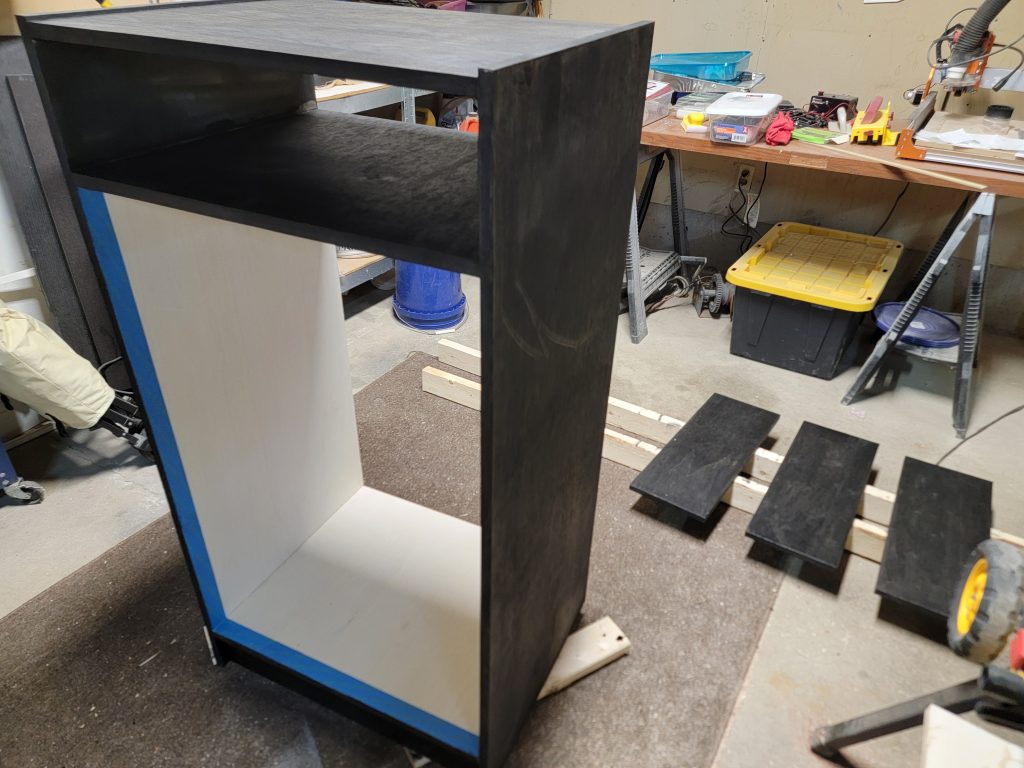
Here’s the pieces cut, pocket-holed and assembled into the dresser frame/box, nothing too difficult here as its essentially a box with a middle separator:

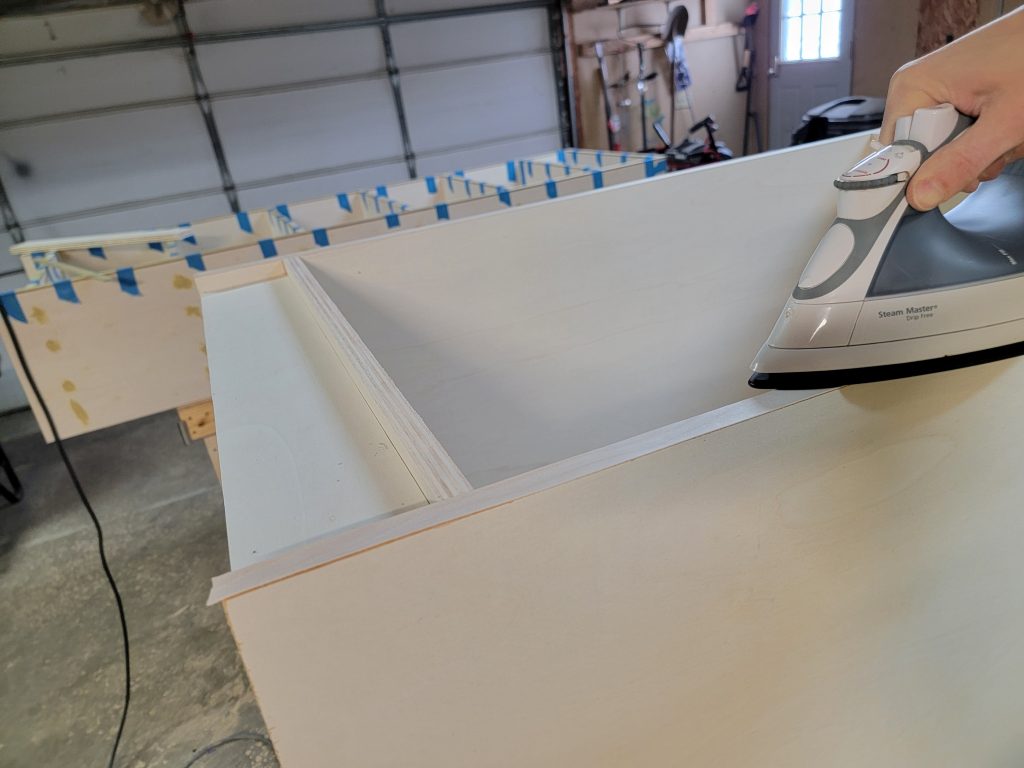
The exposed edges were all covered with iron on edge banding:

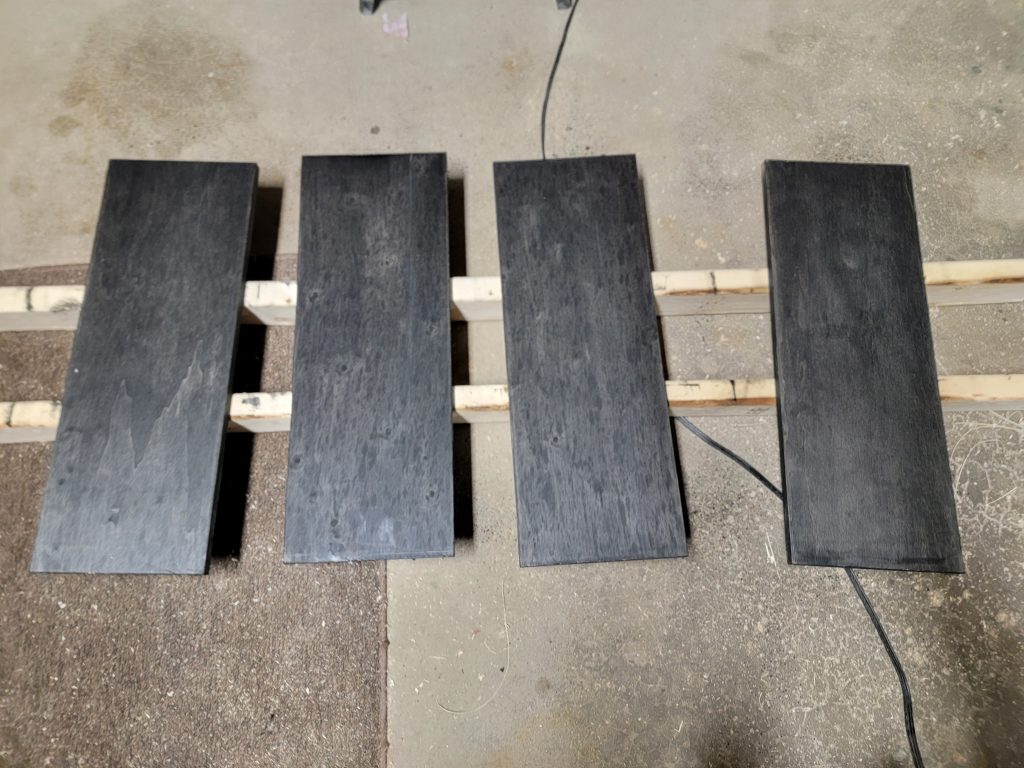
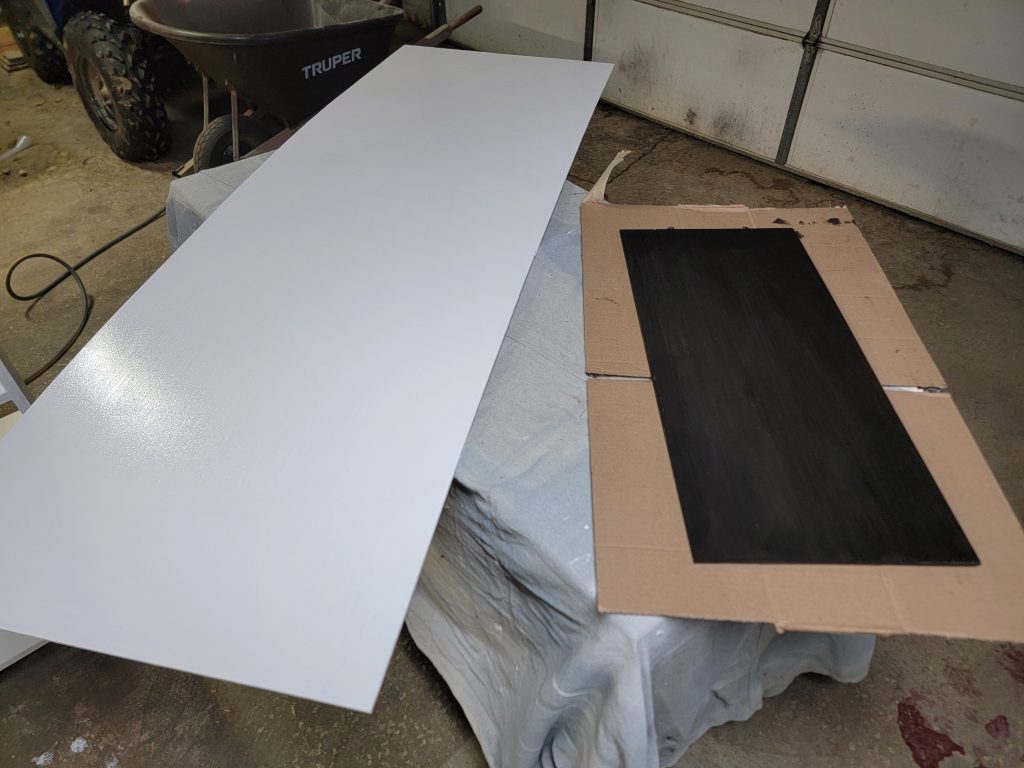
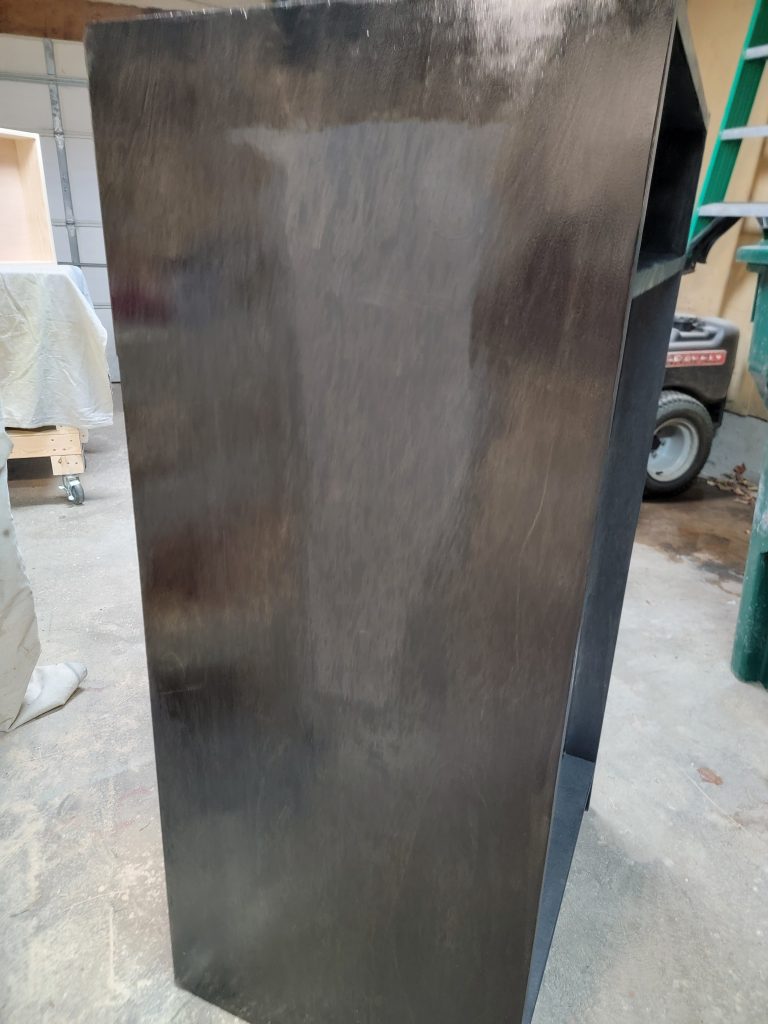
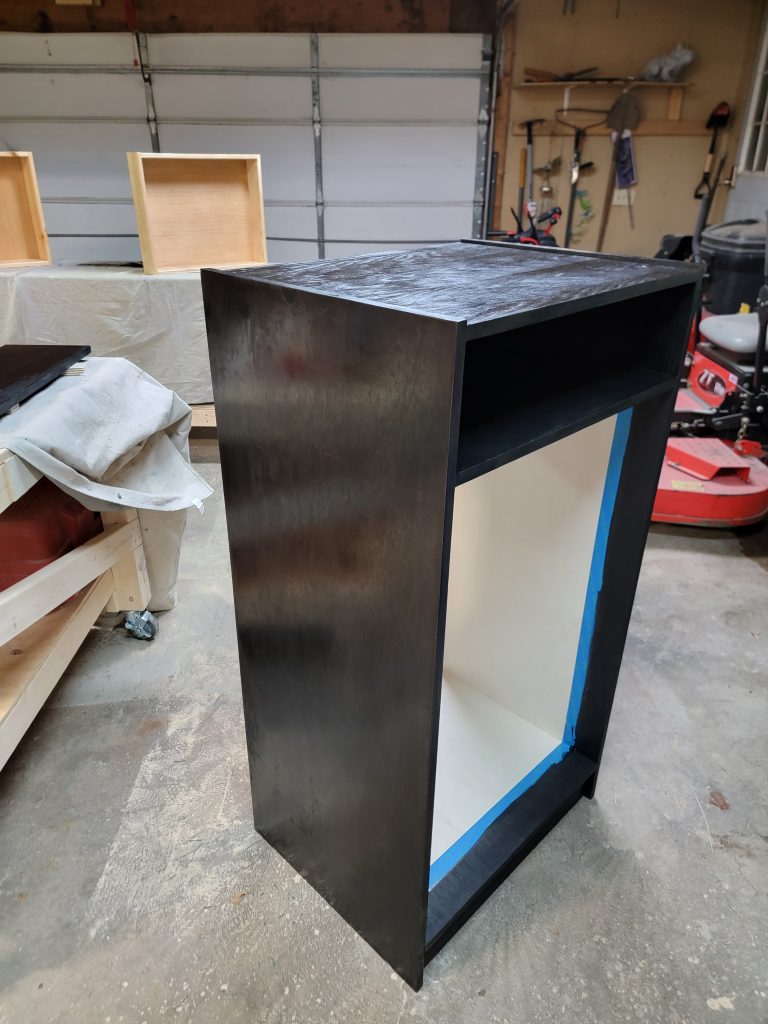
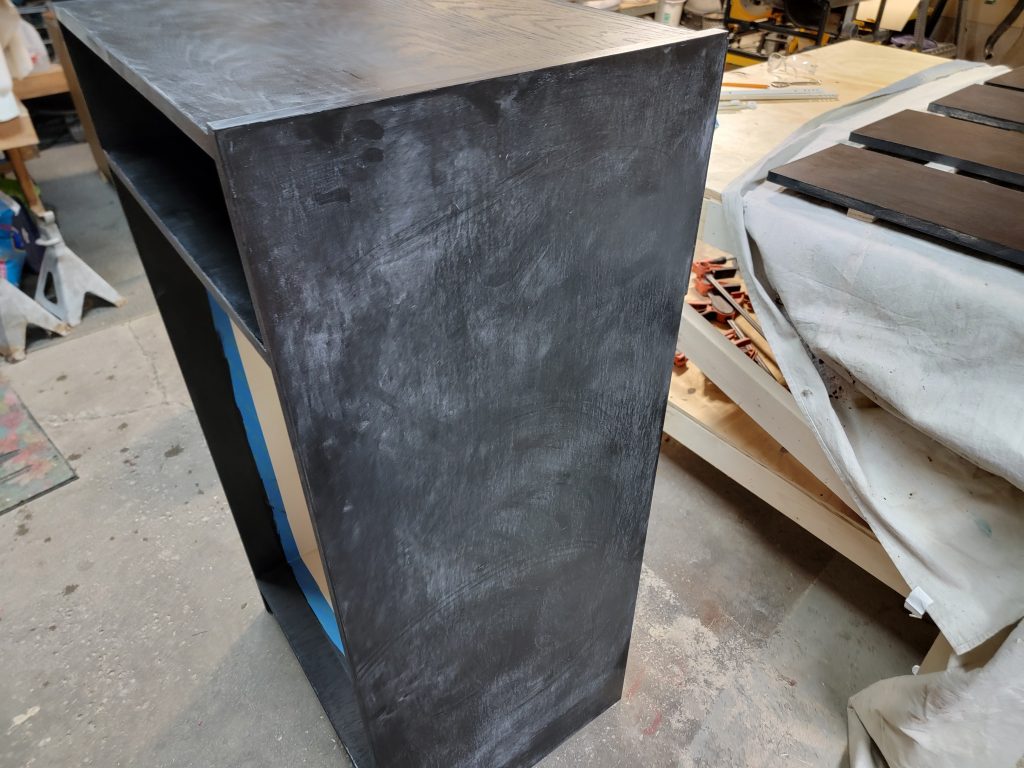
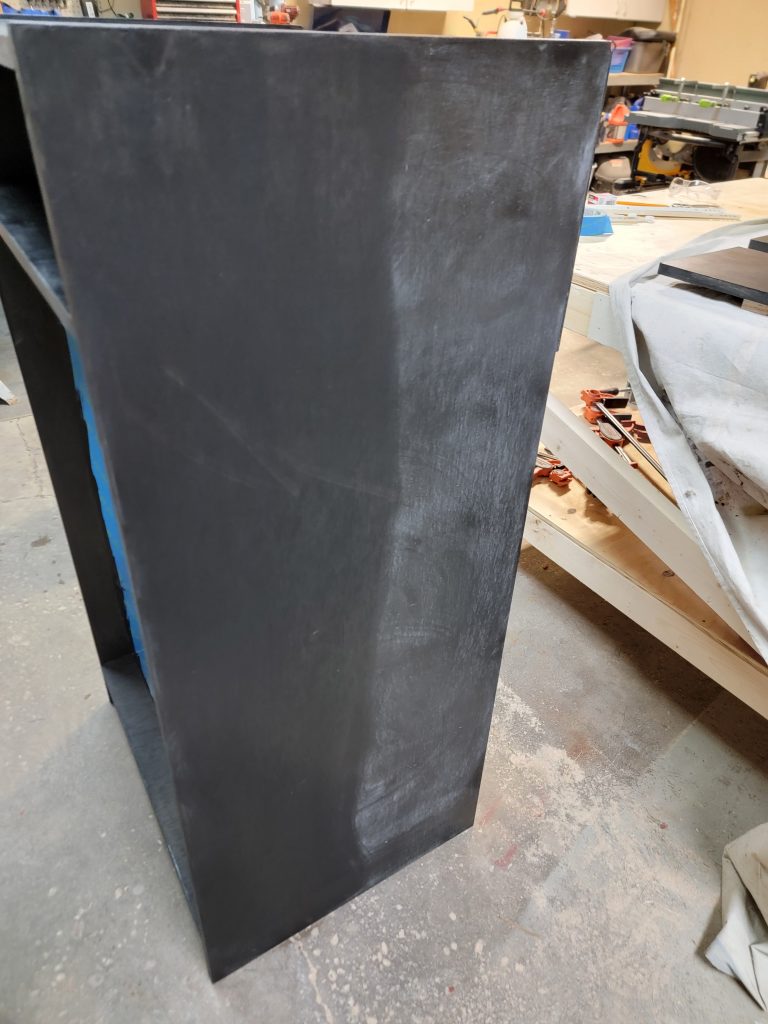
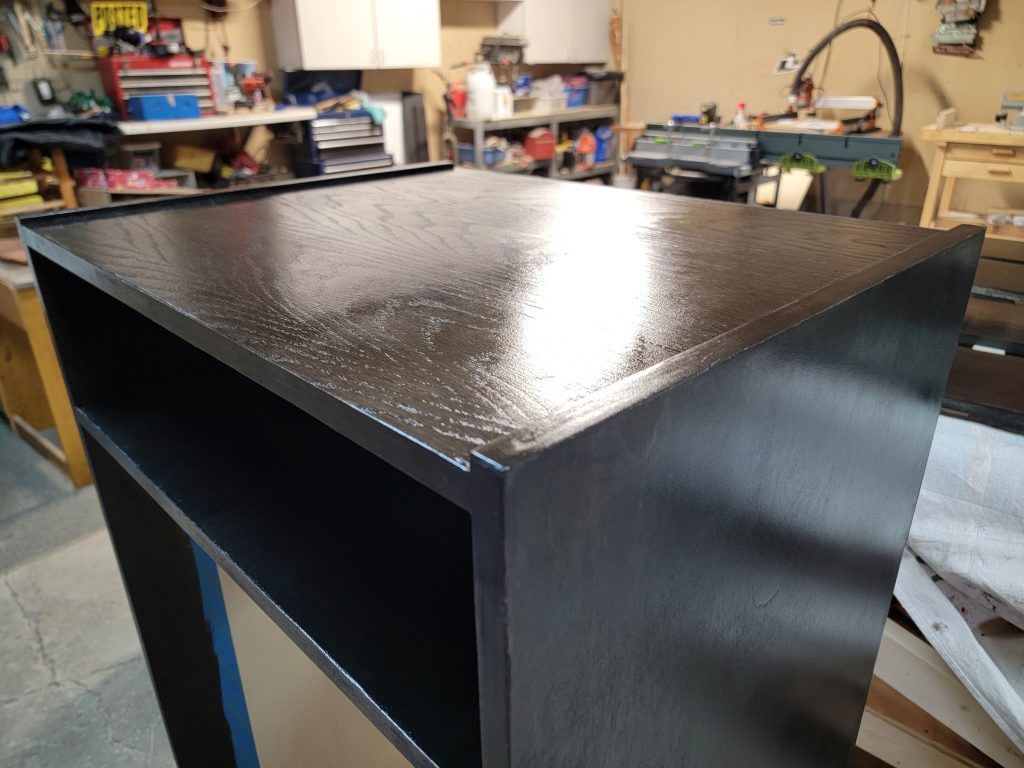
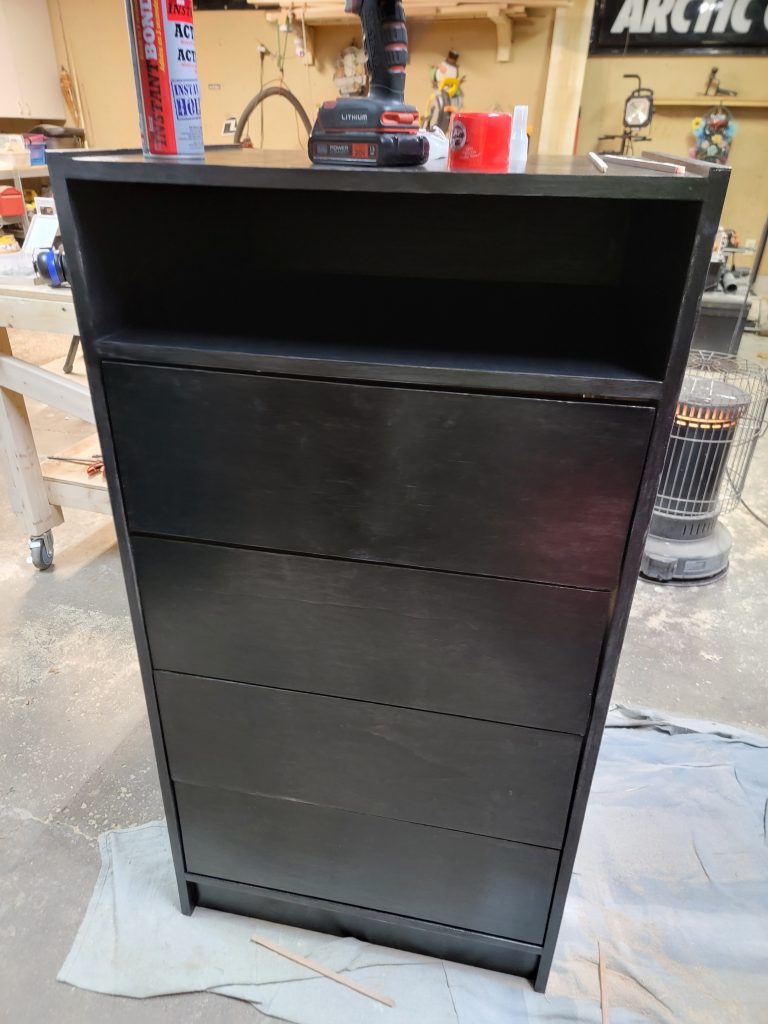
After that it was already time to stain, going with a deep black to match other dressers in the bedroom.

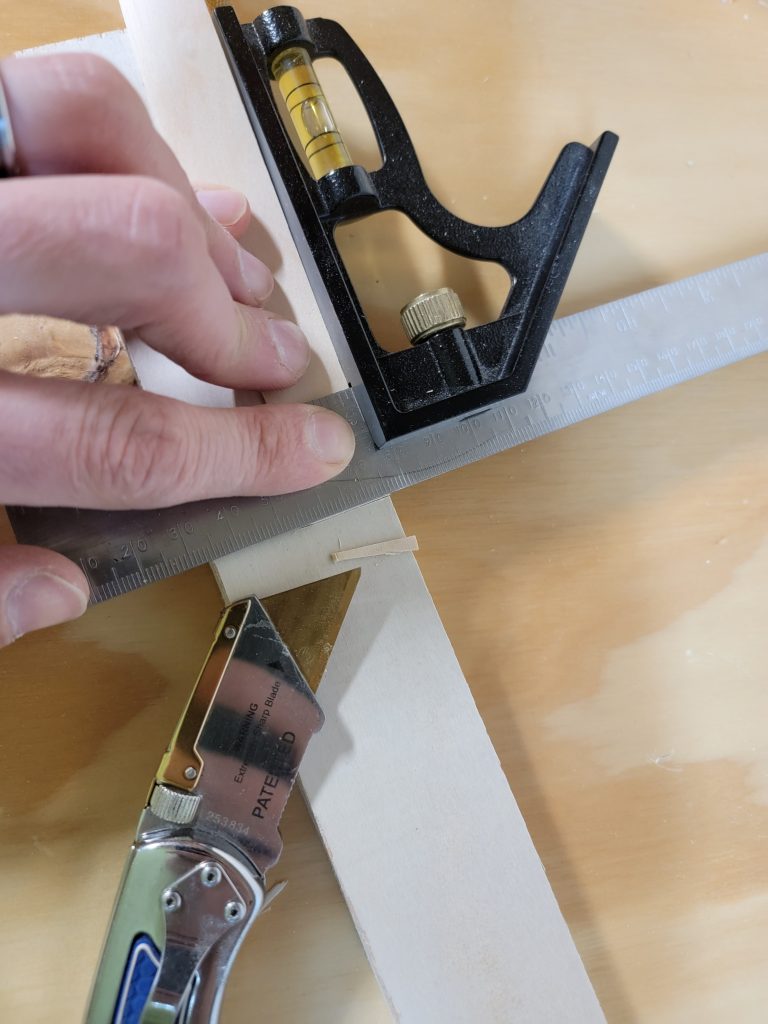
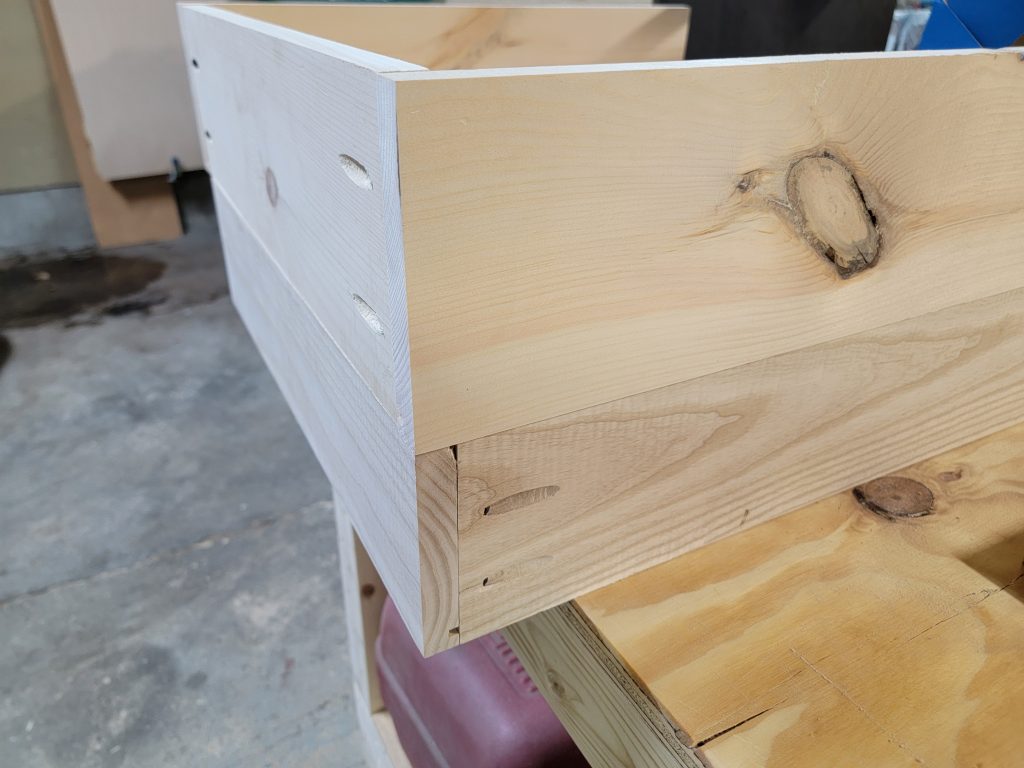
While all that was drying to start to make the 4 drawer boxes. Originally, I had planned to use all select pine but after starting to cut pieces up two entire boards were so warped they were unusable. Here’s an example:
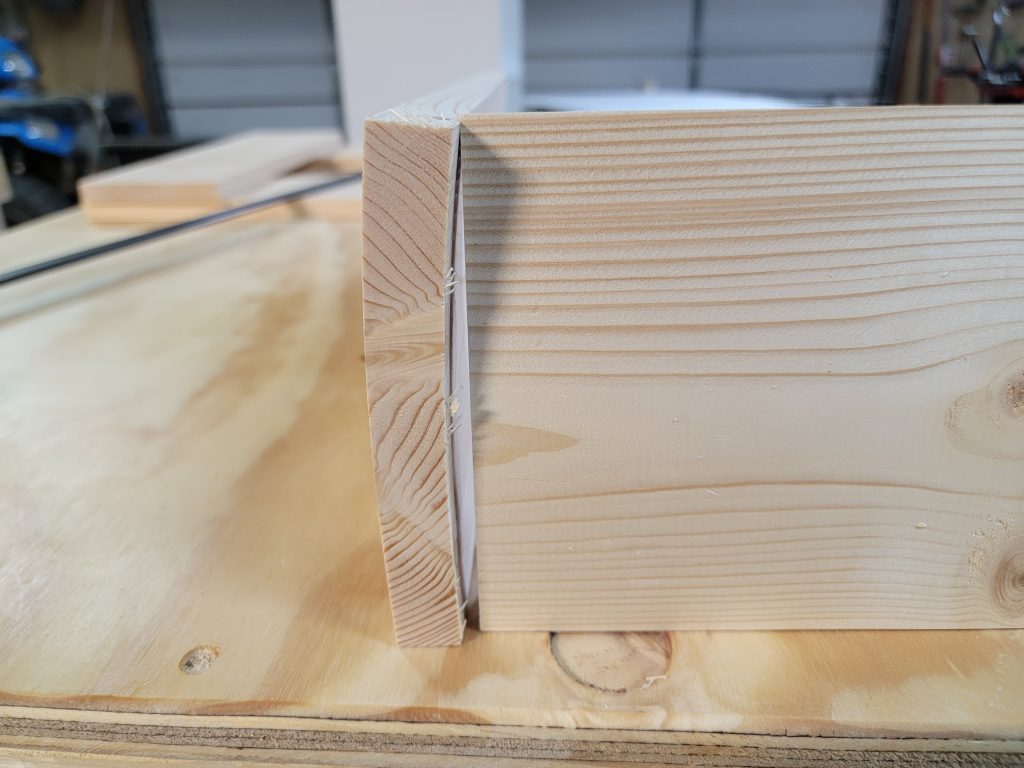
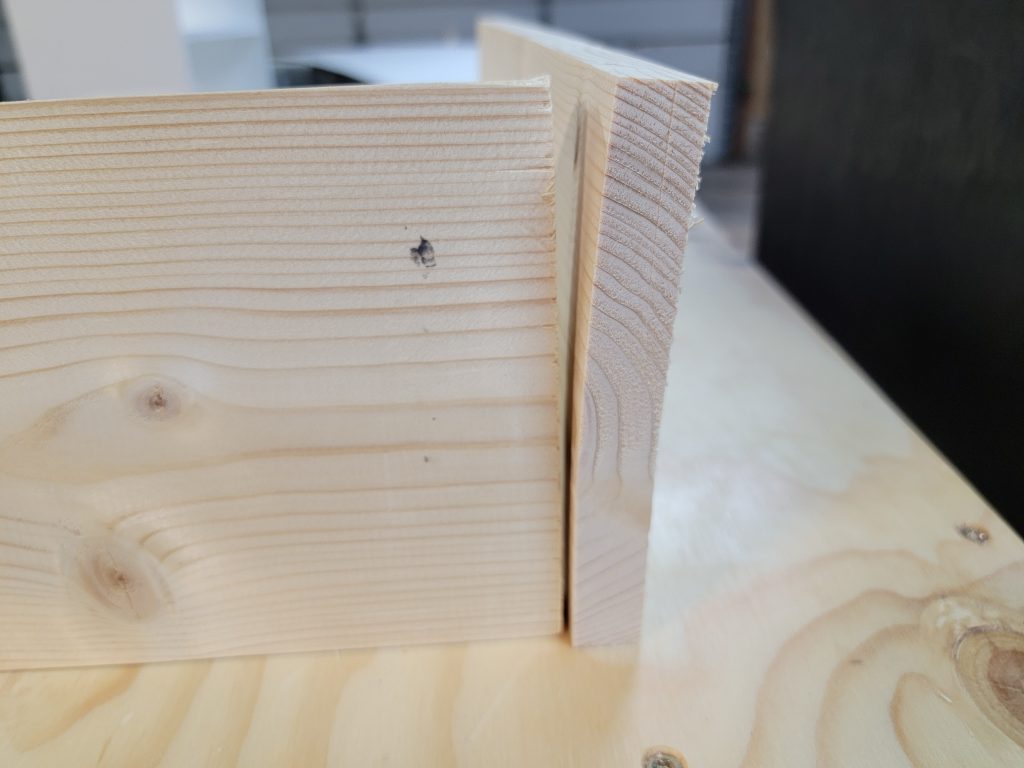
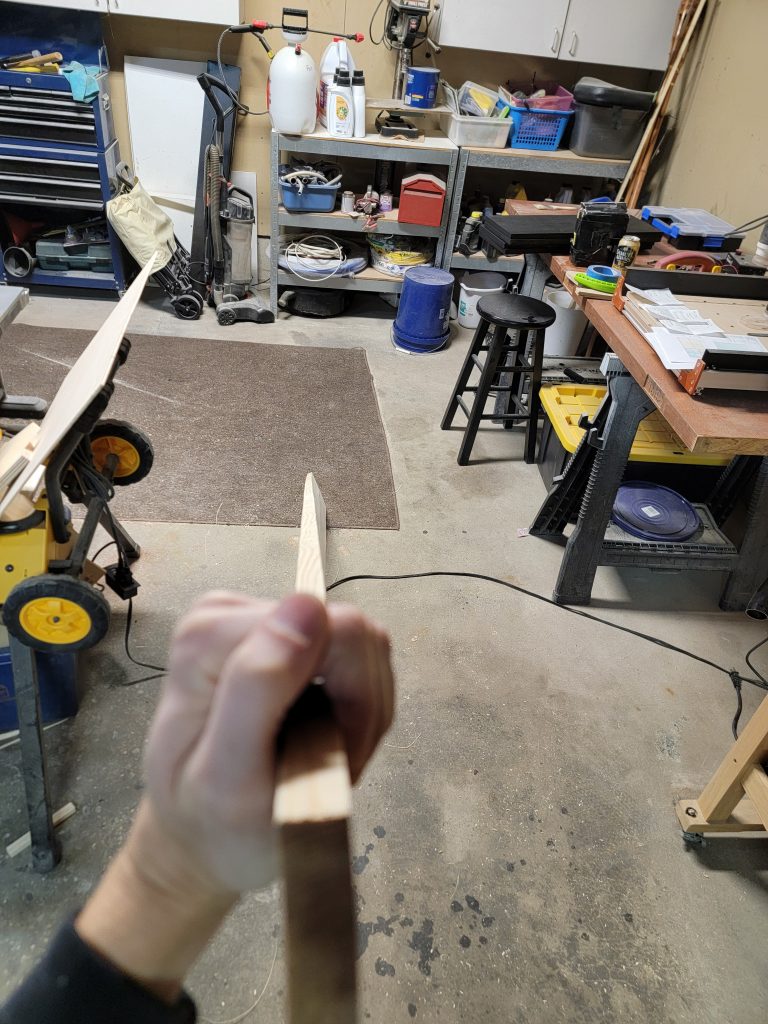
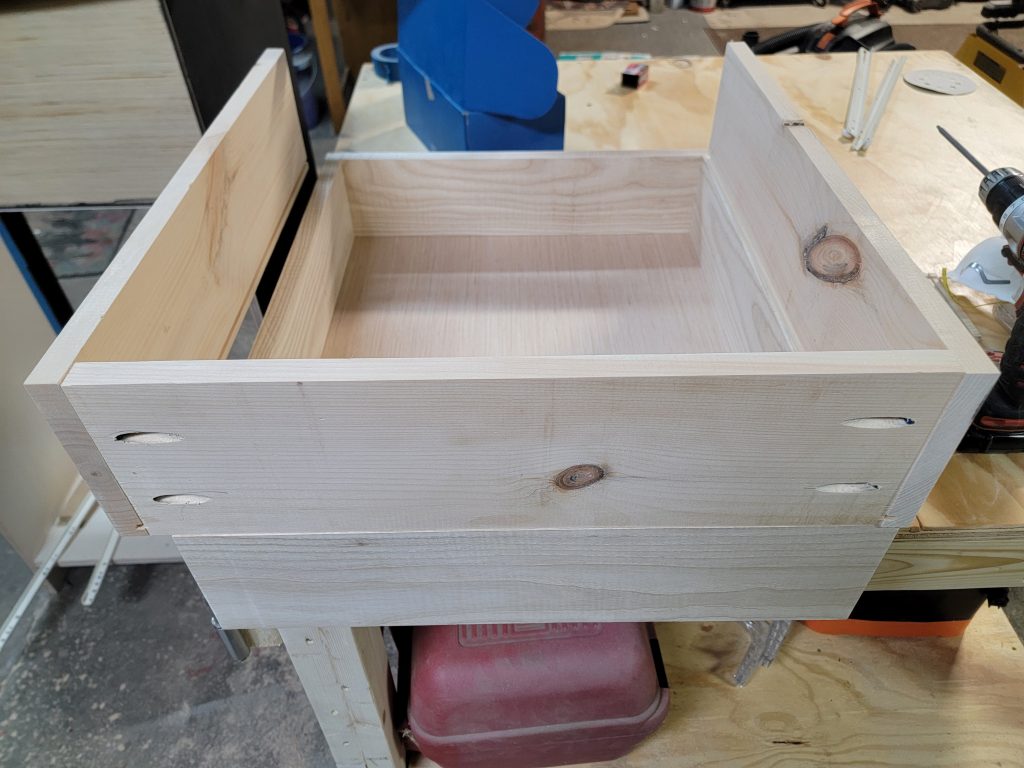
Here’s one of the two drawers I was able to create from the good pieces. I placed it in the dresser for a rough fit check (still loose pieces):

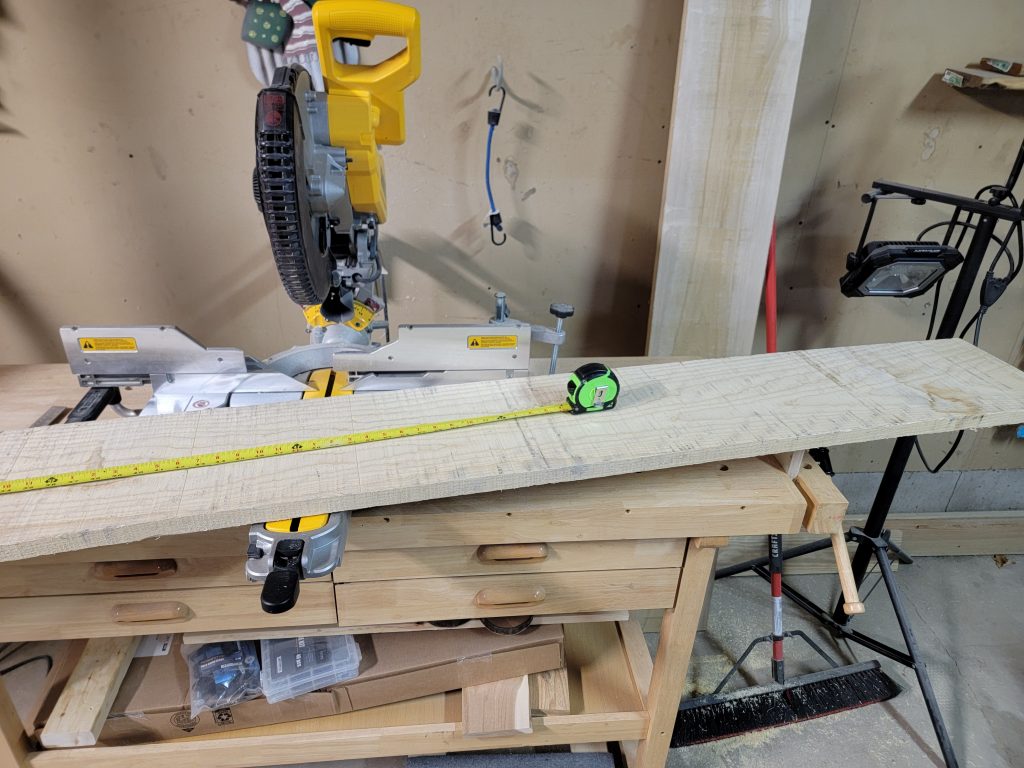
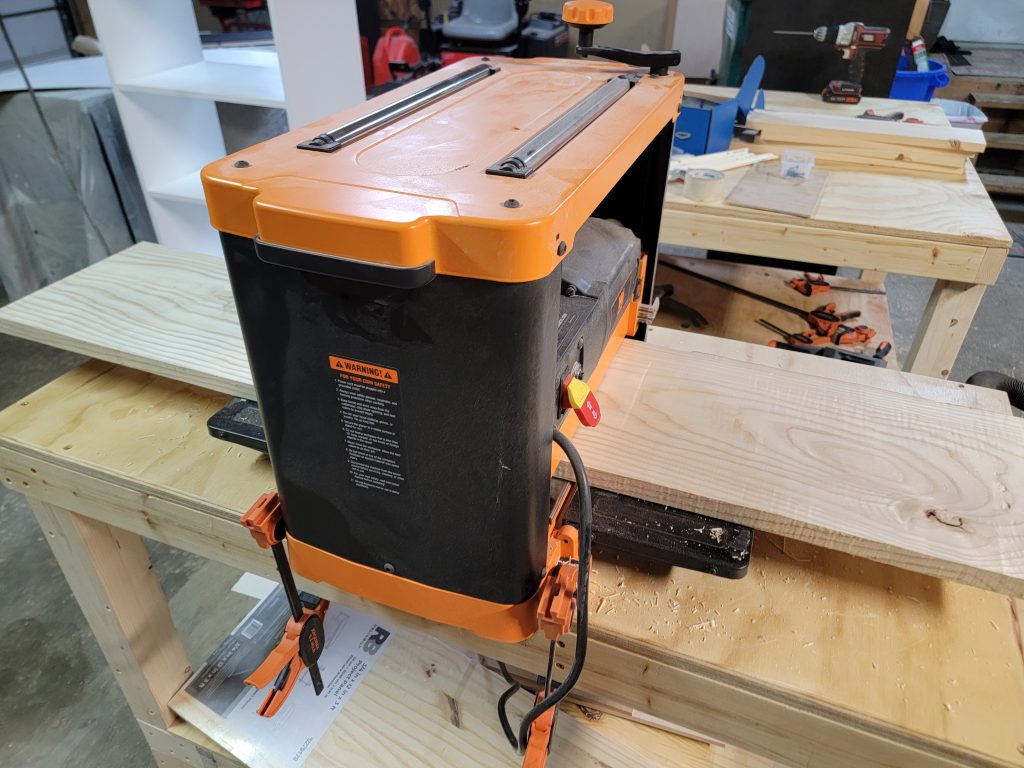
I didn’t really want to go to Lowes to get more select pine and I had two pieces of rough cut material from the hardwood supplier so I decided to grab one of those and mill it down. I pulled a piece of 5/4 Ash and started milling it down to 3/4″.

From the piece of Ash I was able to get enough for the other two drawers. Seemed expensive at first but most of the cost would have been time. The drawers made out of Ash were ~$20 each, while the ones from Pine would have been ~$6.
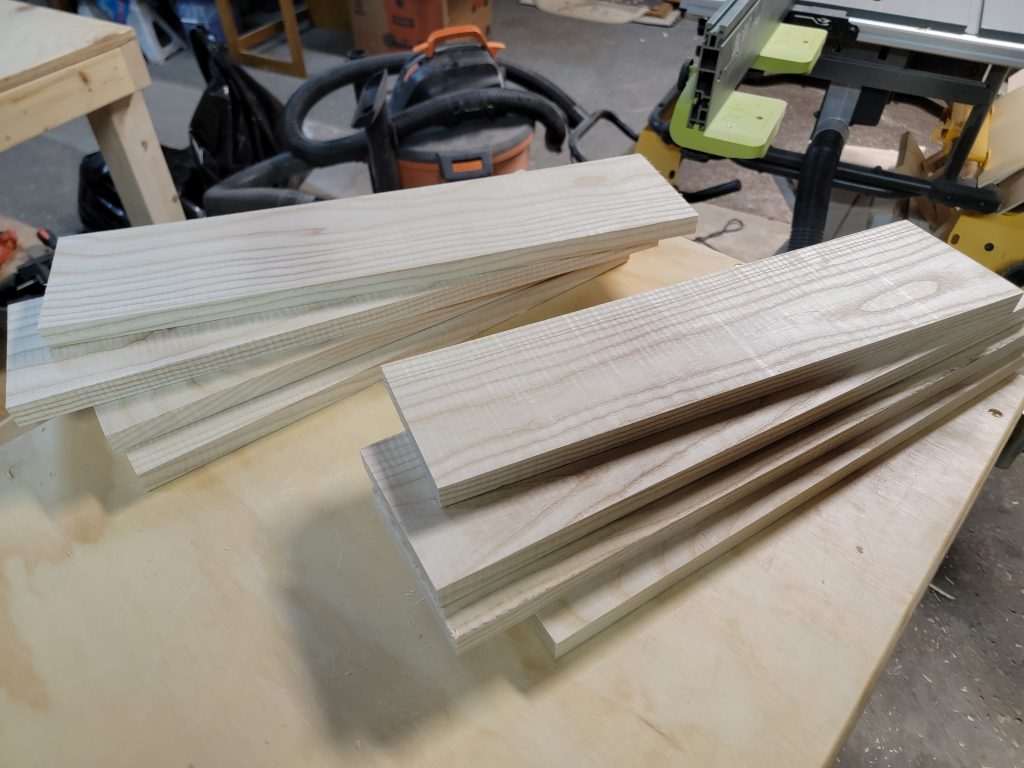
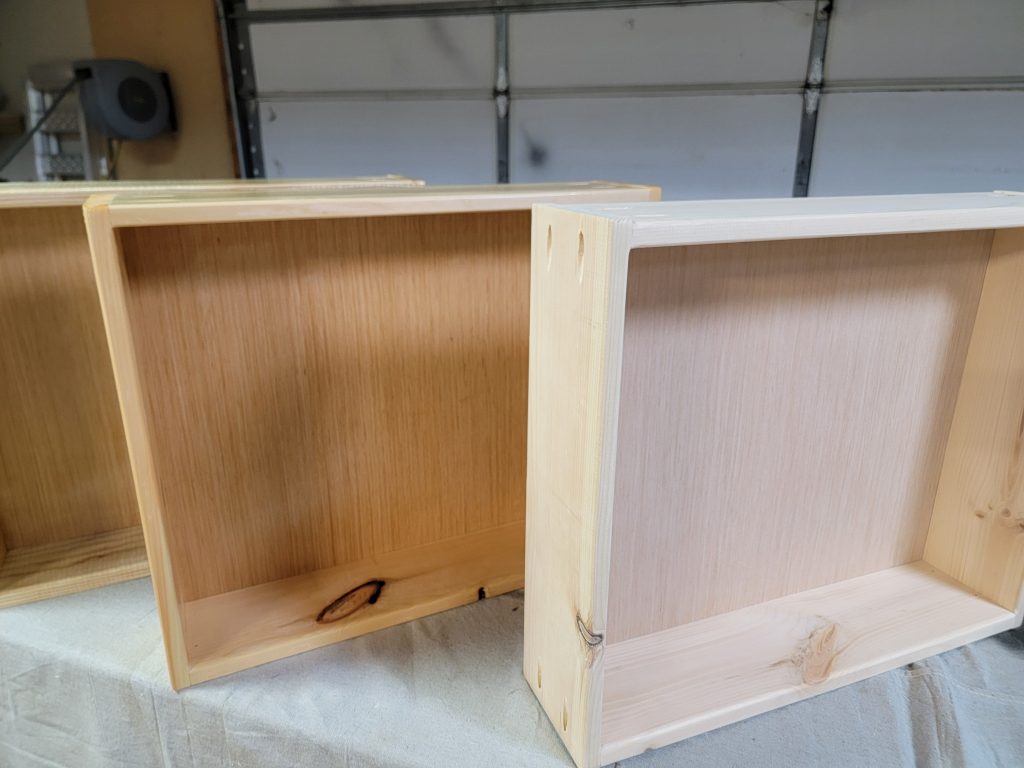
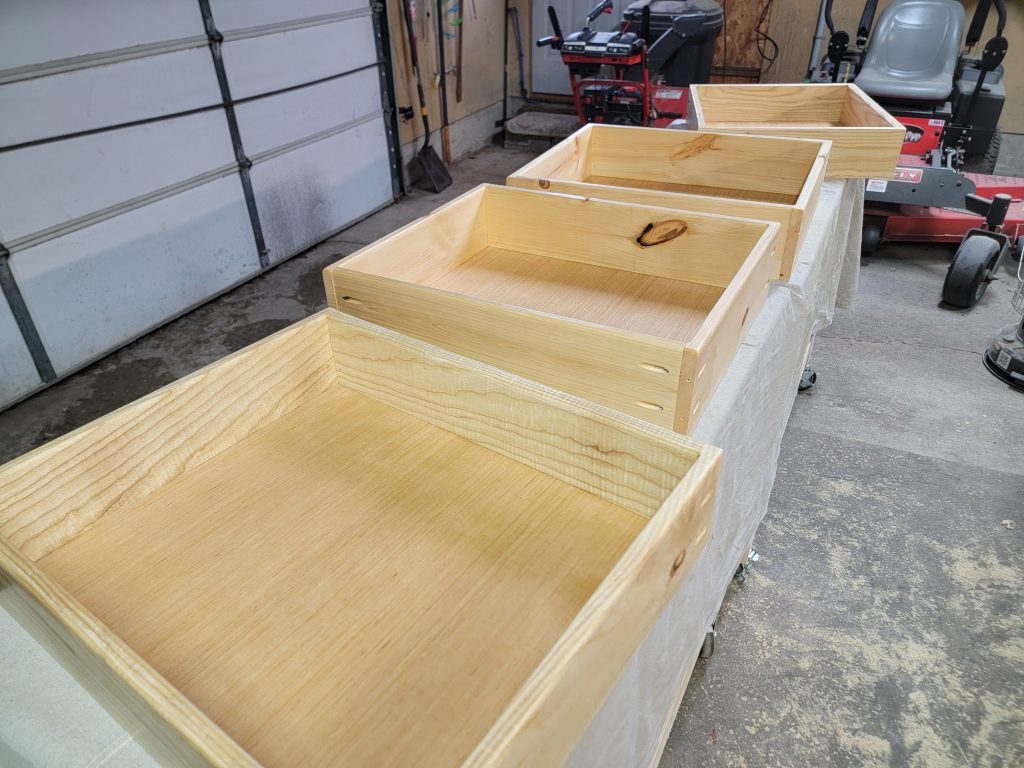
These stacks are all 4 drawers ready to assemble now:
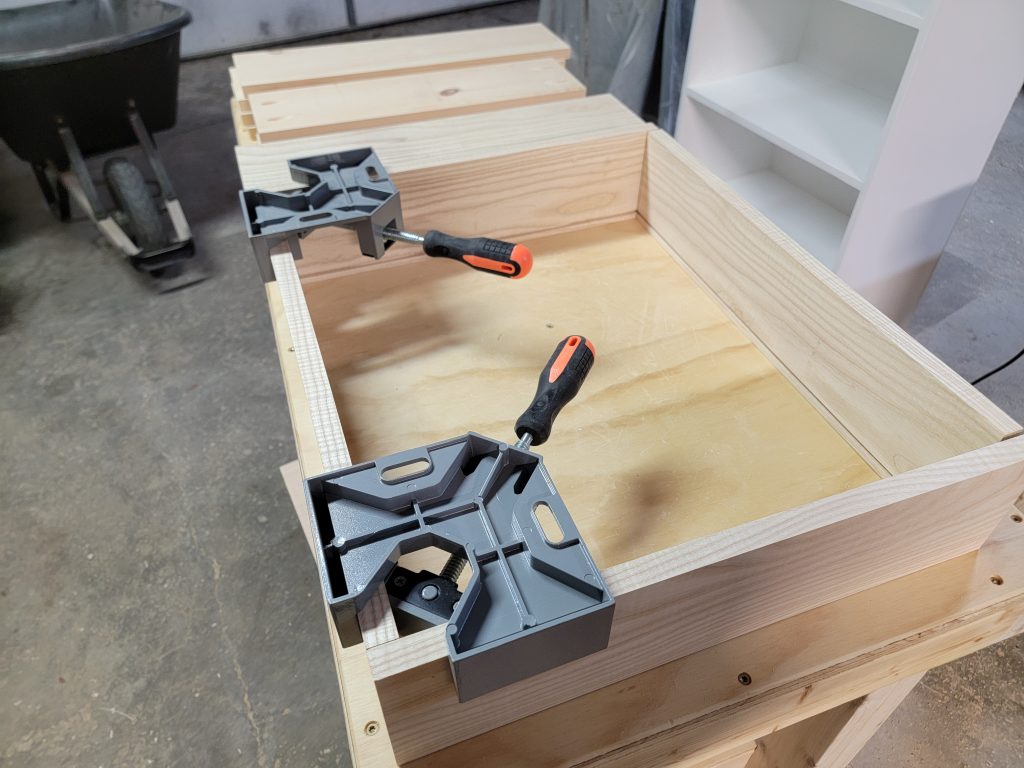
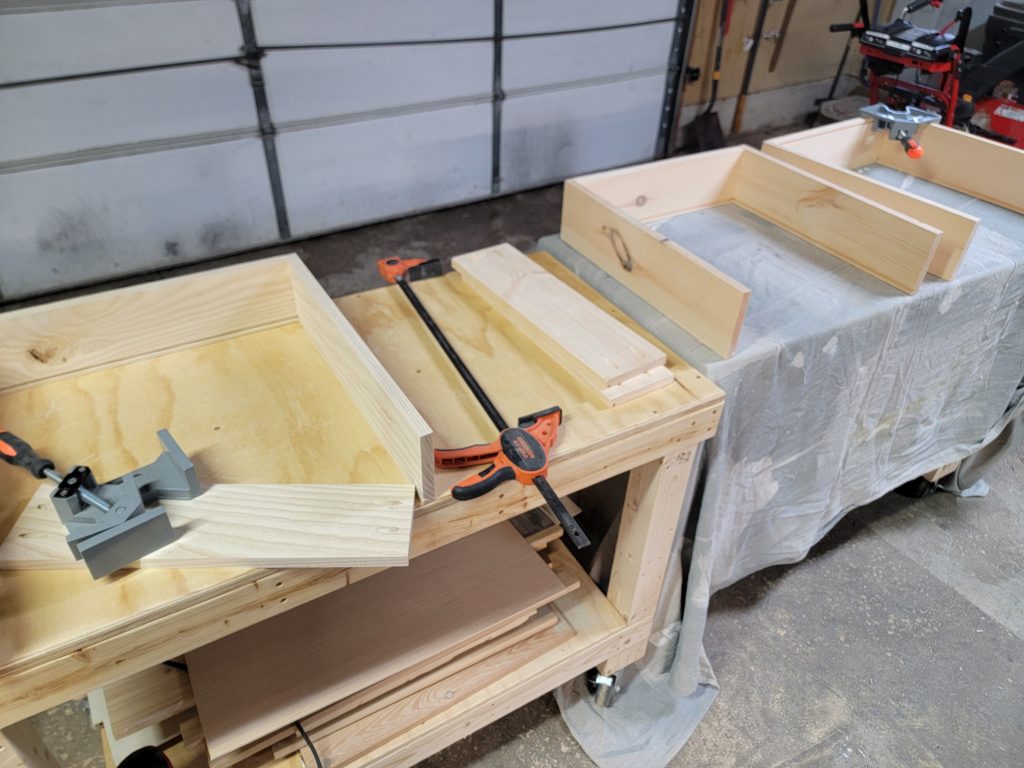
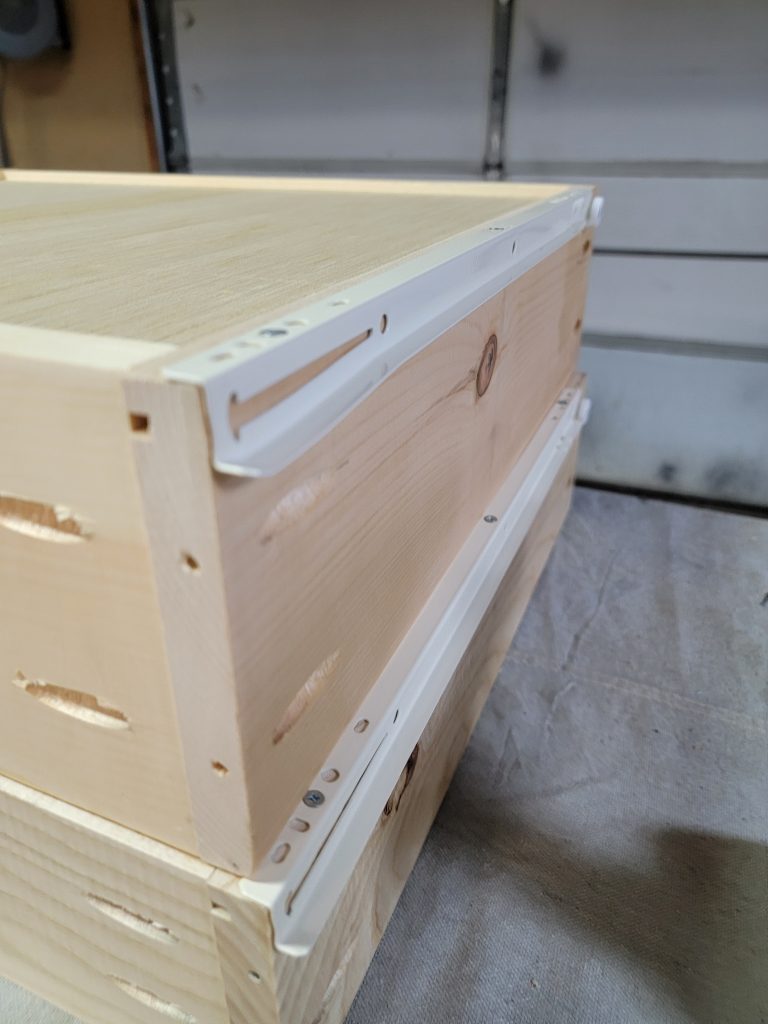
Getting all the drawer boxes pocket holed and assembled:

It was right about here when I realized that I had put pocket holes in all the wrong pieces…so I got to put new holes in all the opposite pieces. Definitely wasn’t worth scrapping the wood because of the extra holes. They were barely noticeable once the dresser was fully assembled with drawer slides.
I assembled all the drawers and applied a few coats of polyurethane.
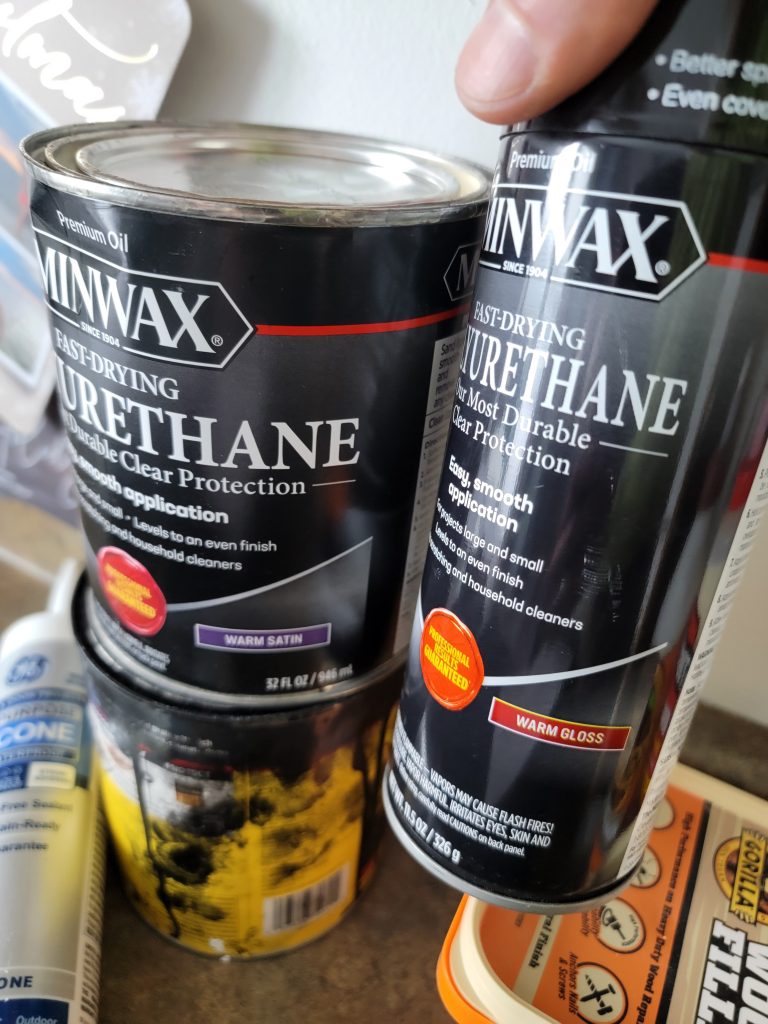
I also lightly sanded the dresser itself and applied more poly to that:


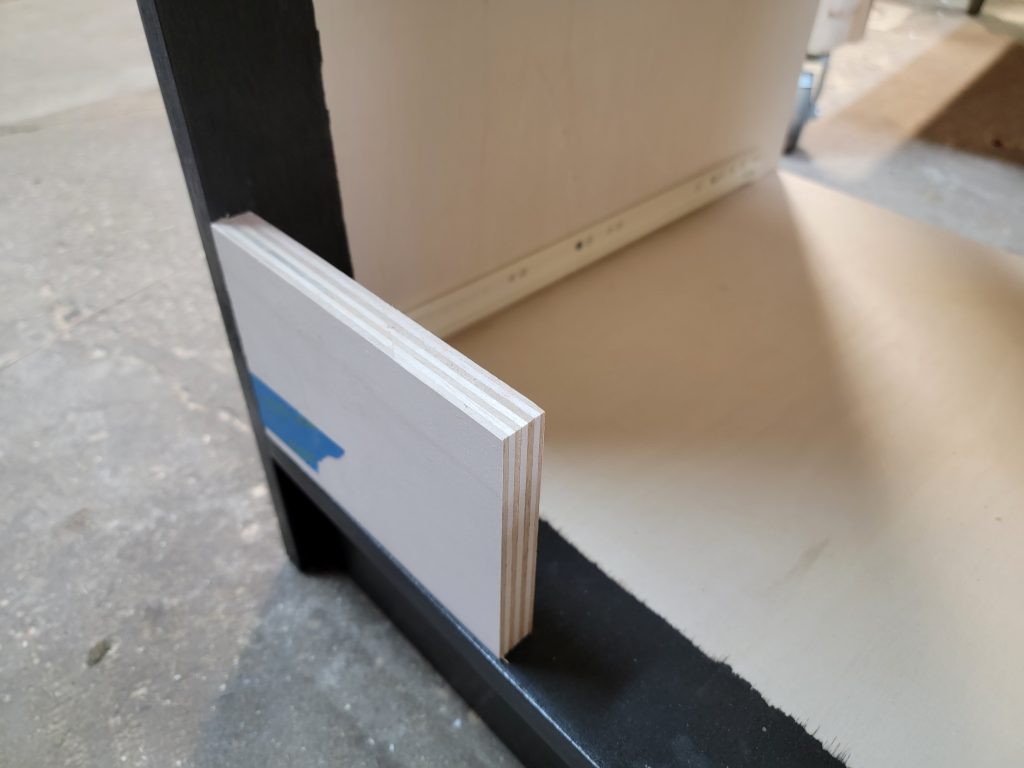
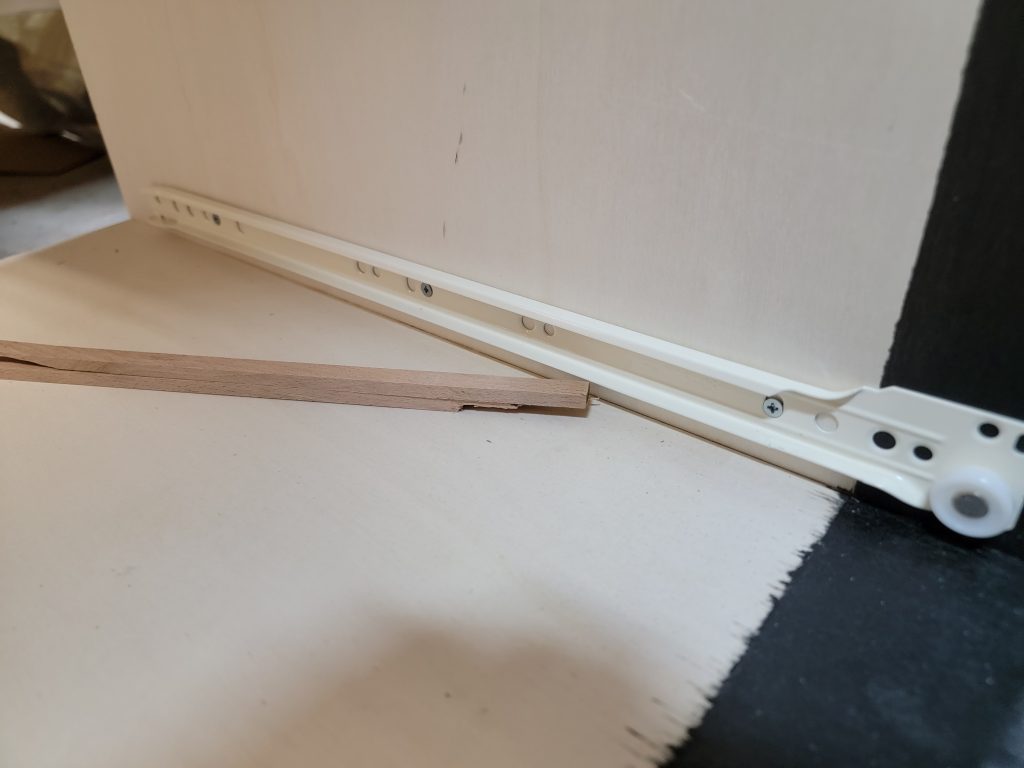
While the poly dried, it was time to put the slides on the drawers and inside the dresser. I made a little scrap wood spacer to place the slides back from the front of the dresser to align correctly with the inset drawer faces.
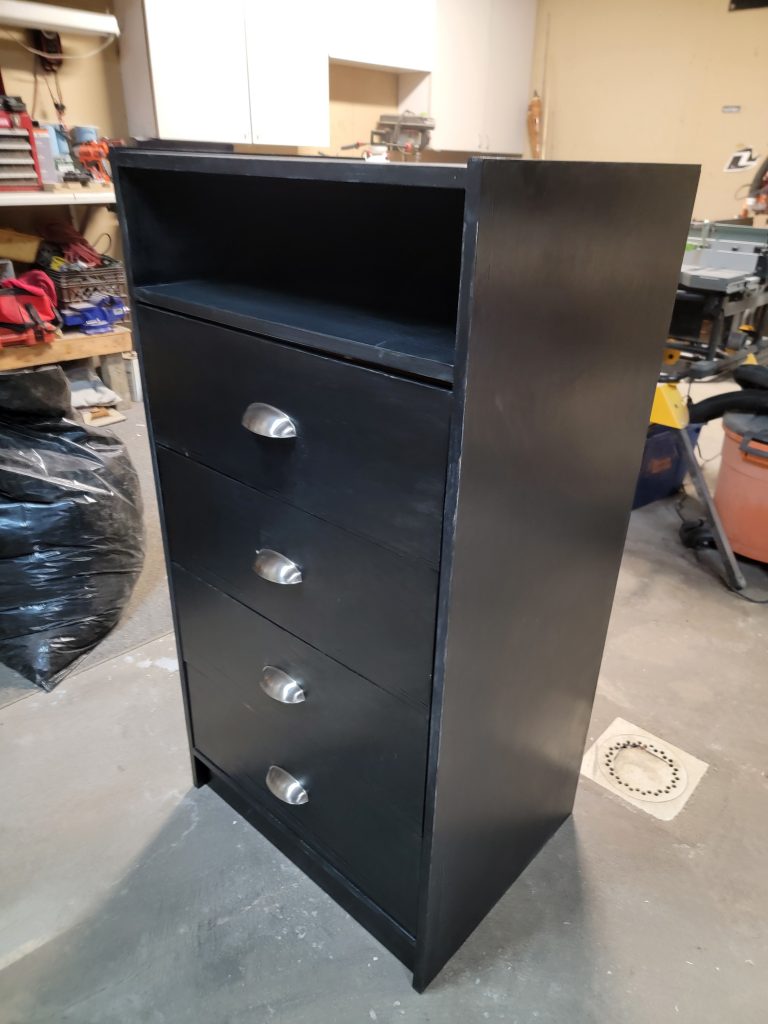
Popped the drawers in place and installed the drawer fronts.
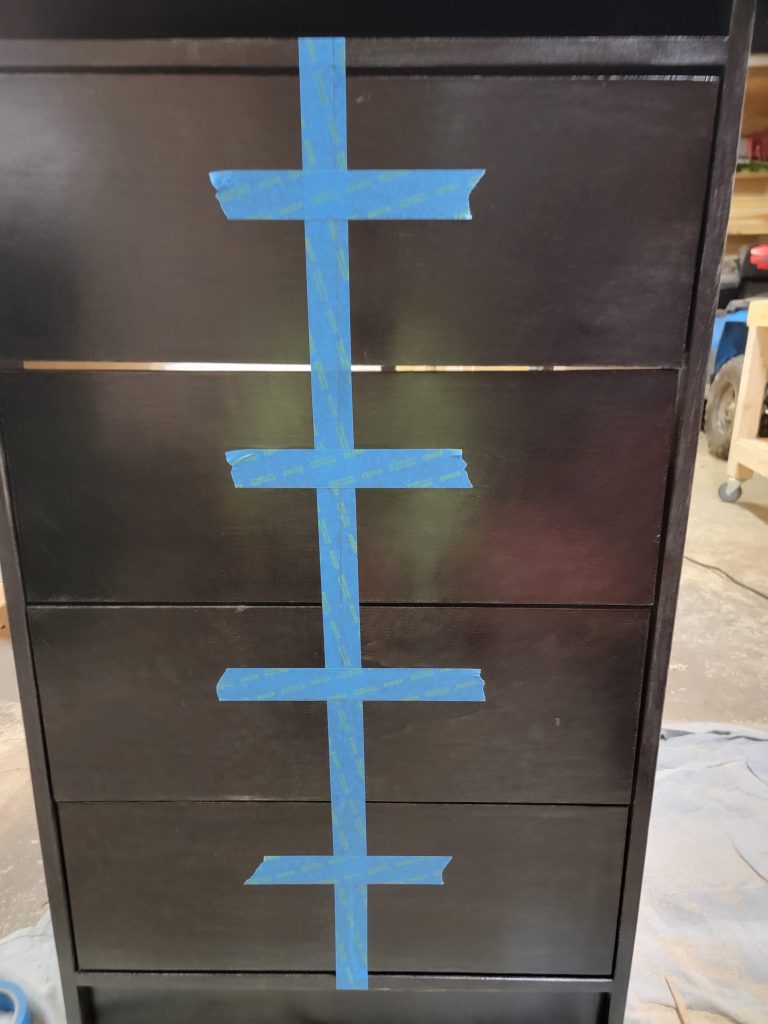
Using tape and some measurements I found center of the drawer fronts to install the pulls: