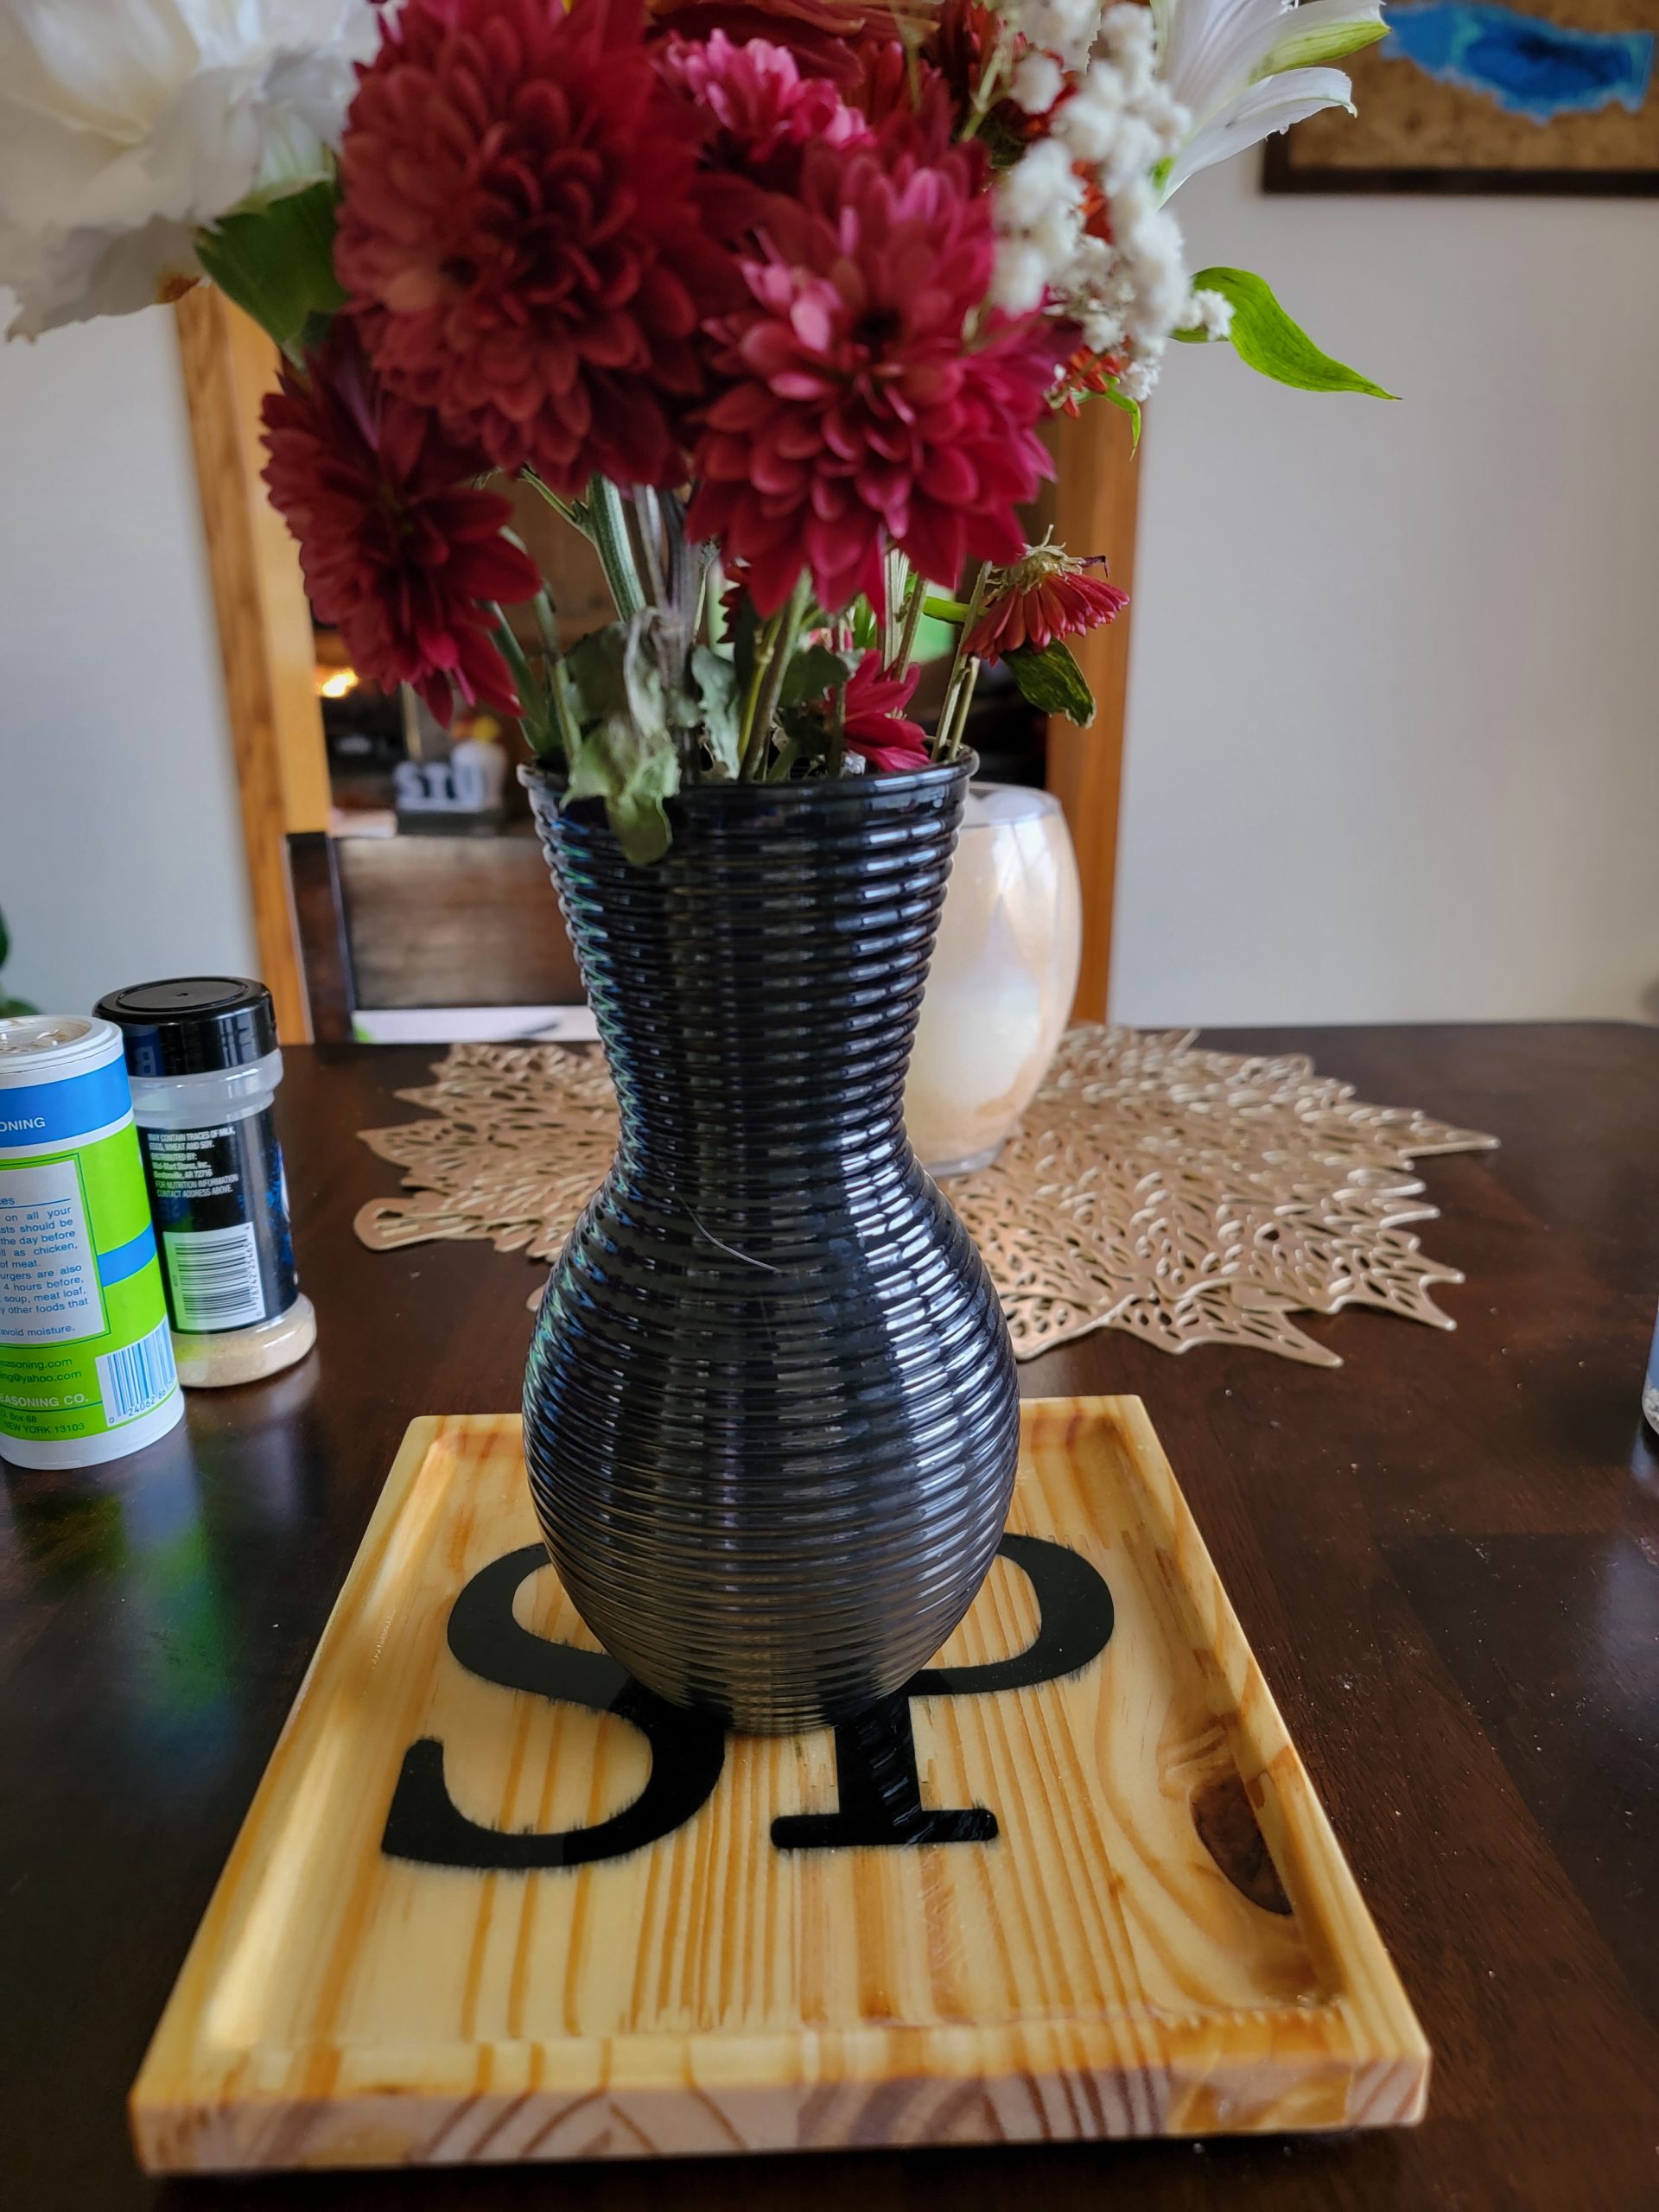
After a successful prototype (here), I felt comfortable making the full set of 40 coasters for the baby shower.
The first thing to consider was finally buying some real rough cut lumber from a hardwood dealer and not going to Lowe’s. The maple project board I got from Lowe’s was around $XX which would be over $Xxx to do all 40. I searched online, found Lakeshore Hardwoods near me and gave them a visit the Wednesday before Thanksgiving. I’d say it was s very successful trip, resulting in this nice pile of various lumber for around $200:
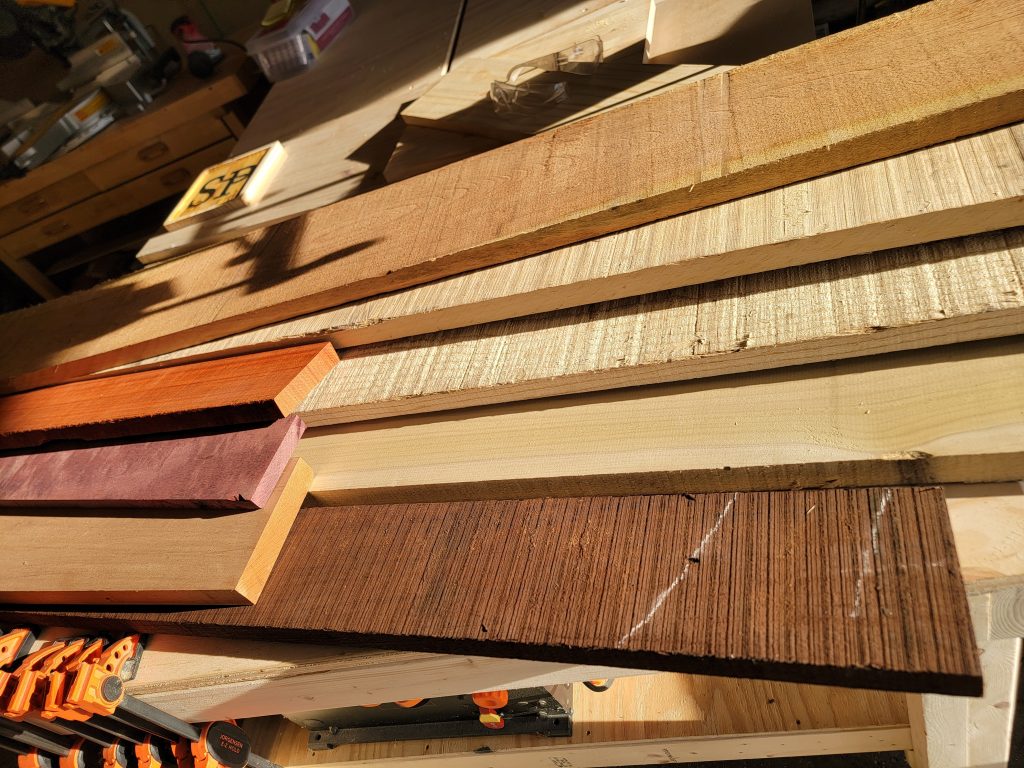
Here’s a detailed breakout:
I grabbed the maple a couple days and lots of food later and started milling it to the dimensions needed for coaster stock. First up was the planer to get it closer to square, since I’ll be cutting circles out of this I didn’t need to mill the edges only the faces.
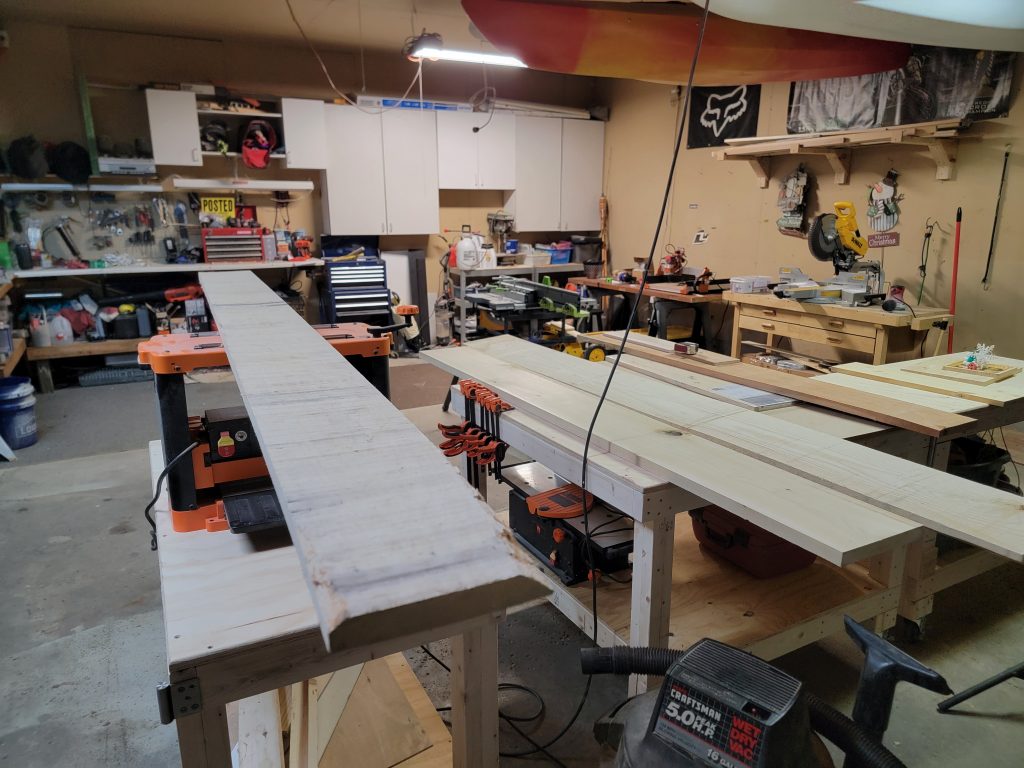
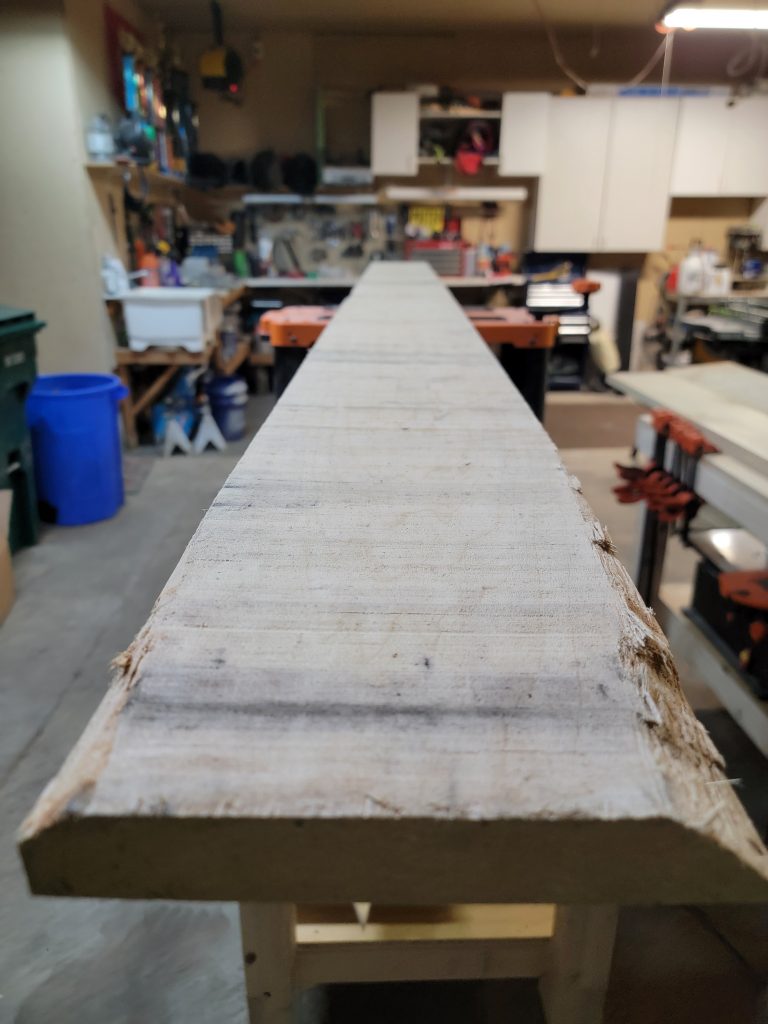
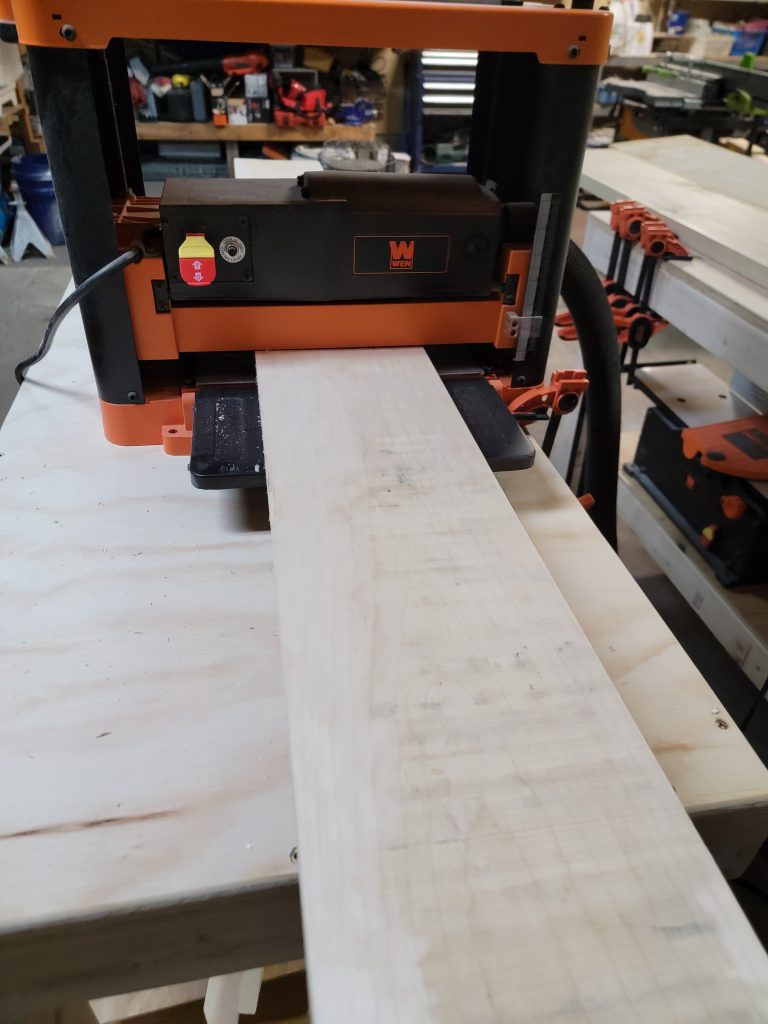
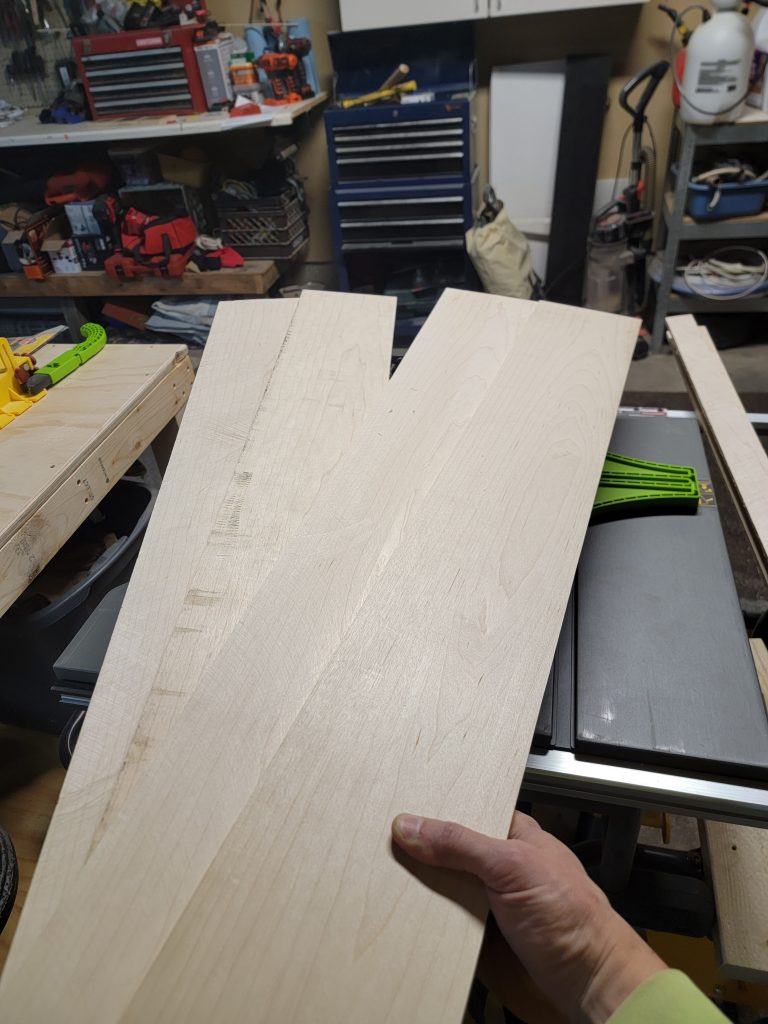
I cut the width down on the table saw and cut down the middle width wise to get two ~3/8th thick halves roughly 5″ wide. A few light passes again on the planer left me with 4 pieces ready to cut to length and CNC the design.
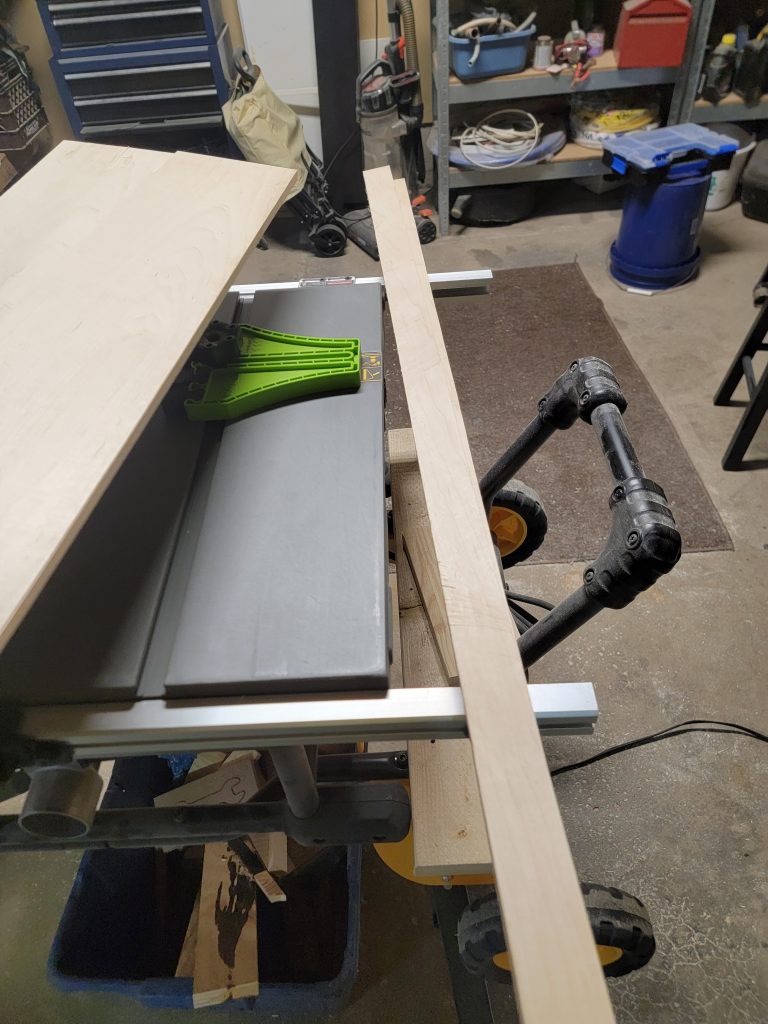
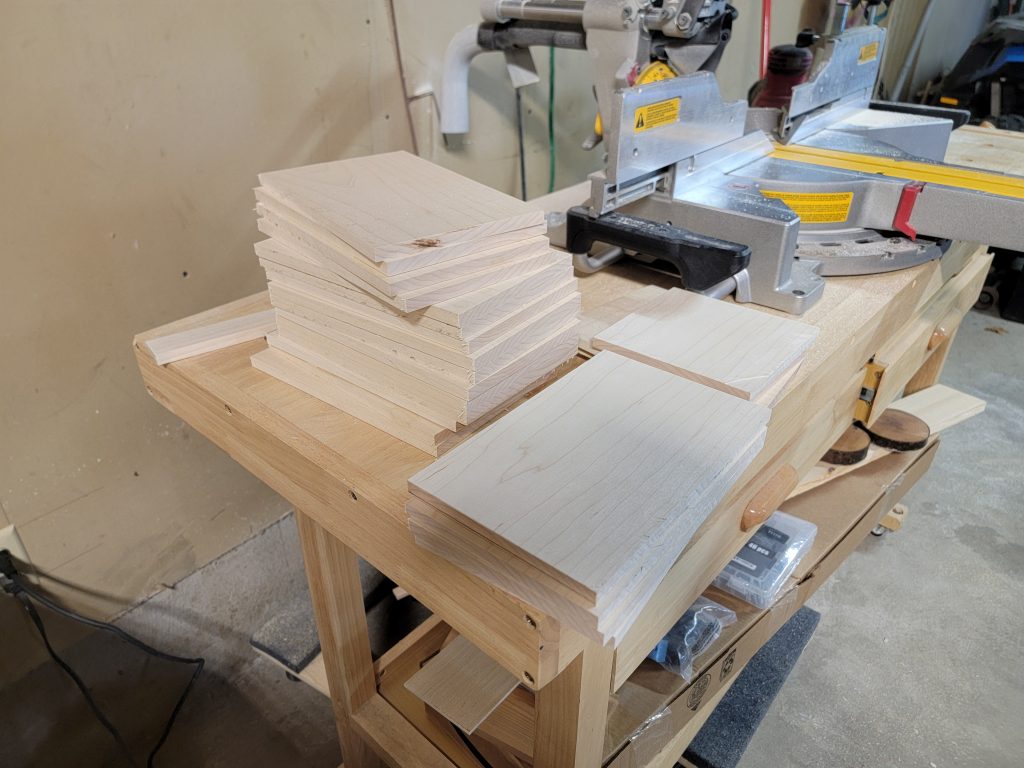
I cut the boards lengthwise to fit 2 coasters on each piece:
Before starting the engraving process I glued down two pieces of wood to create a stop I could use to locate the coasters. This would be an easy way to ensure the pieces had the same home position, and make it easier to mount as I processed the 20 blanks.
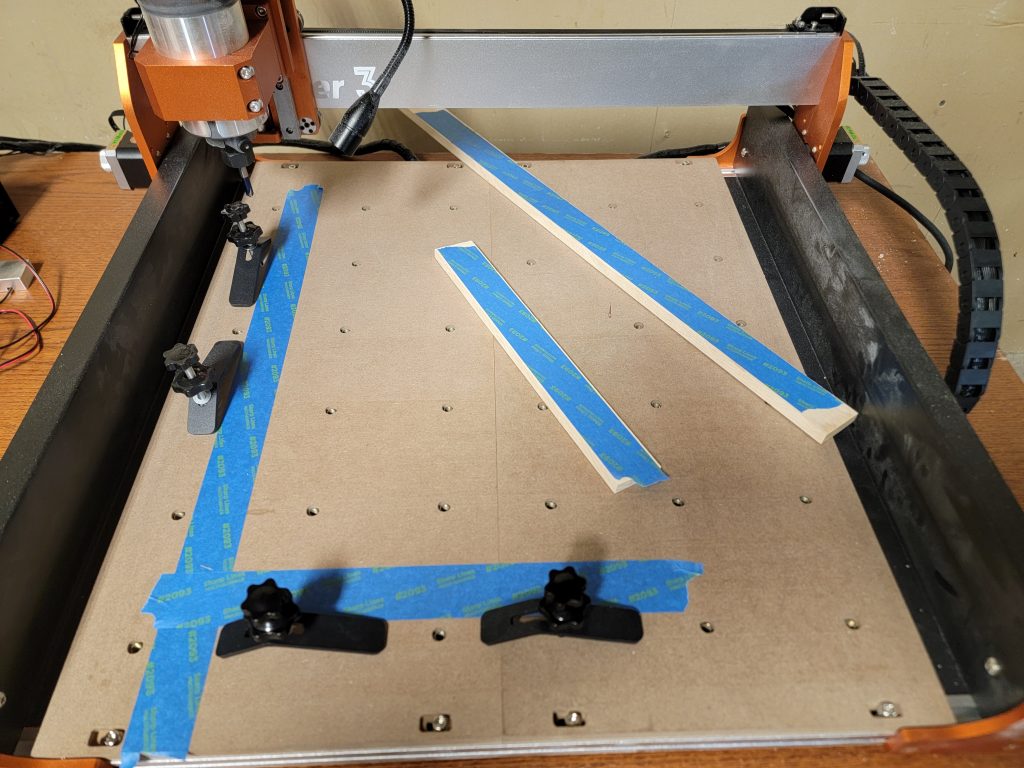
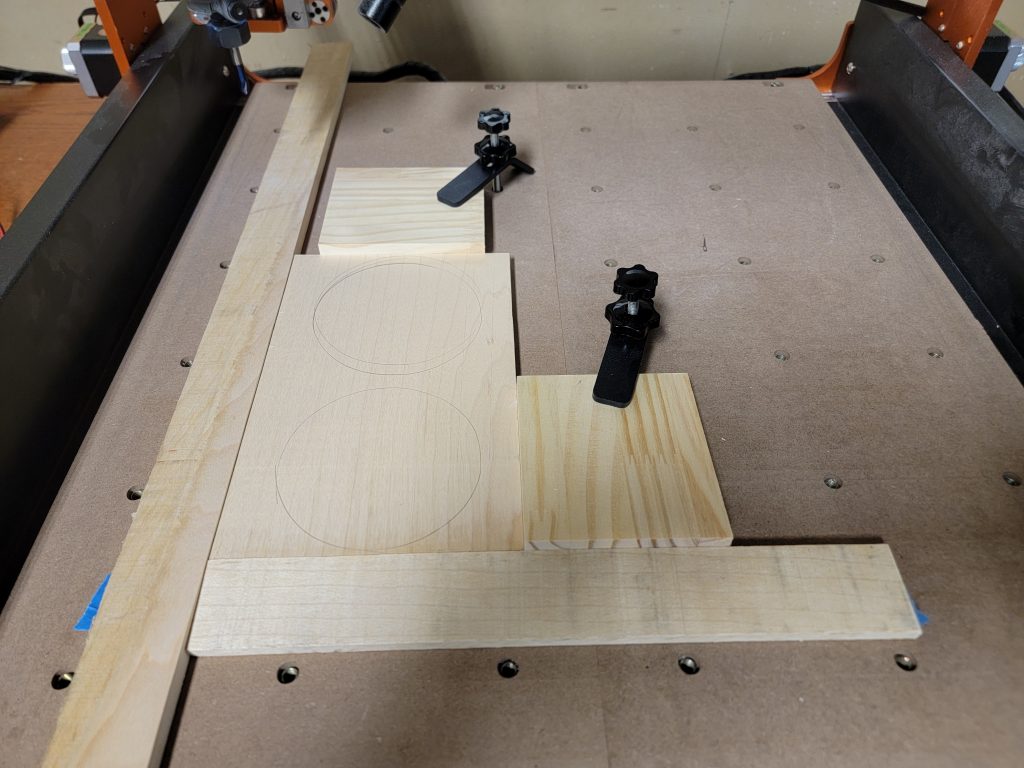
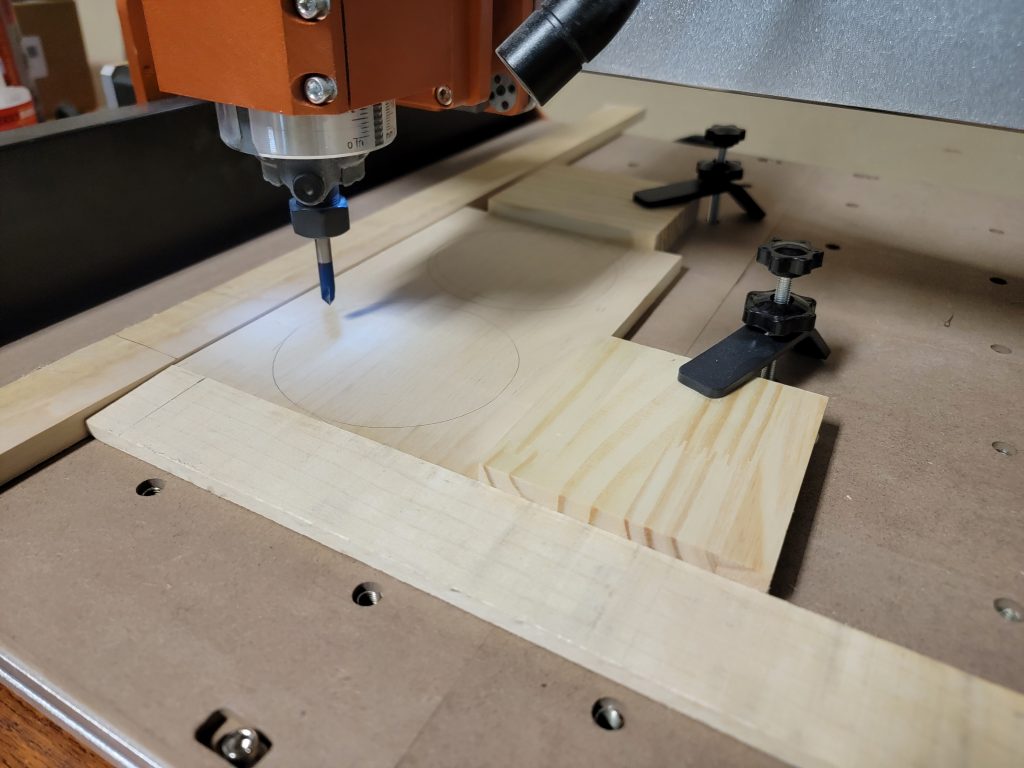
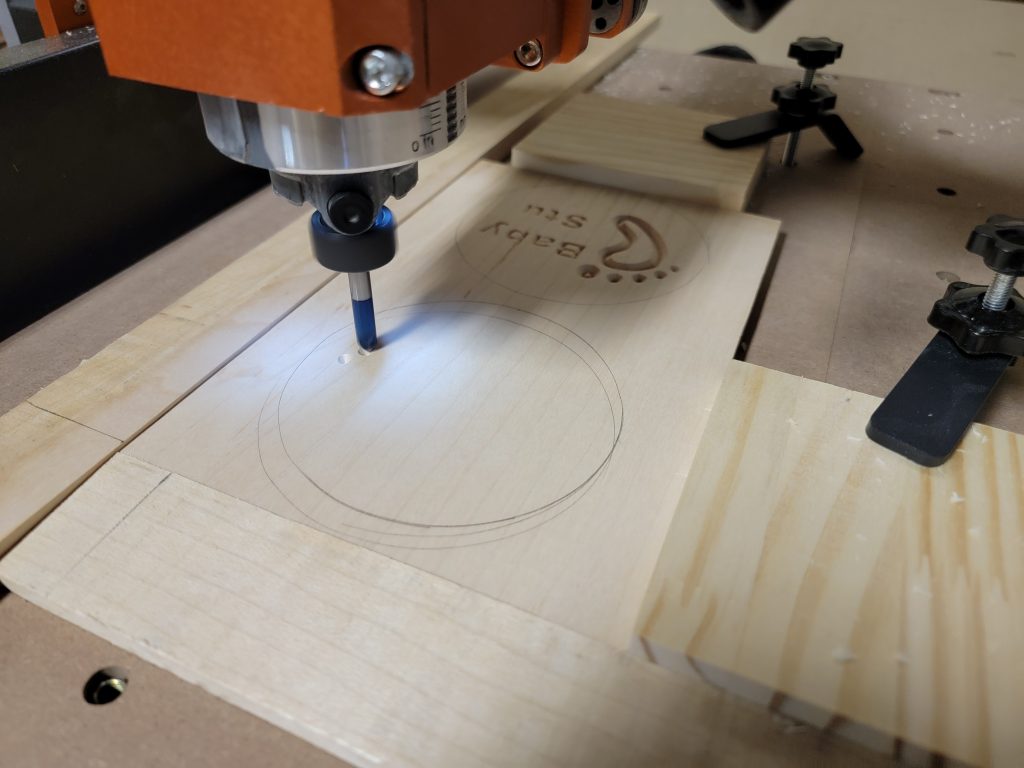
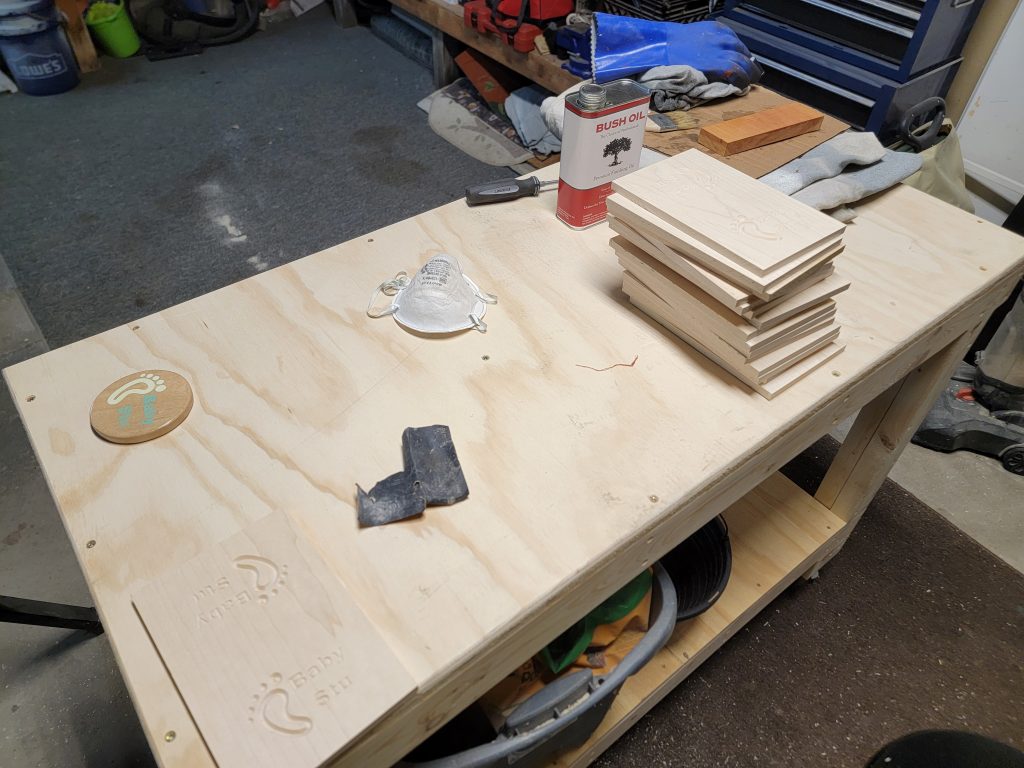
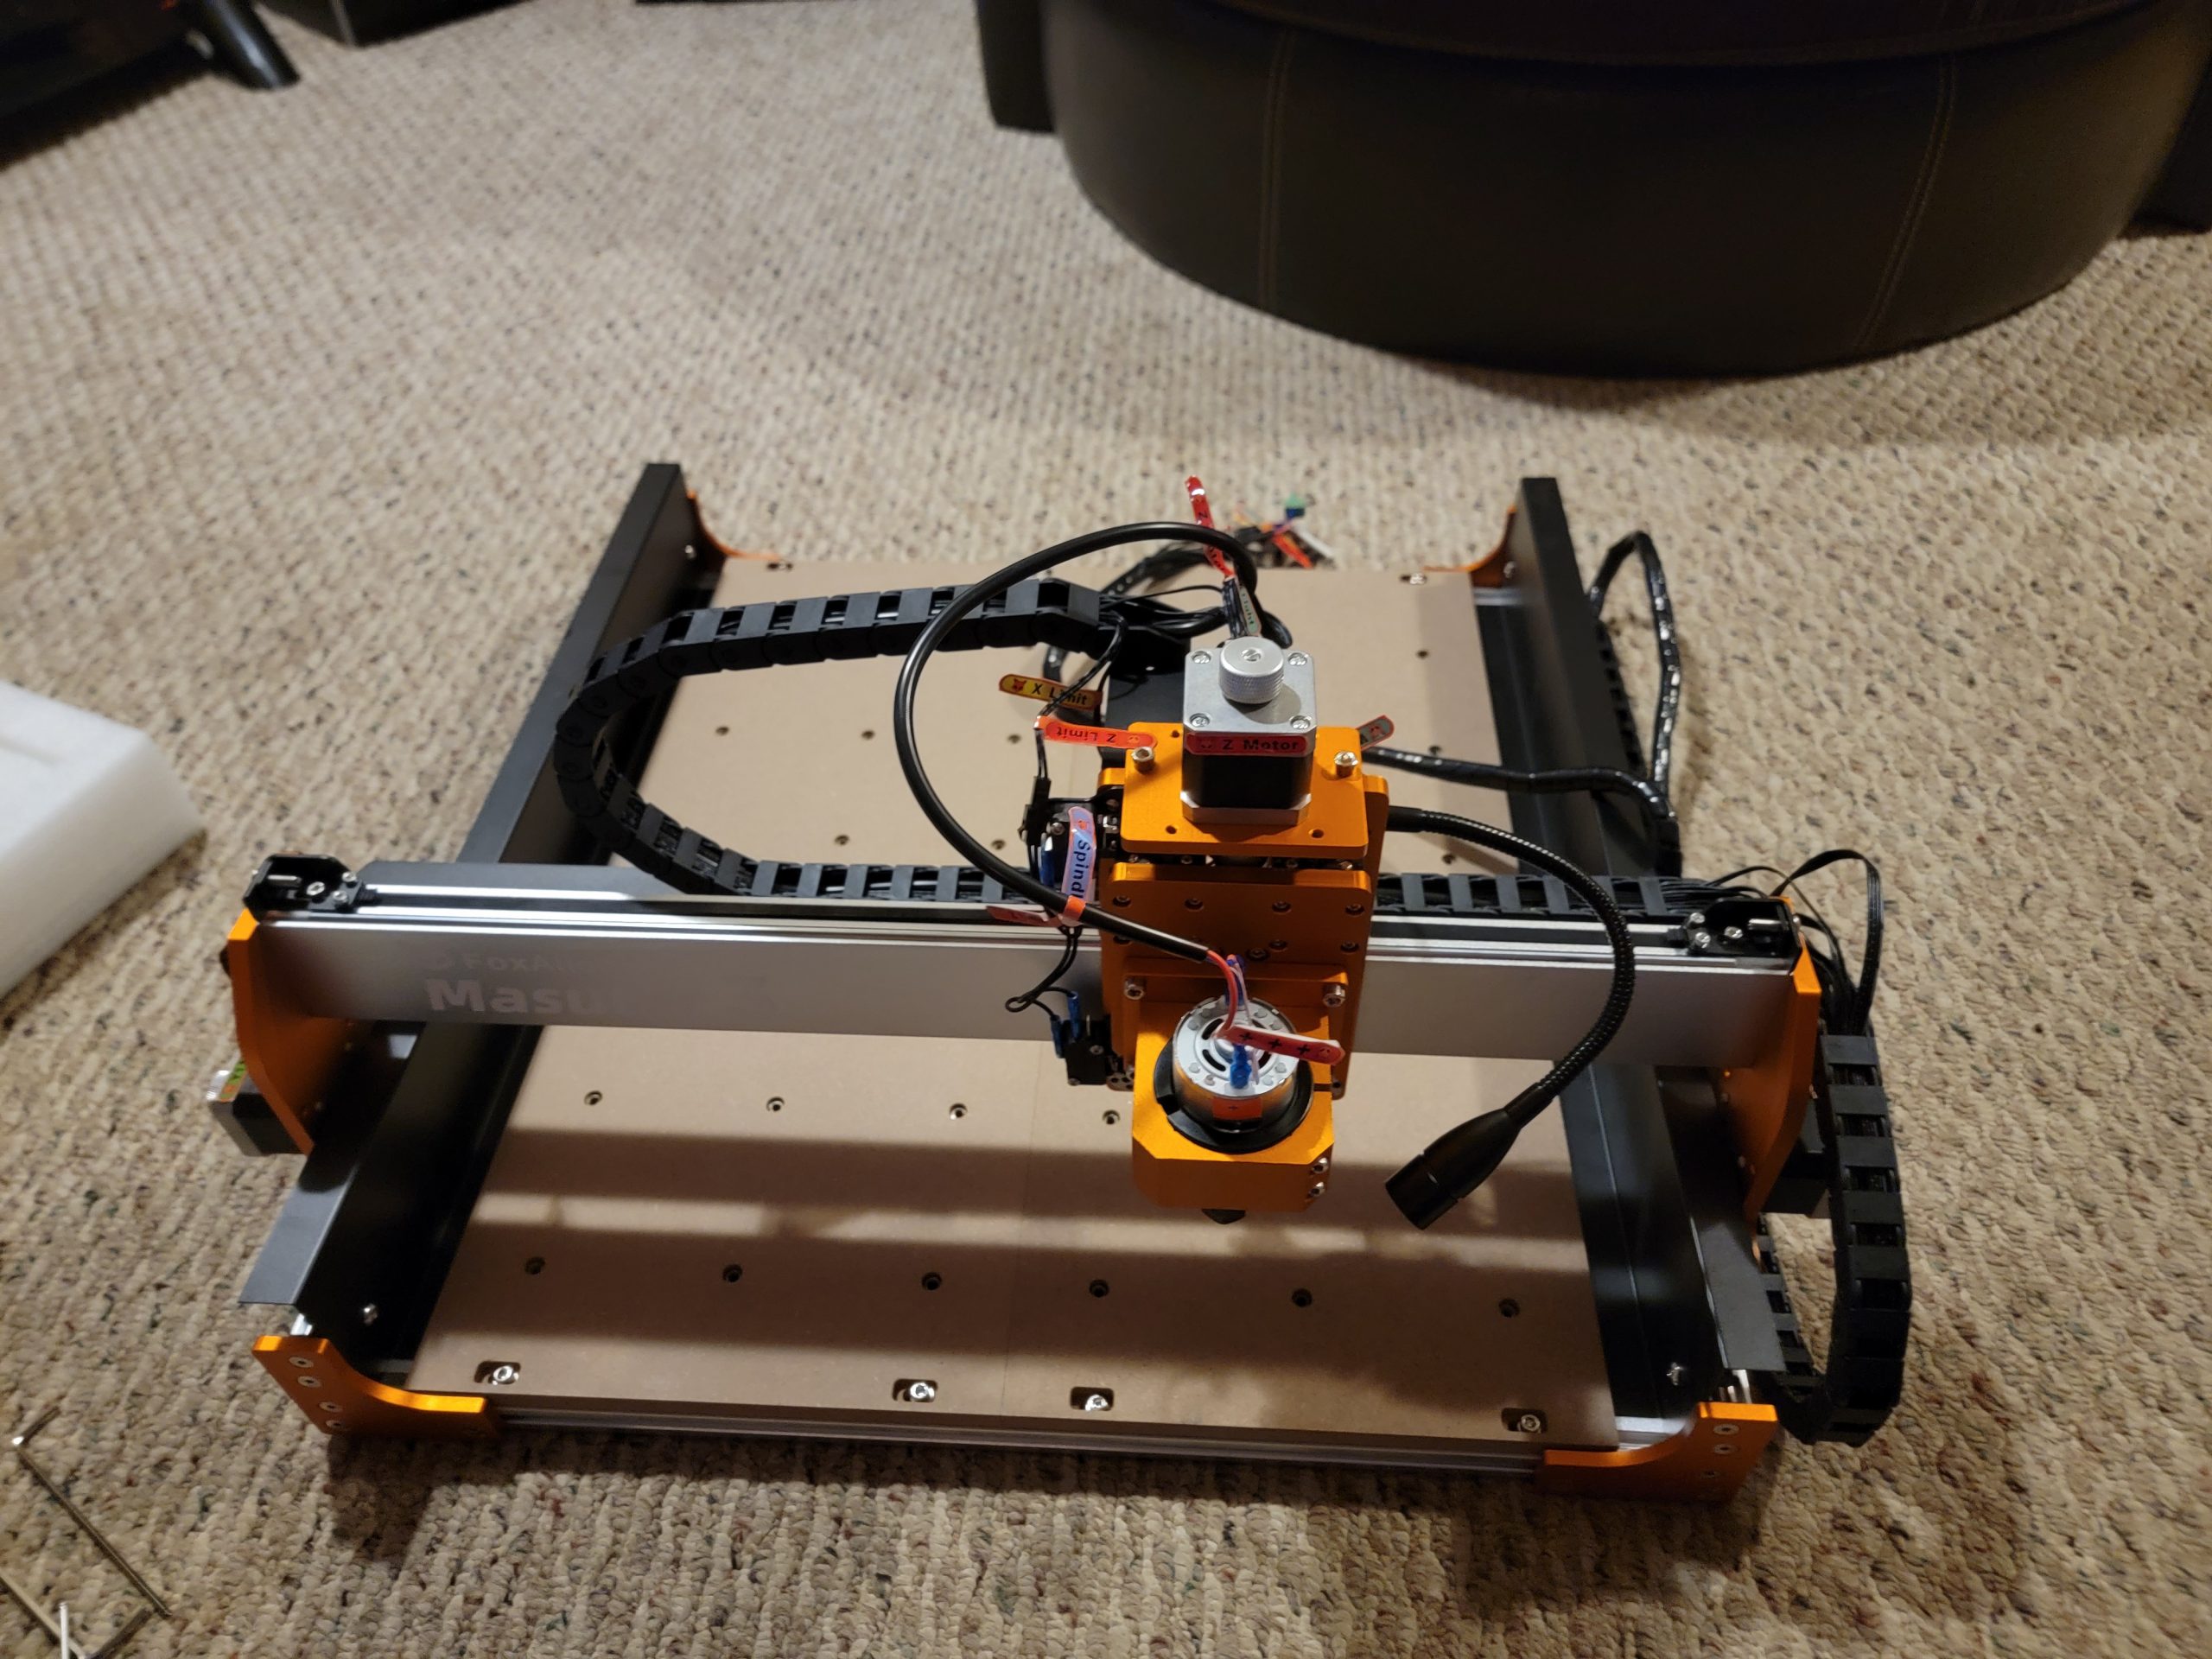
I completed the engraving across all 20 wood blanks and started to cut out the coasters. I played around with the toolpaths a lot before I felt comfortable letting them run. I originally had a 1mm pass at 800 mm/sec but that proved to be unreliable and the machine was skipping steps – causing the next cuts to be misaligned. There was also a lot of wood dust/chips starting to build up on the build plate and around the mechanics of the X/Y axis motors. I think these wood chips were also causing issues when the built up enough on the belt drives. I decided to deal with the dust collection finally , enter the dust collection side quest here…
After adding the dust collection I slowed down the toolpath and decreased the pass depth, the final settings were 600mm/sec at a depth of .75 mm per pass. The circles took around 8 minutes to cut. There was ~2mm left at the bottom to keep the coasters mounted. Once cut I was left with these pieces that I could cut out on the jigsaw:
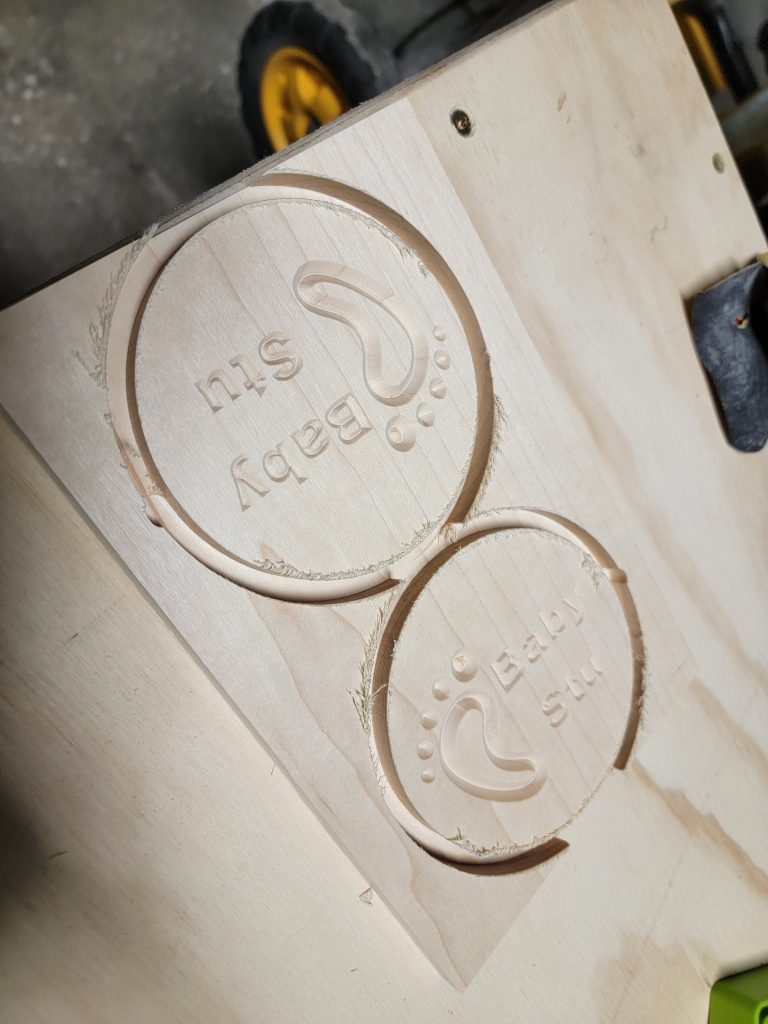
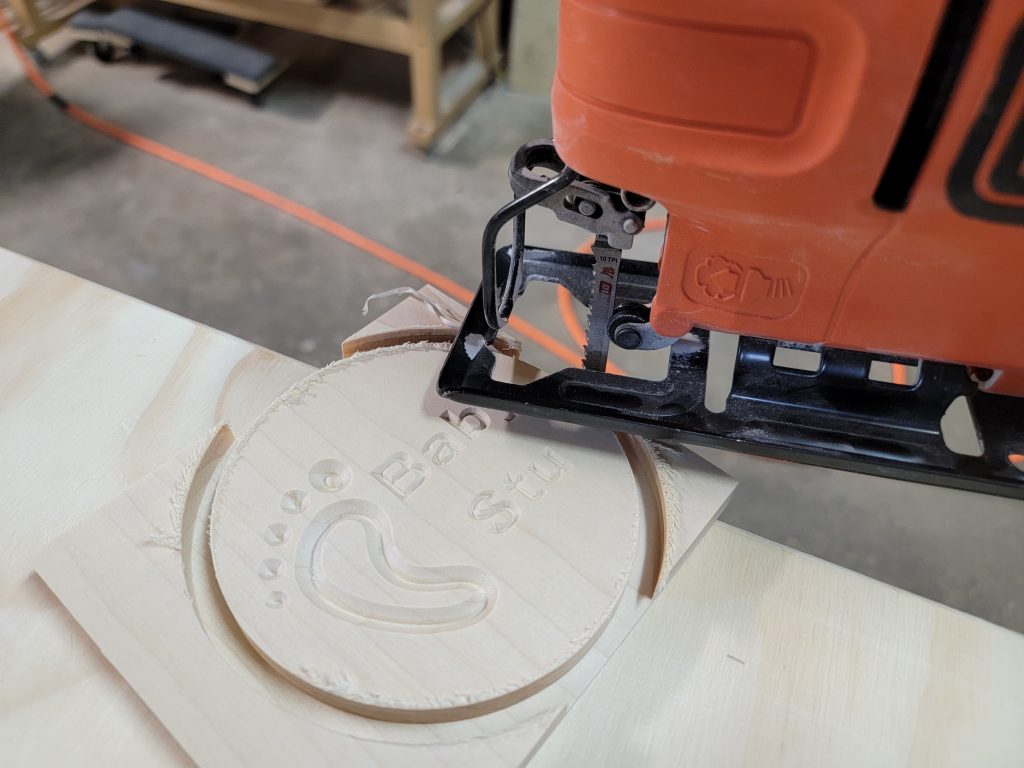
To remove the edge left behind and clean things up I added a round over to both sides using the trim router upside down in a bench clamp:
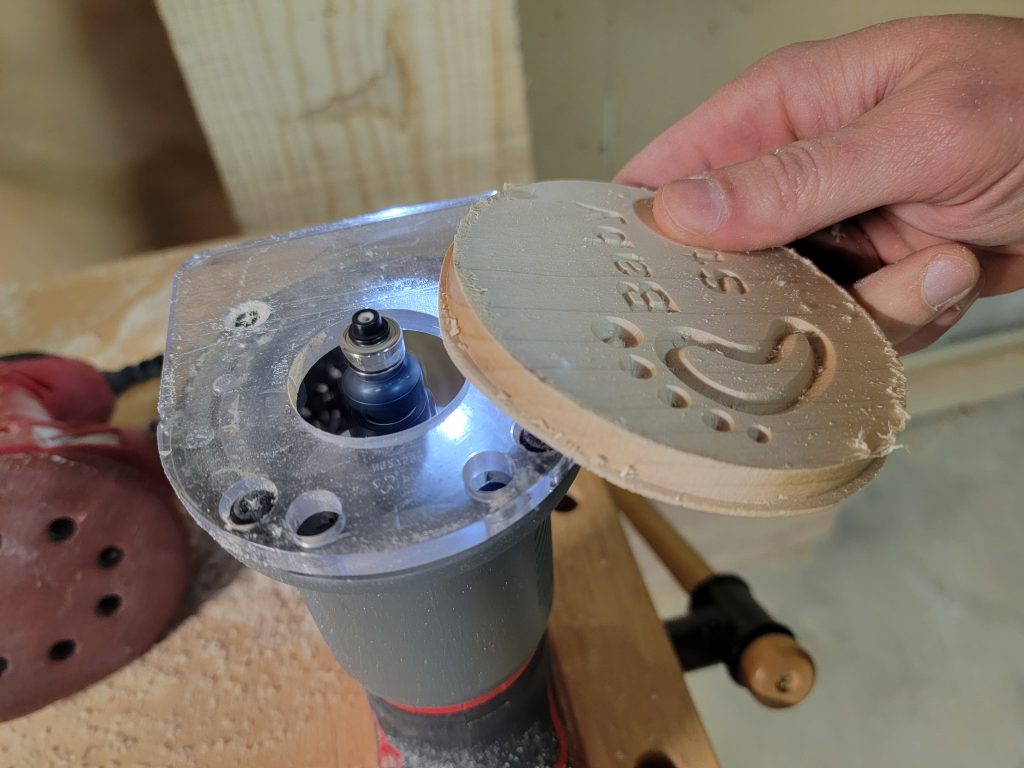
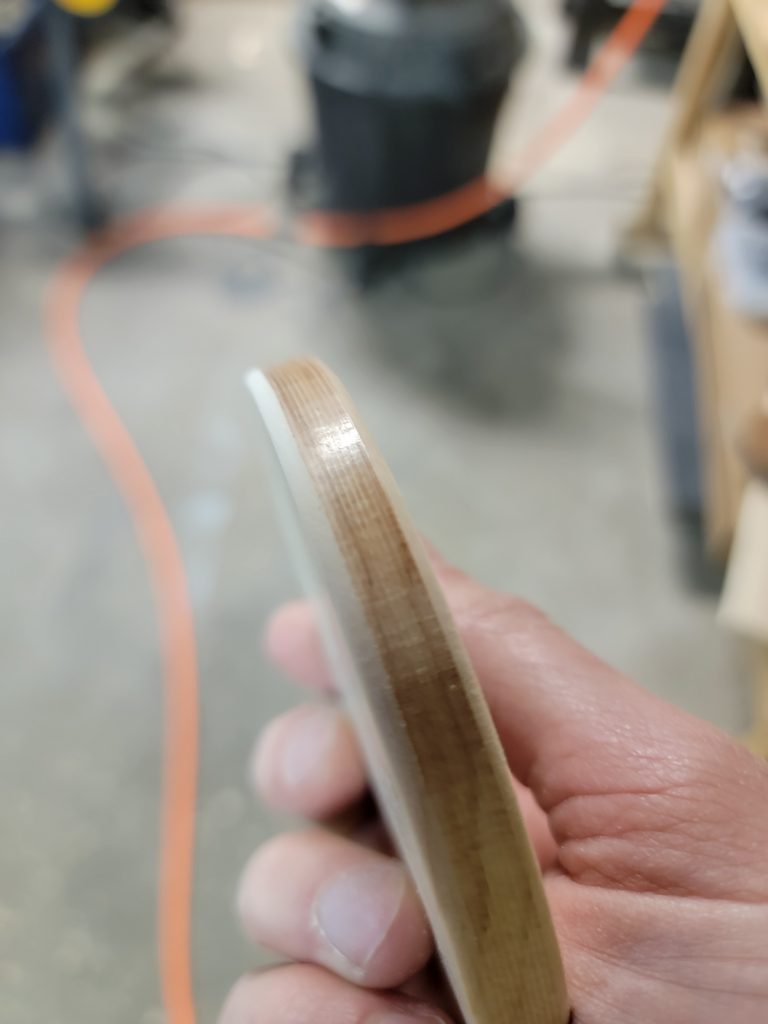
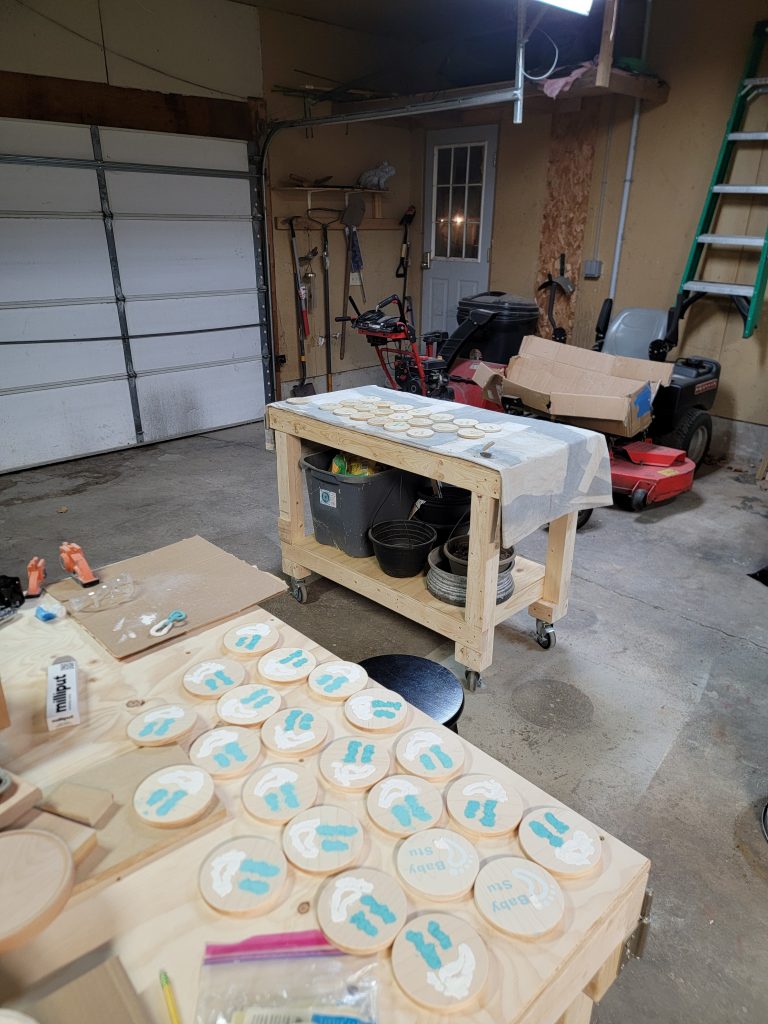
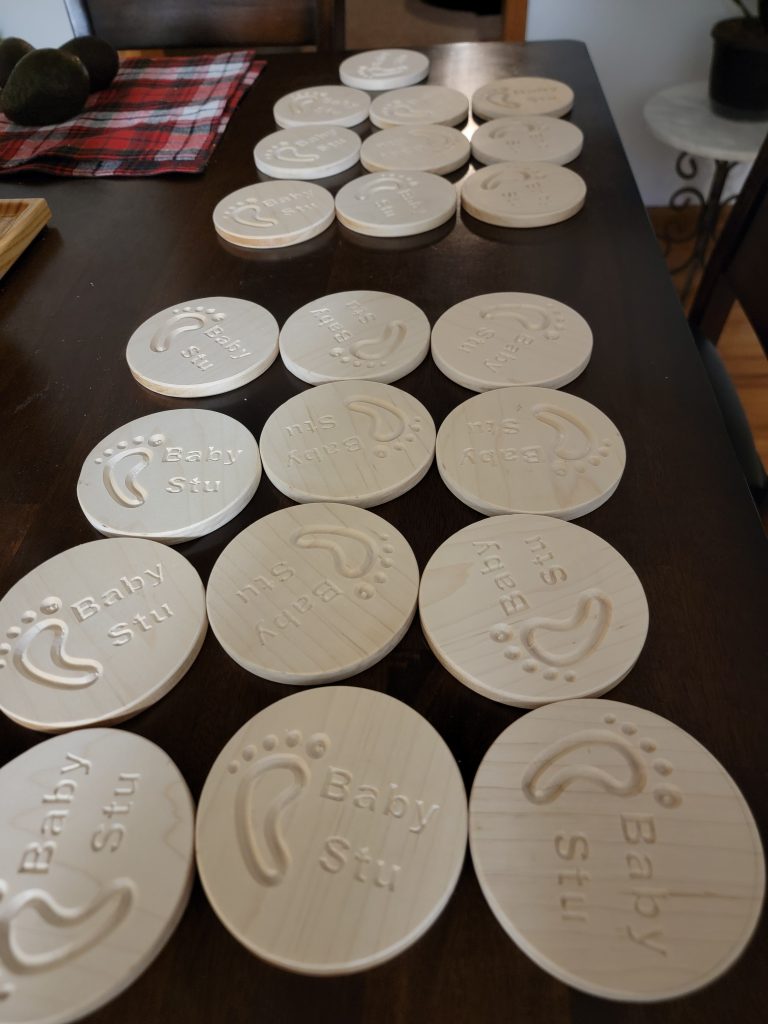
A few hours later half were cut out and ready to fill in with milliput:
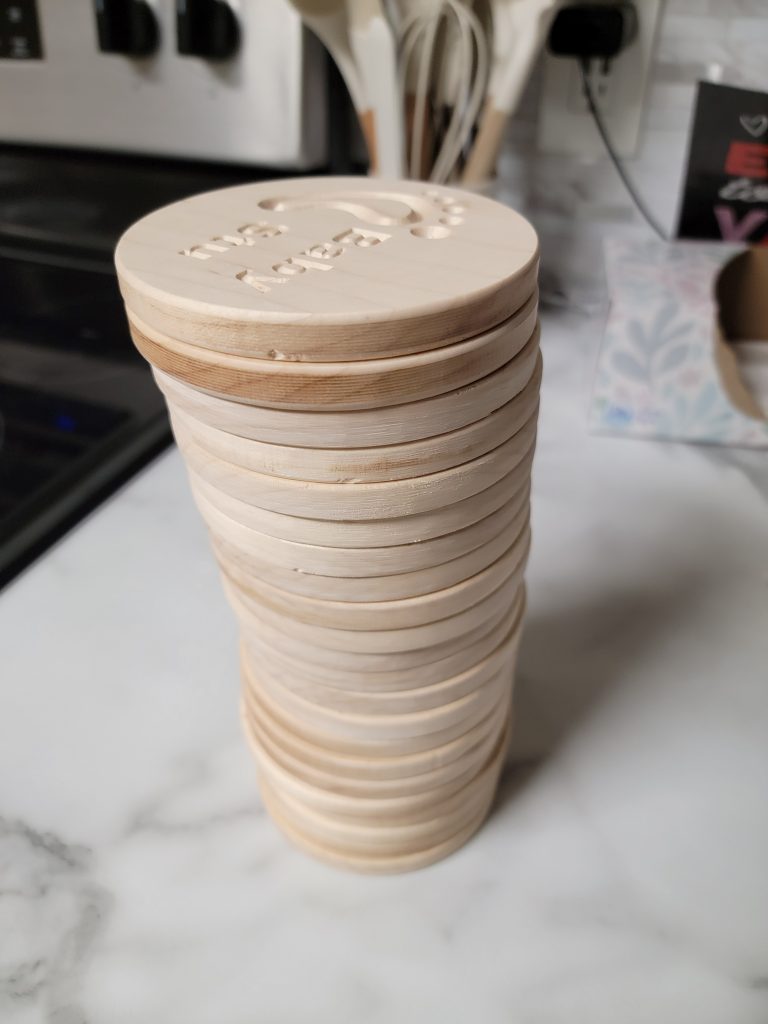
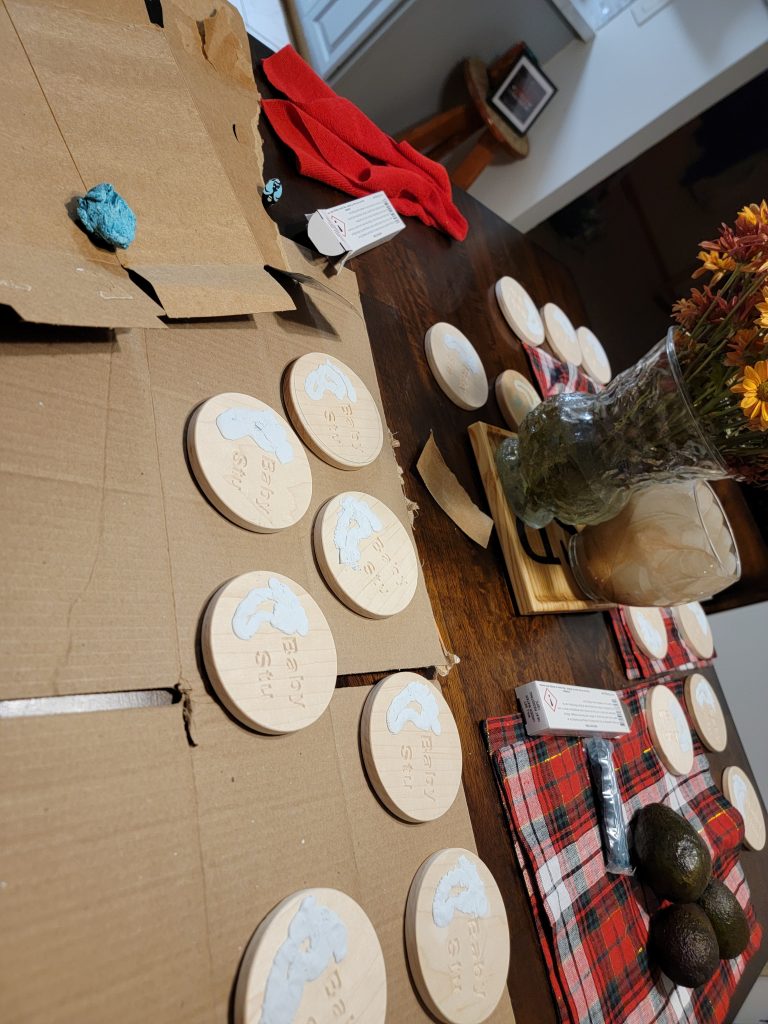
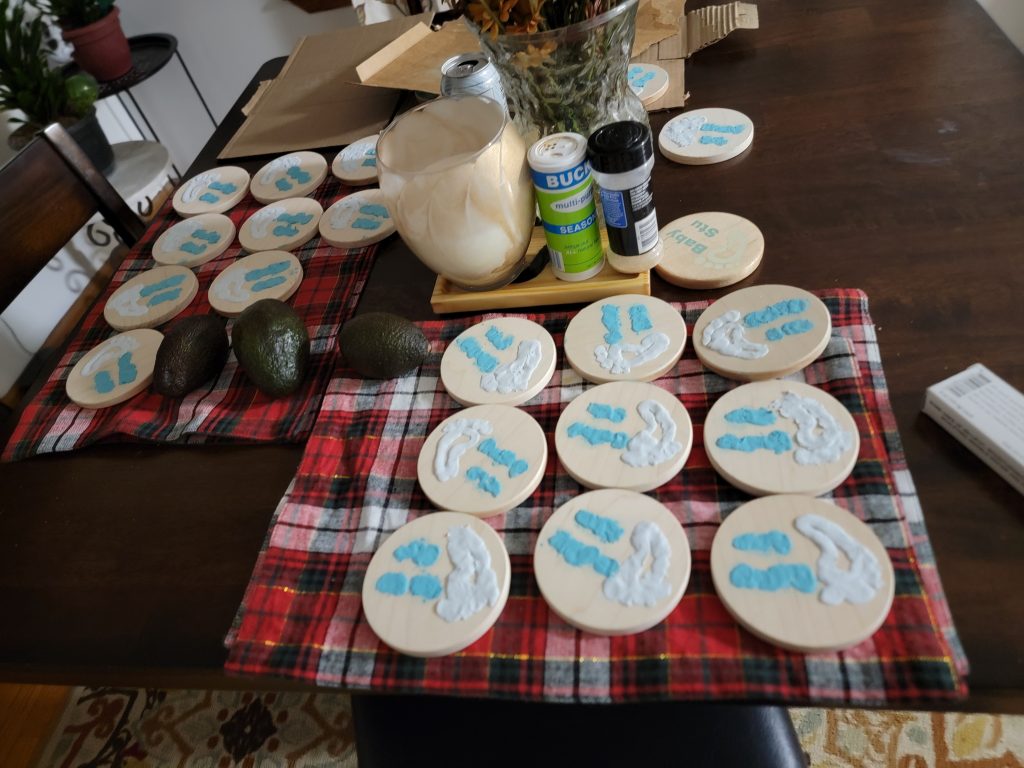
Spreading out the coasters on the dining room table I put white and blue milliput into the engravings and left them to cure overnight.
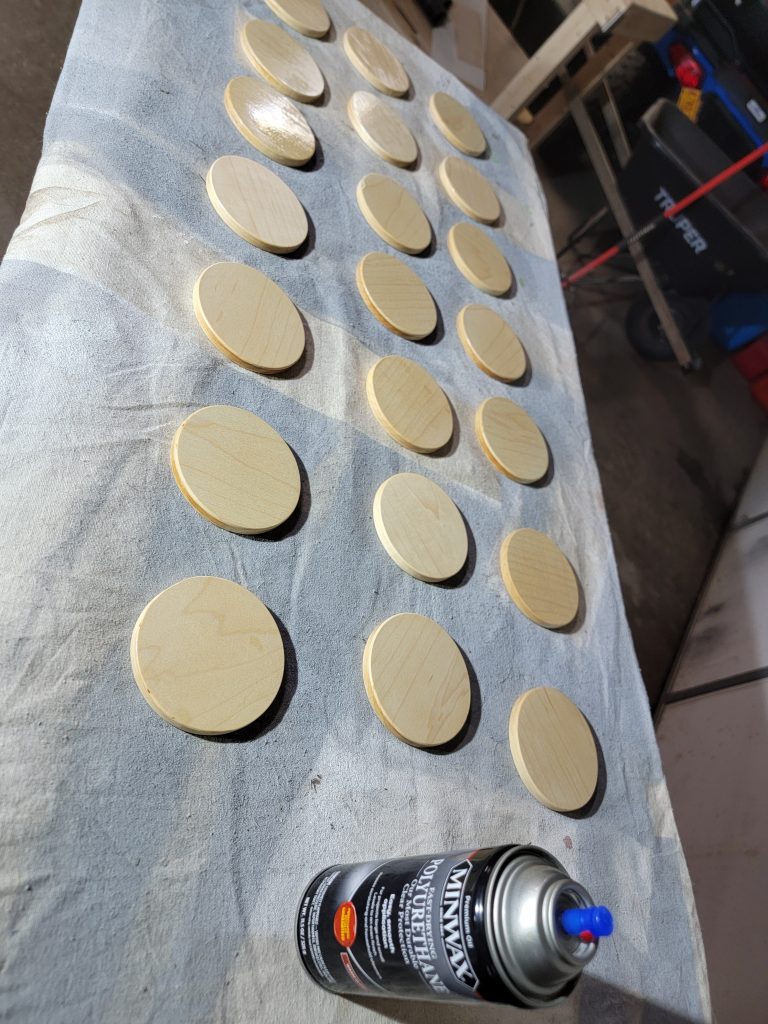
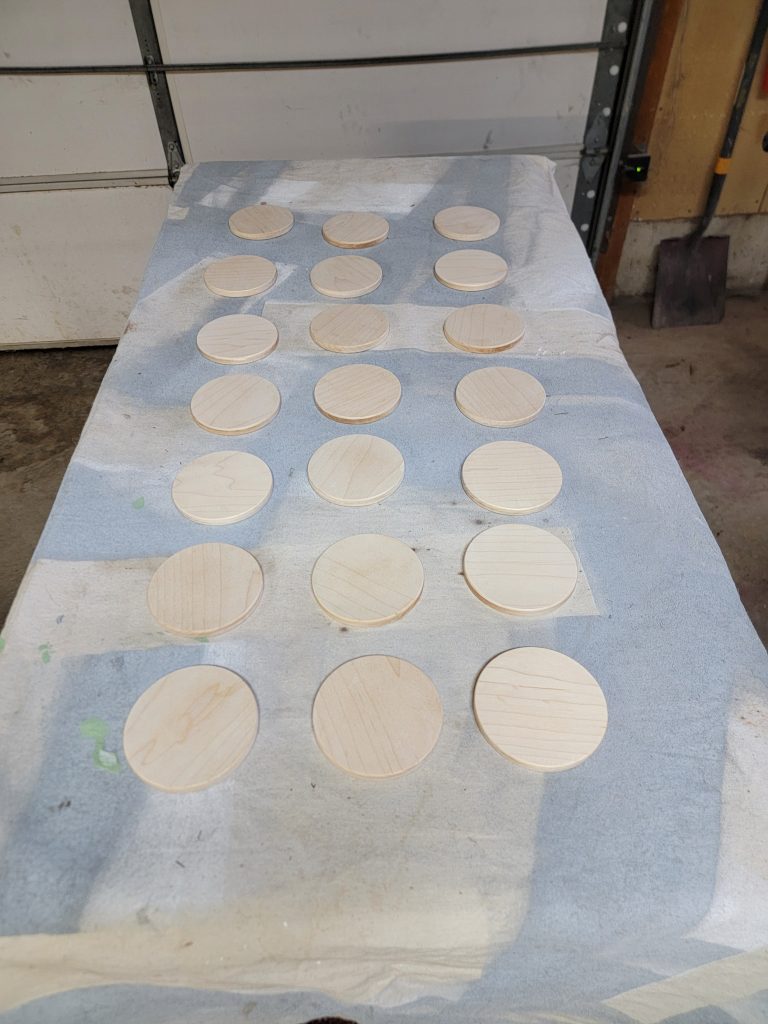
Final steps involved sanding down the epoxy putty and applying polyurethane to seal and protect them.
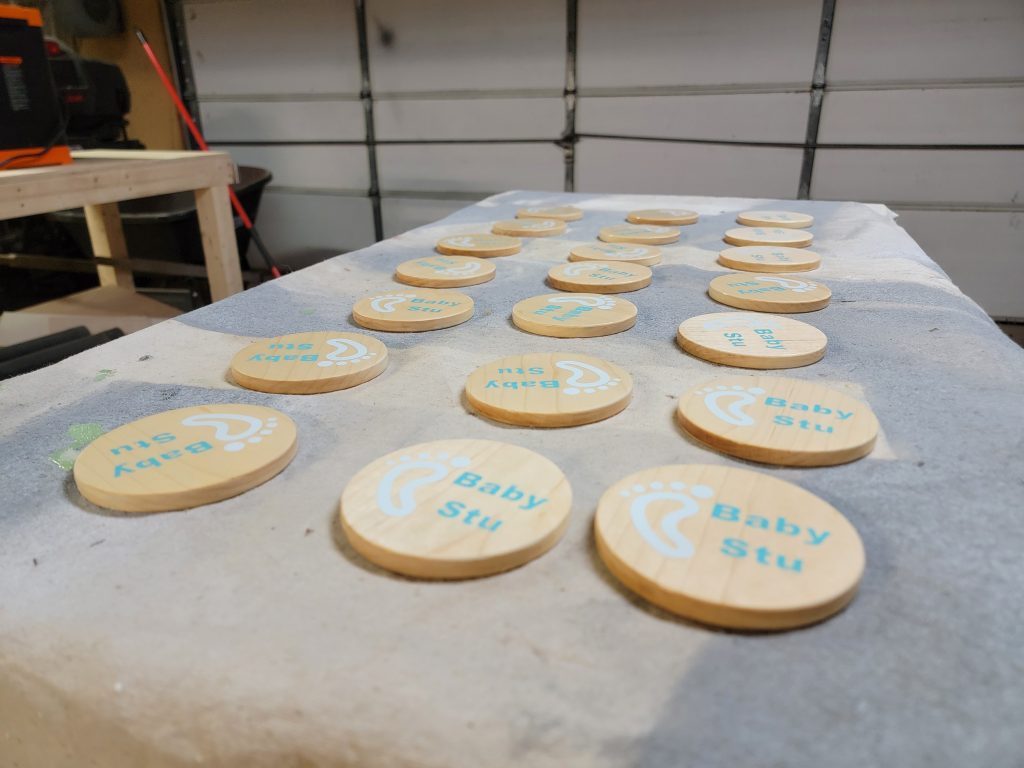
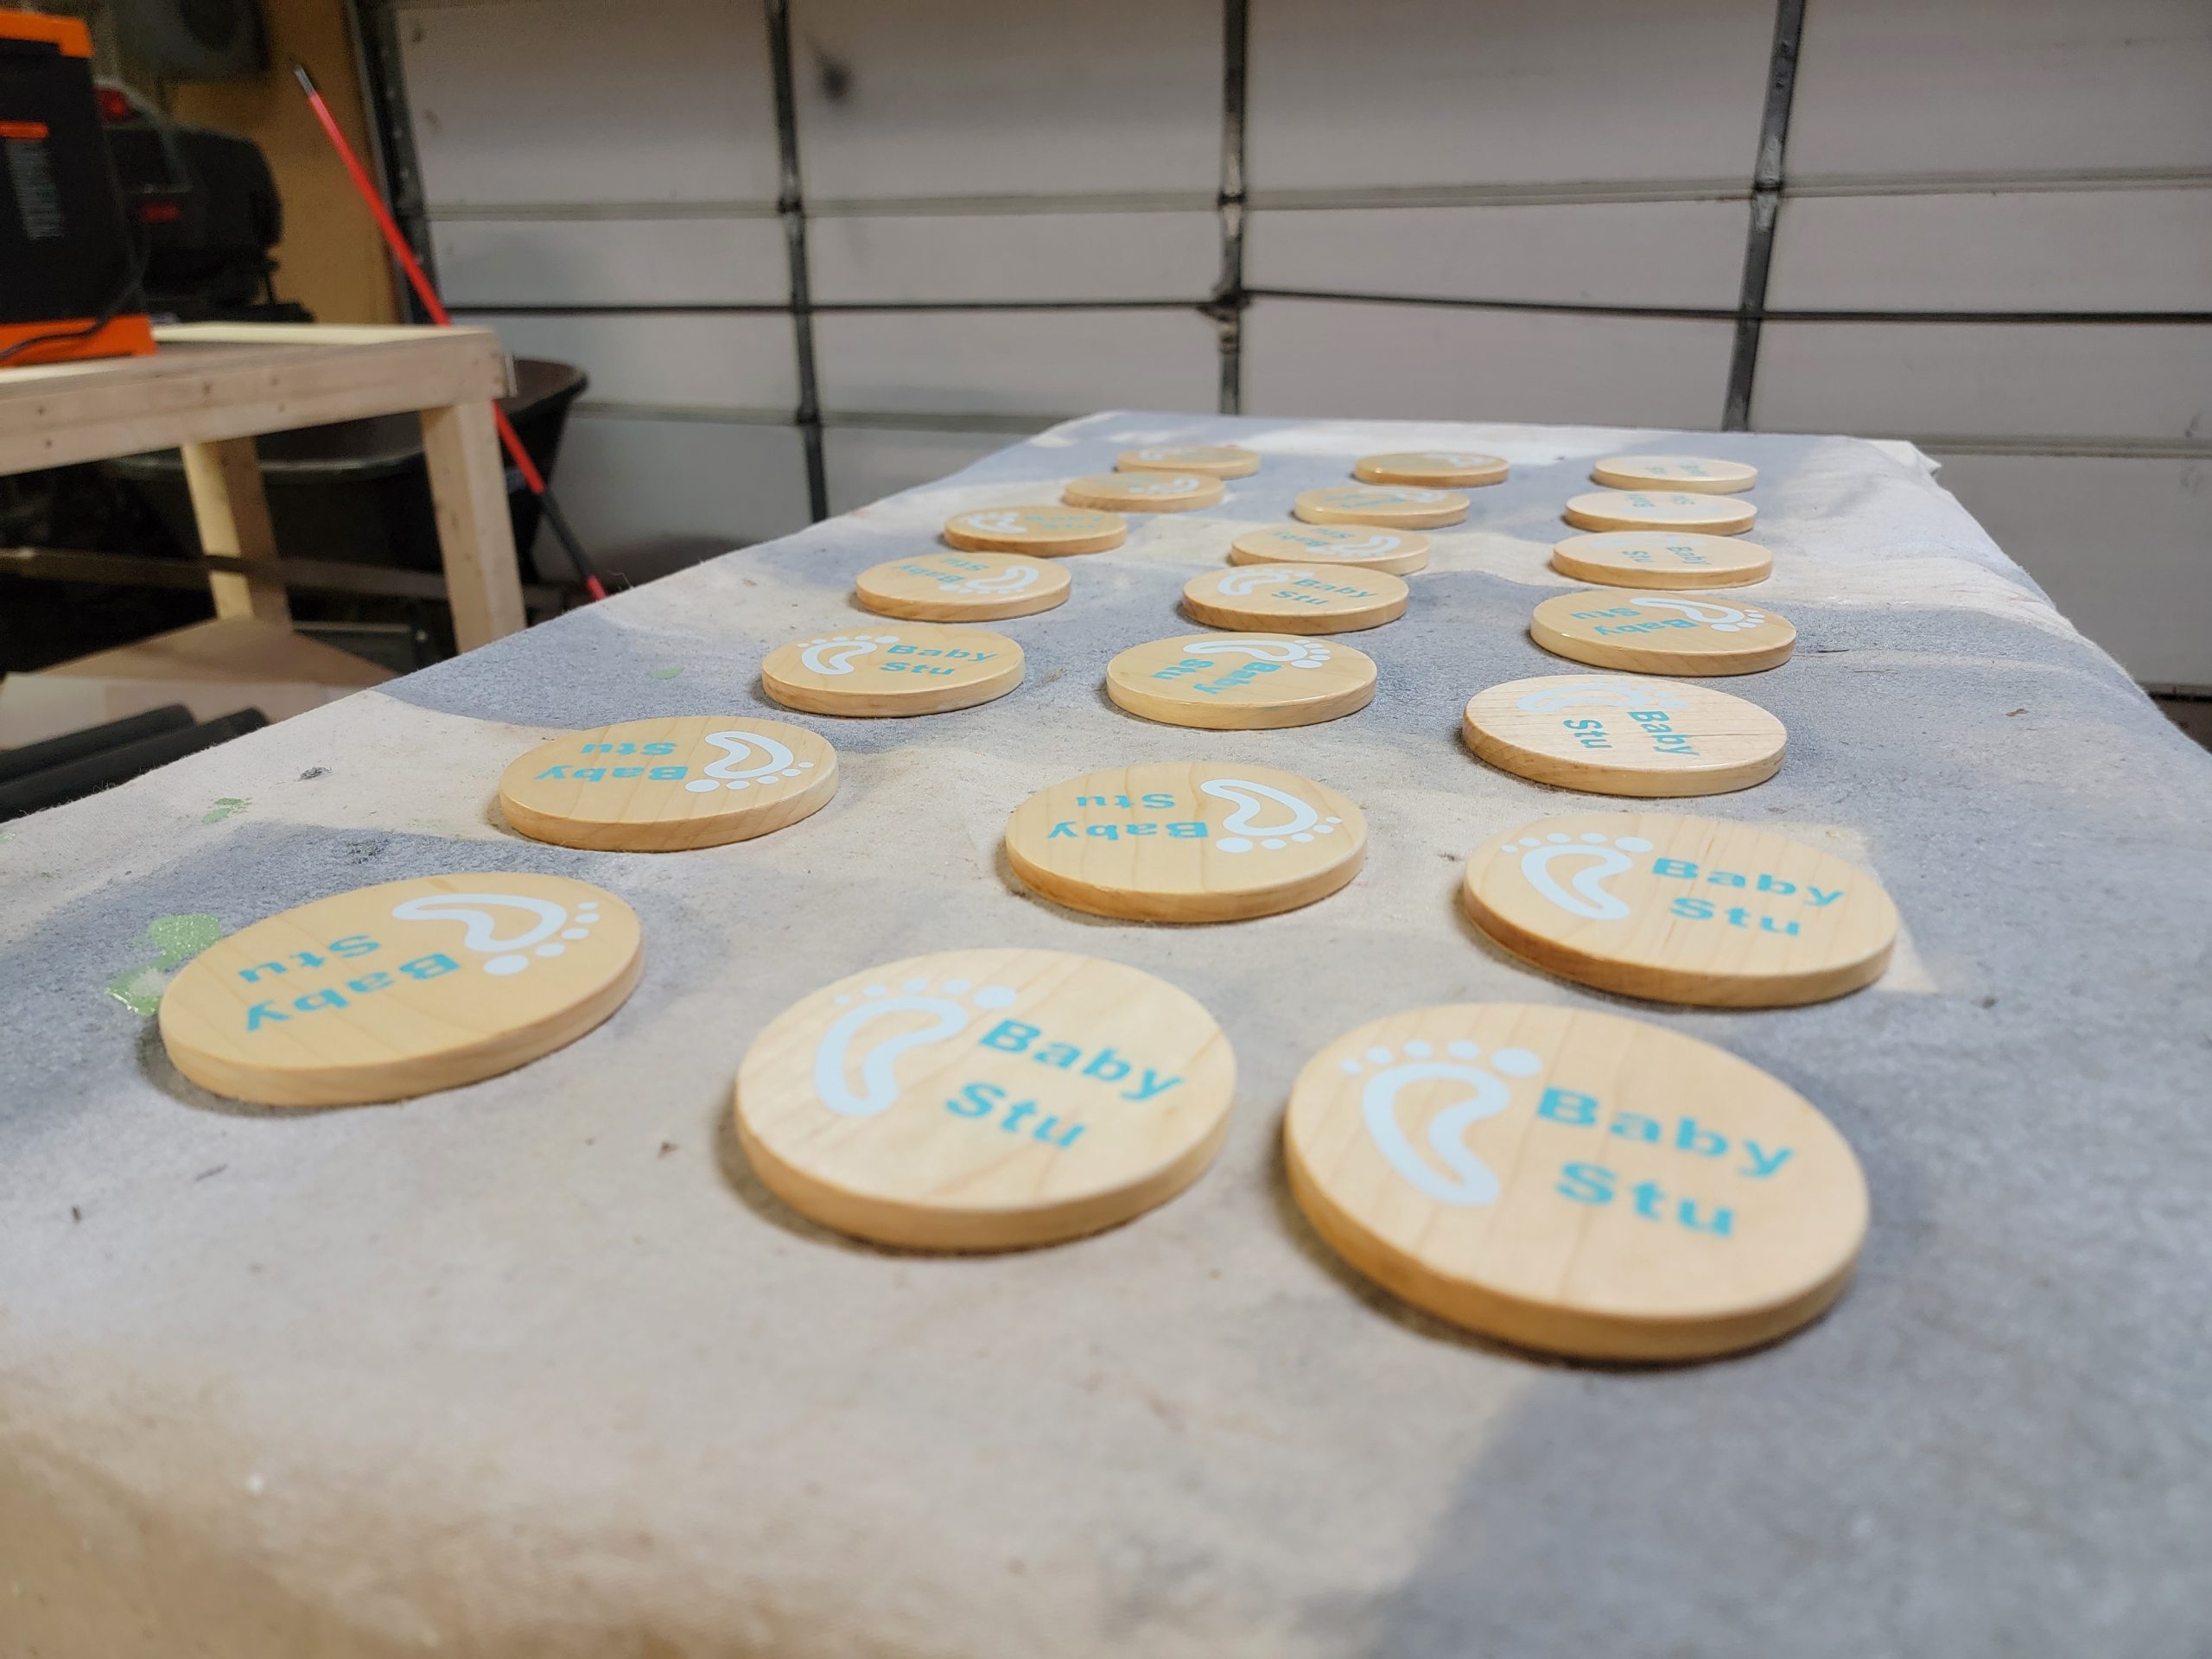
Here’s some shots of the final products, and the second half of the run waiting to be finished:
