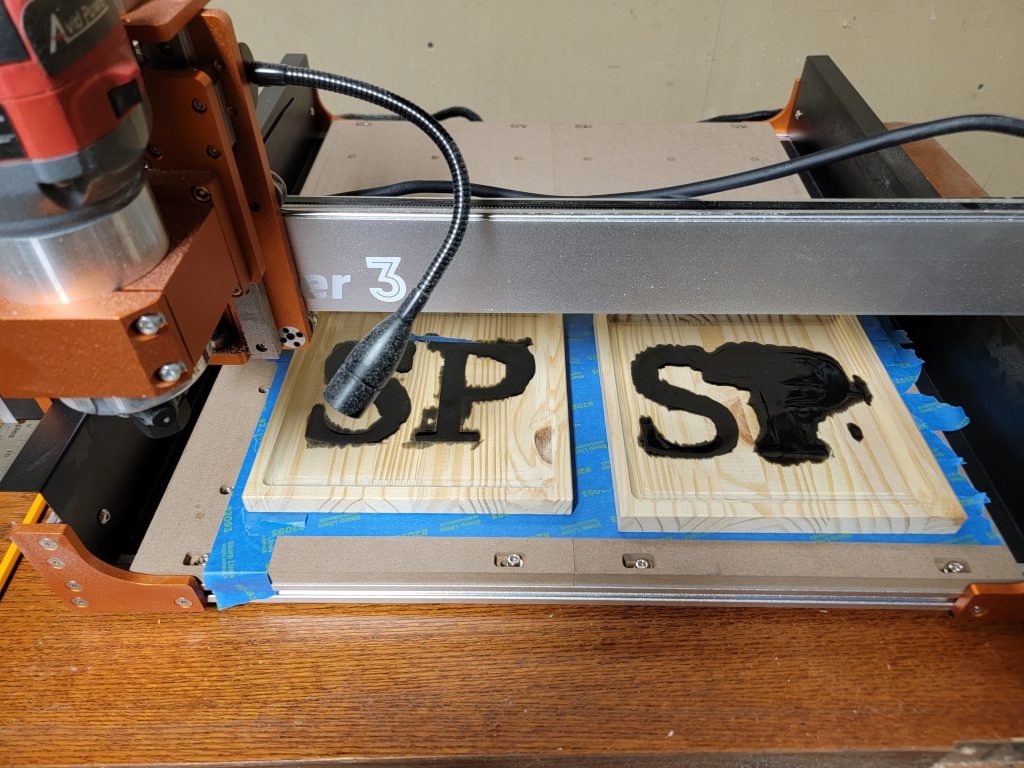
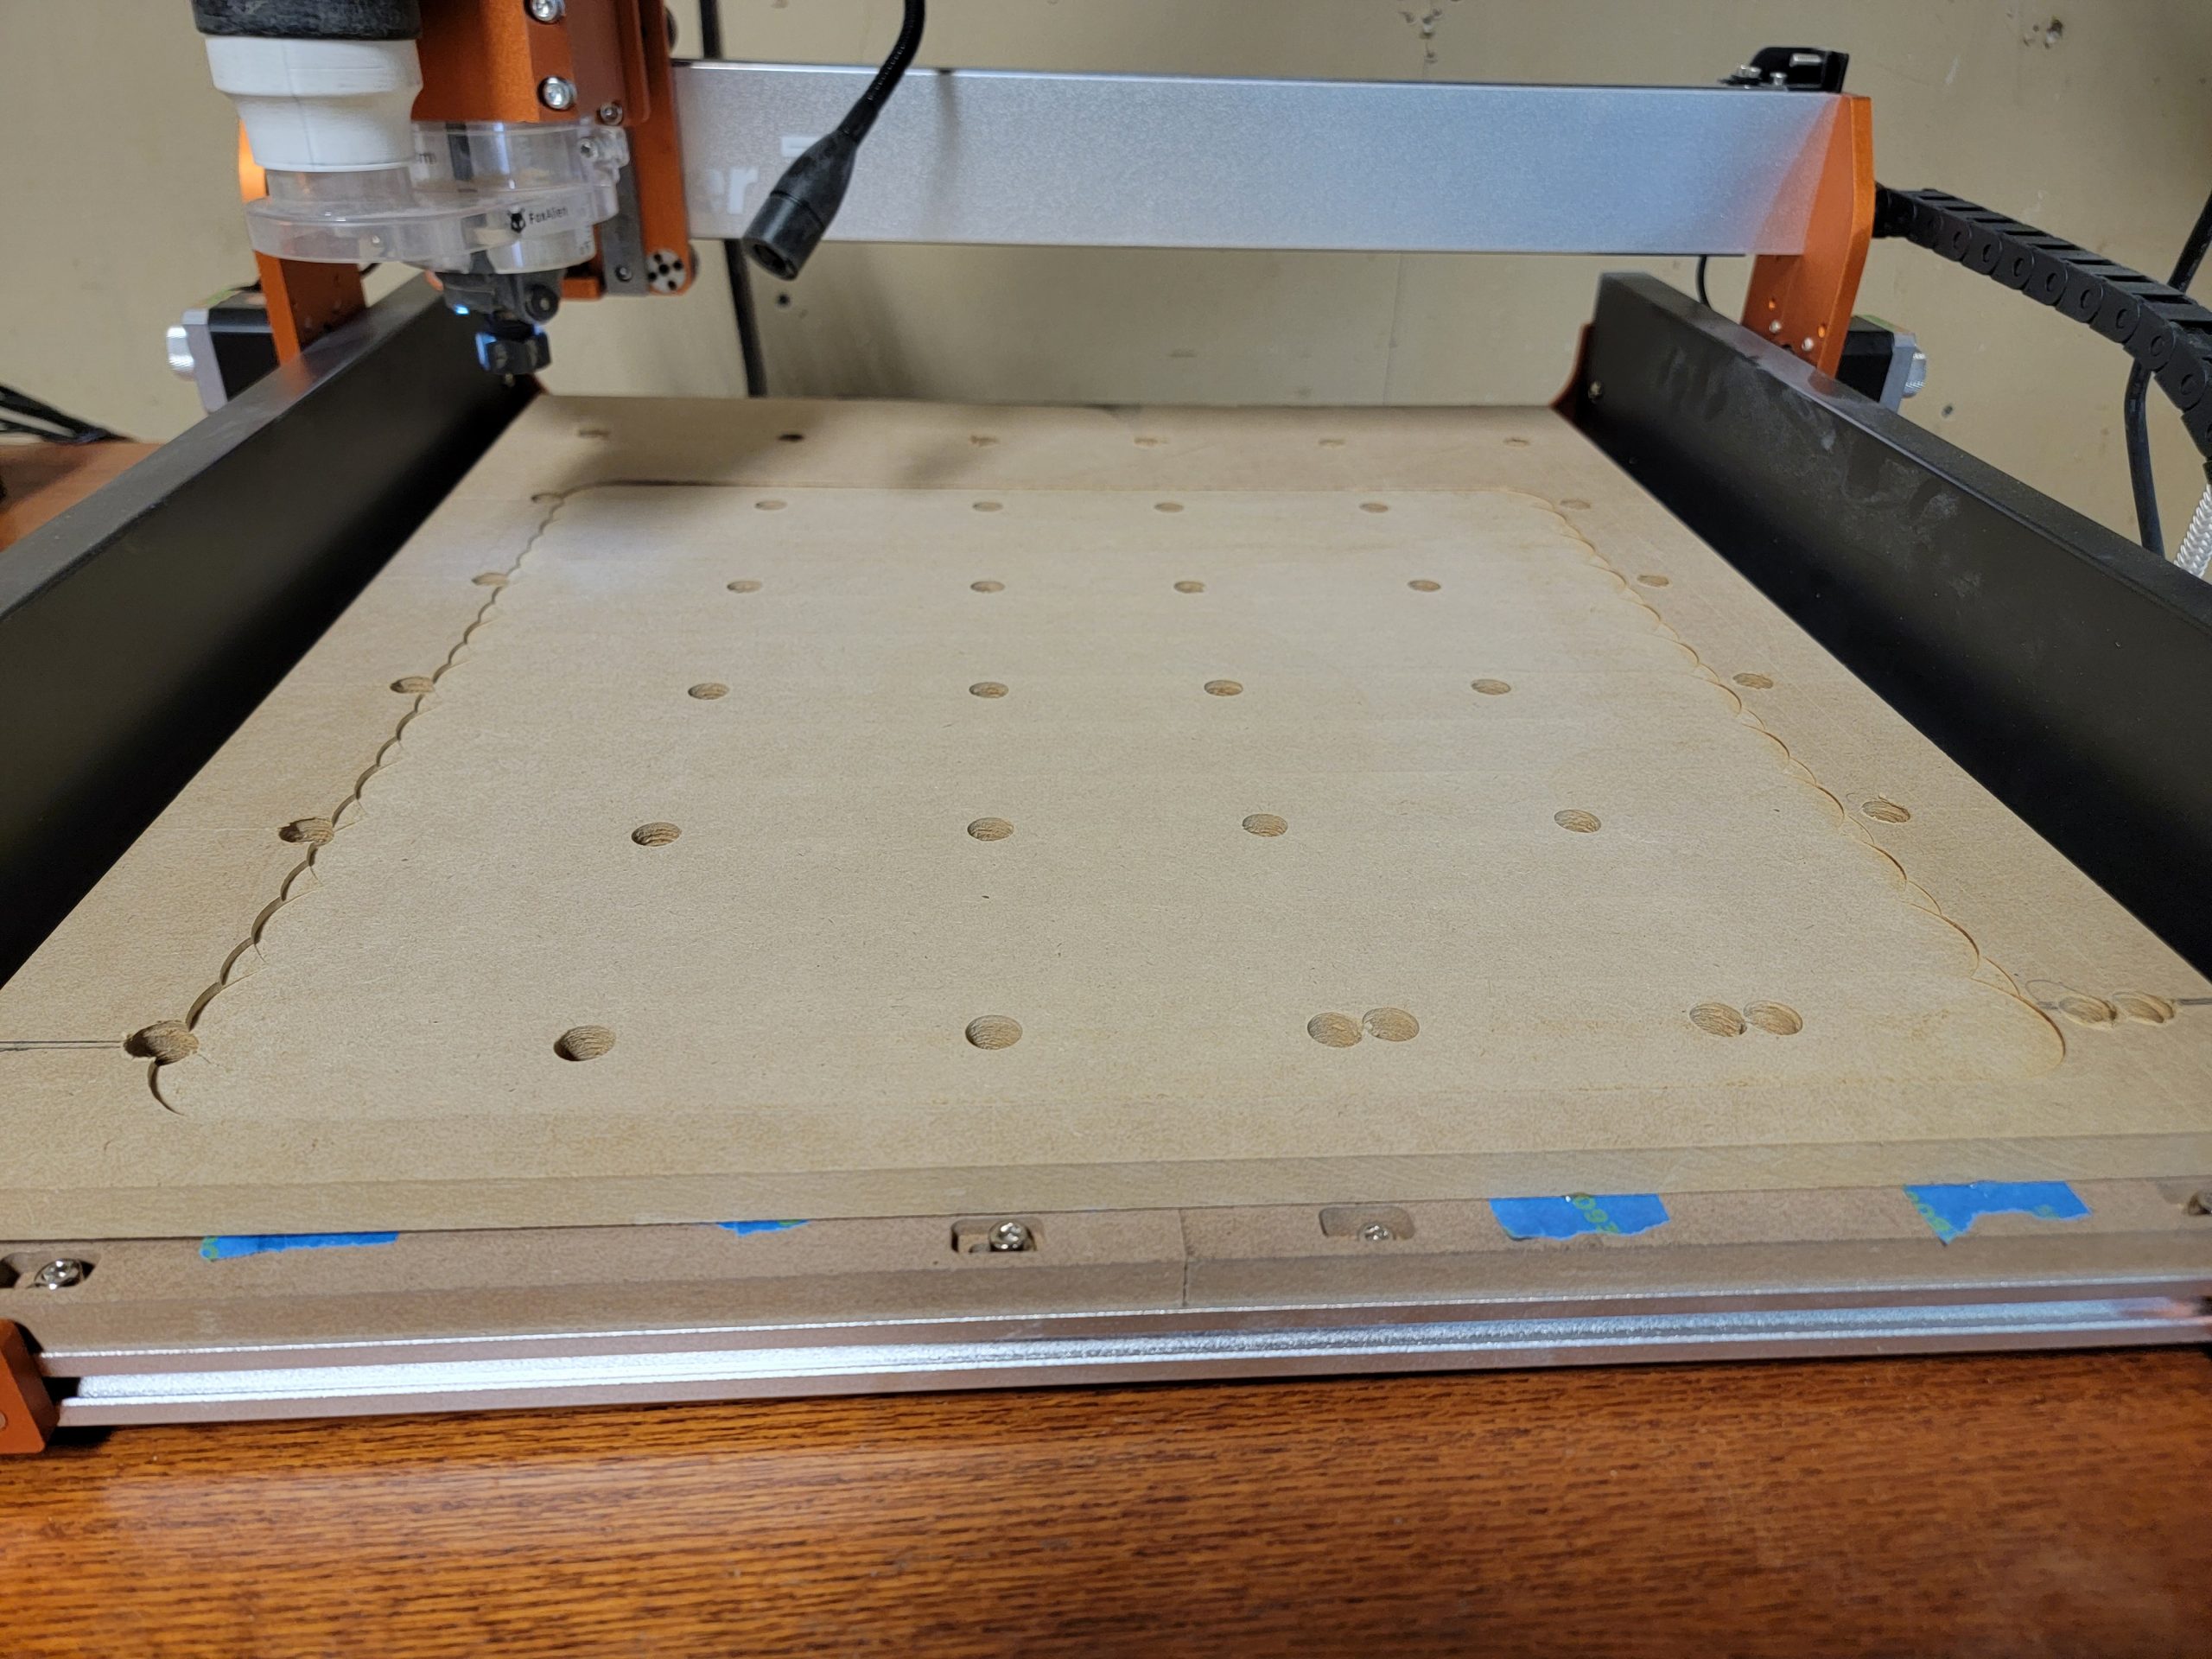
After CNCing out the design earlier it was now time to finish, starting from this point:
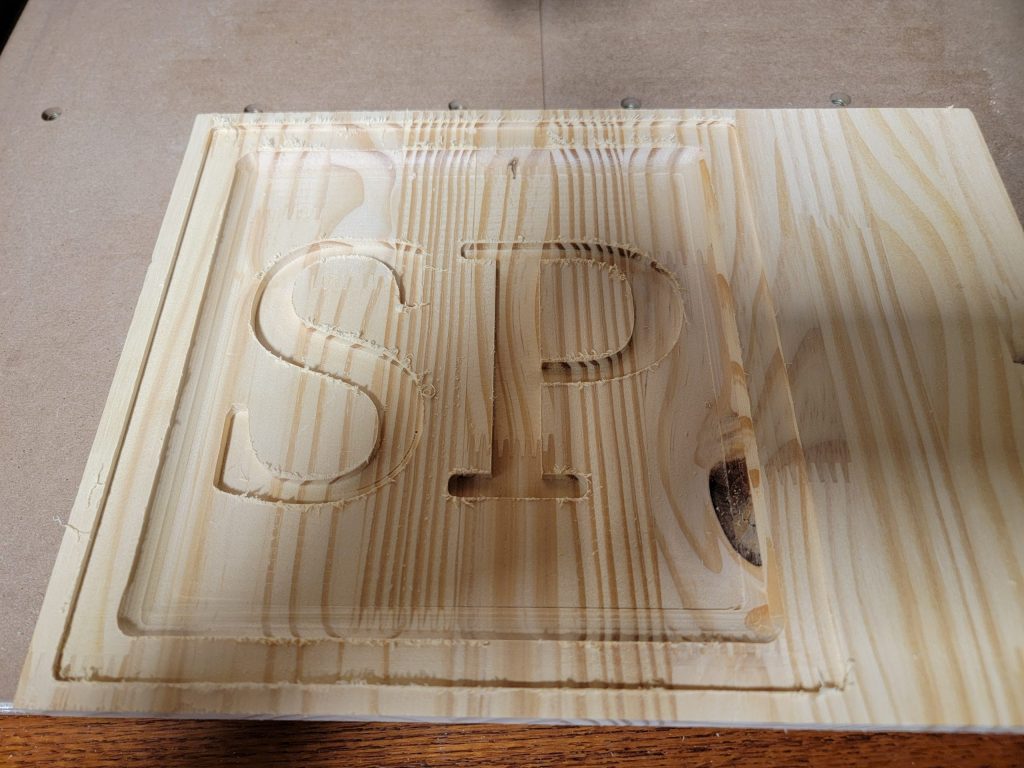
Using the table saw the 10″ x 10″ design was cut off the stock. Then I was able to route the edges and sand everything smooth. I mixed up some Total Boat deep pour epoxy with a few drops of black coloring and pouring into the recessed initials. I used my first attempt at cutting out the design as a test piece (its the only on the right side without blue tape below. This cutout had a CNC mistake on my part which gouged the initials.
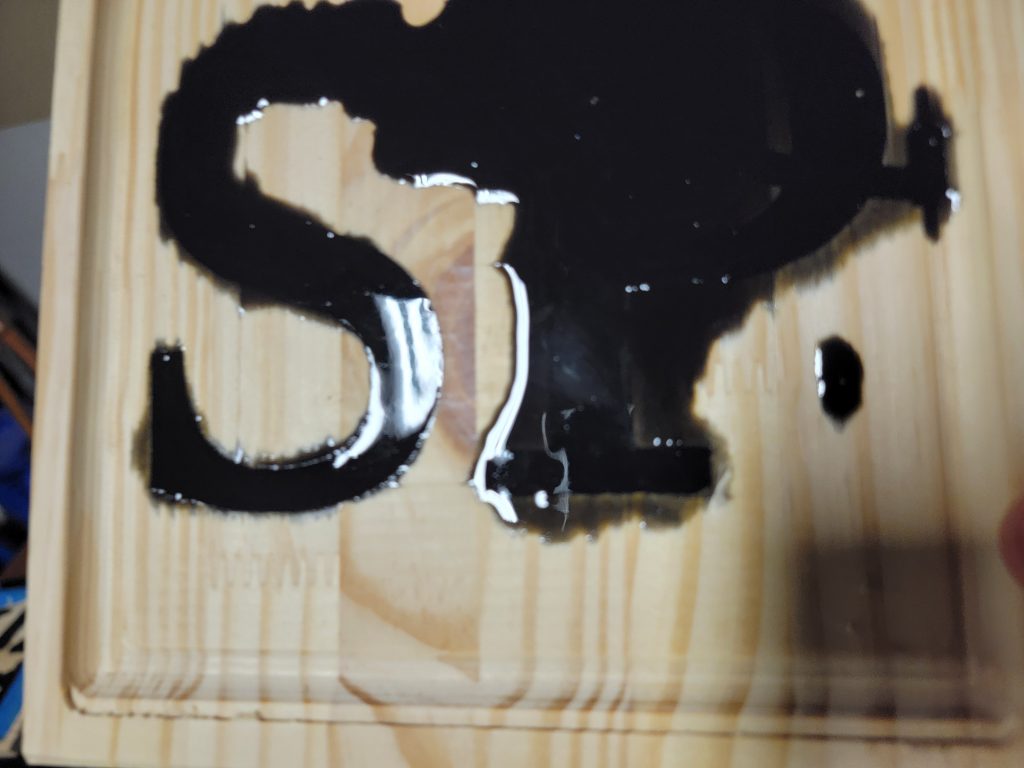
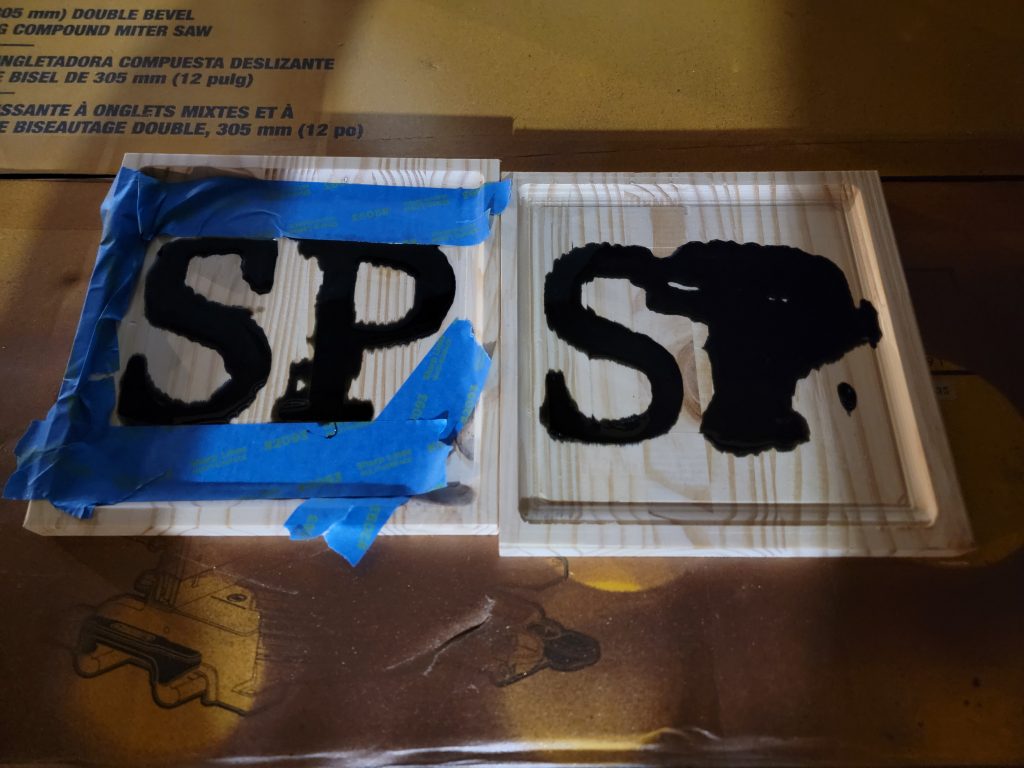
After the epoxy cured I place both pieces into the CNC again. I decided to use it to surface the recessed area with epoxy.
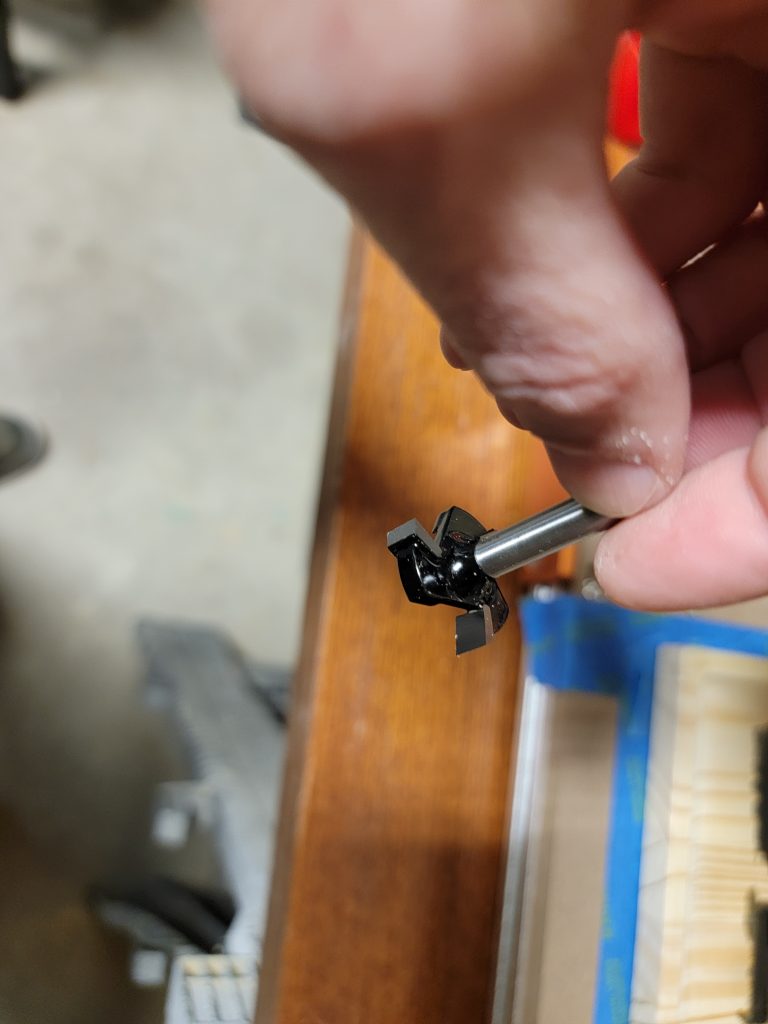
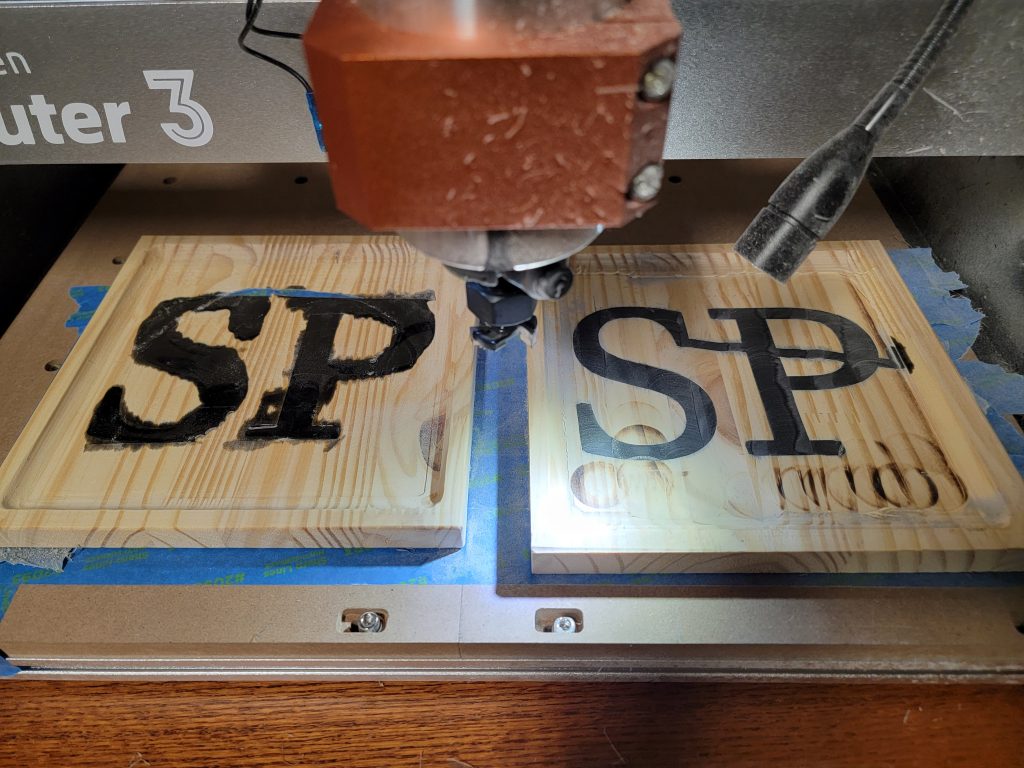
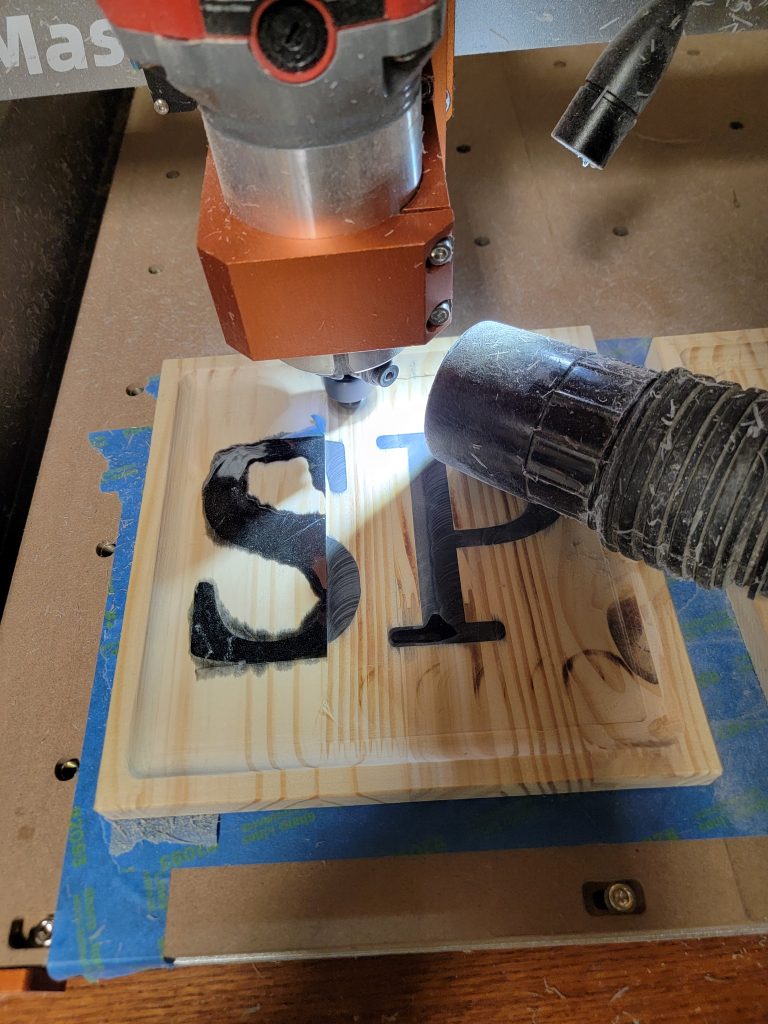
I manually moved the CNC around instead of programming since it was only a few simple moves. Move left ~10mm, move up/down ~200mm. This left pretty good results on the rightmost test piece so I kept moving forward and completed the left piece.

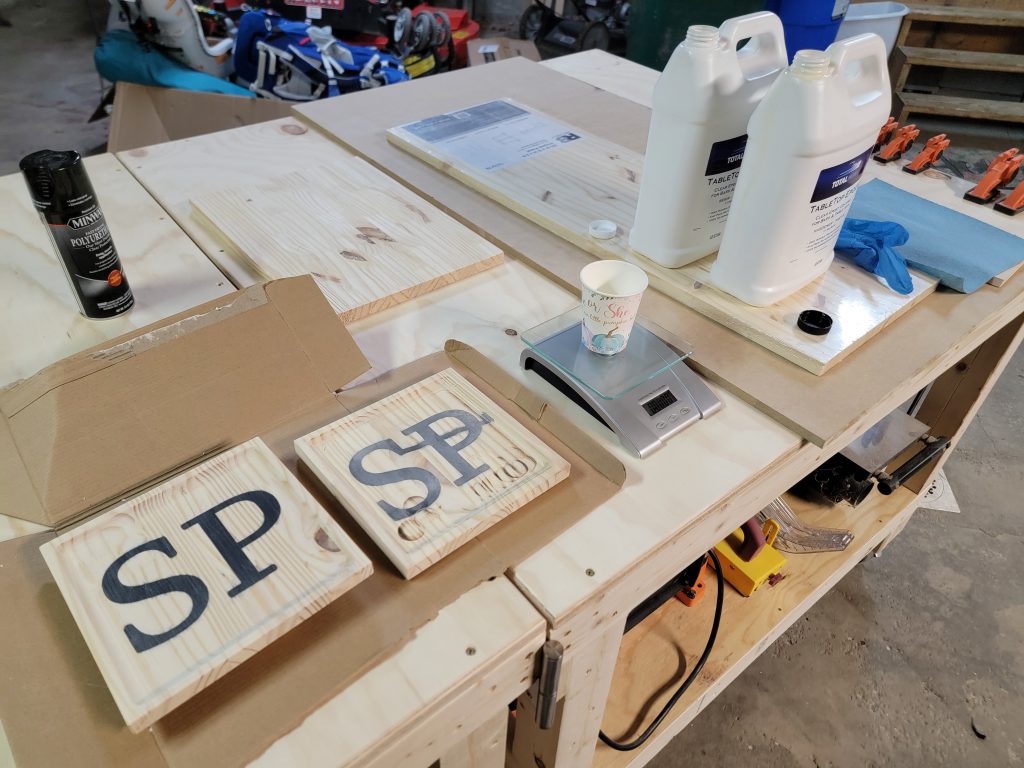
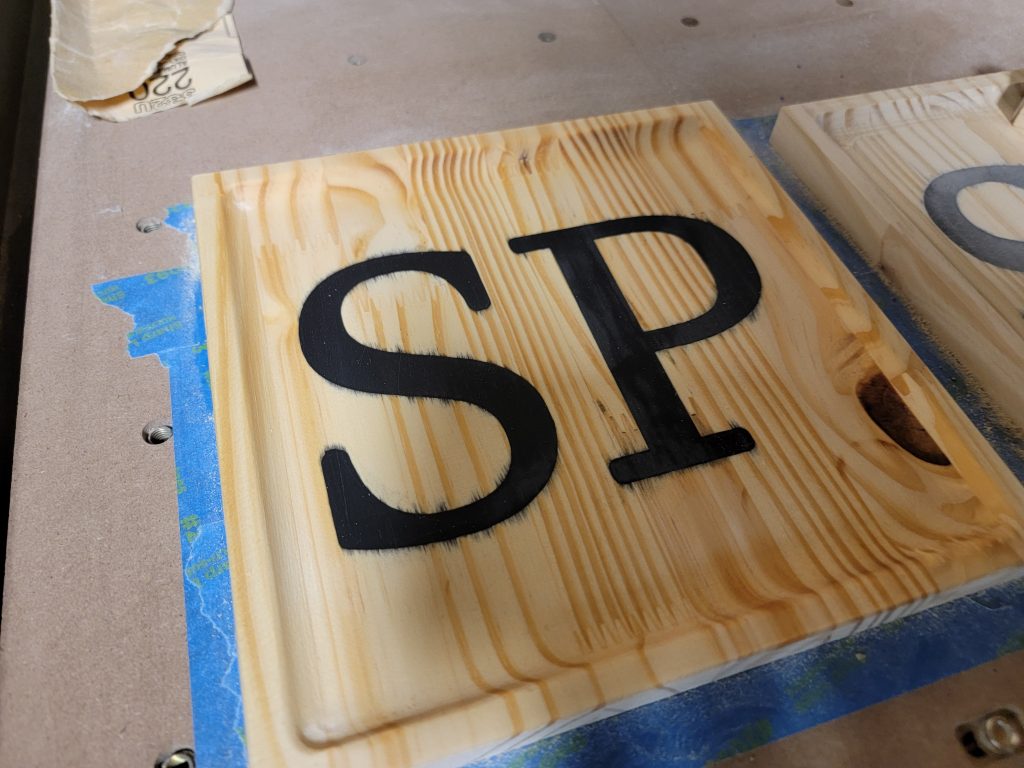
You can see the epoxy was pulled into the grain on the wood around the perimeter of the letters – note for the next time using this method, seal the edges first with clear epoxy or lacquer/varnish to try to prevent this as much as possible.
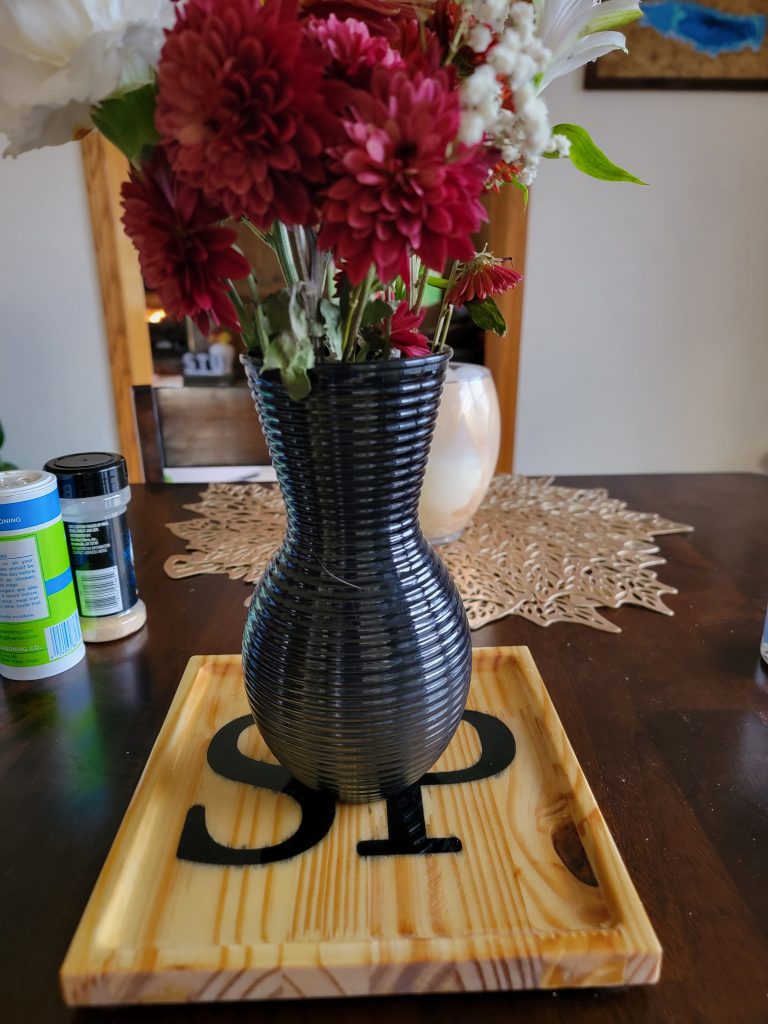
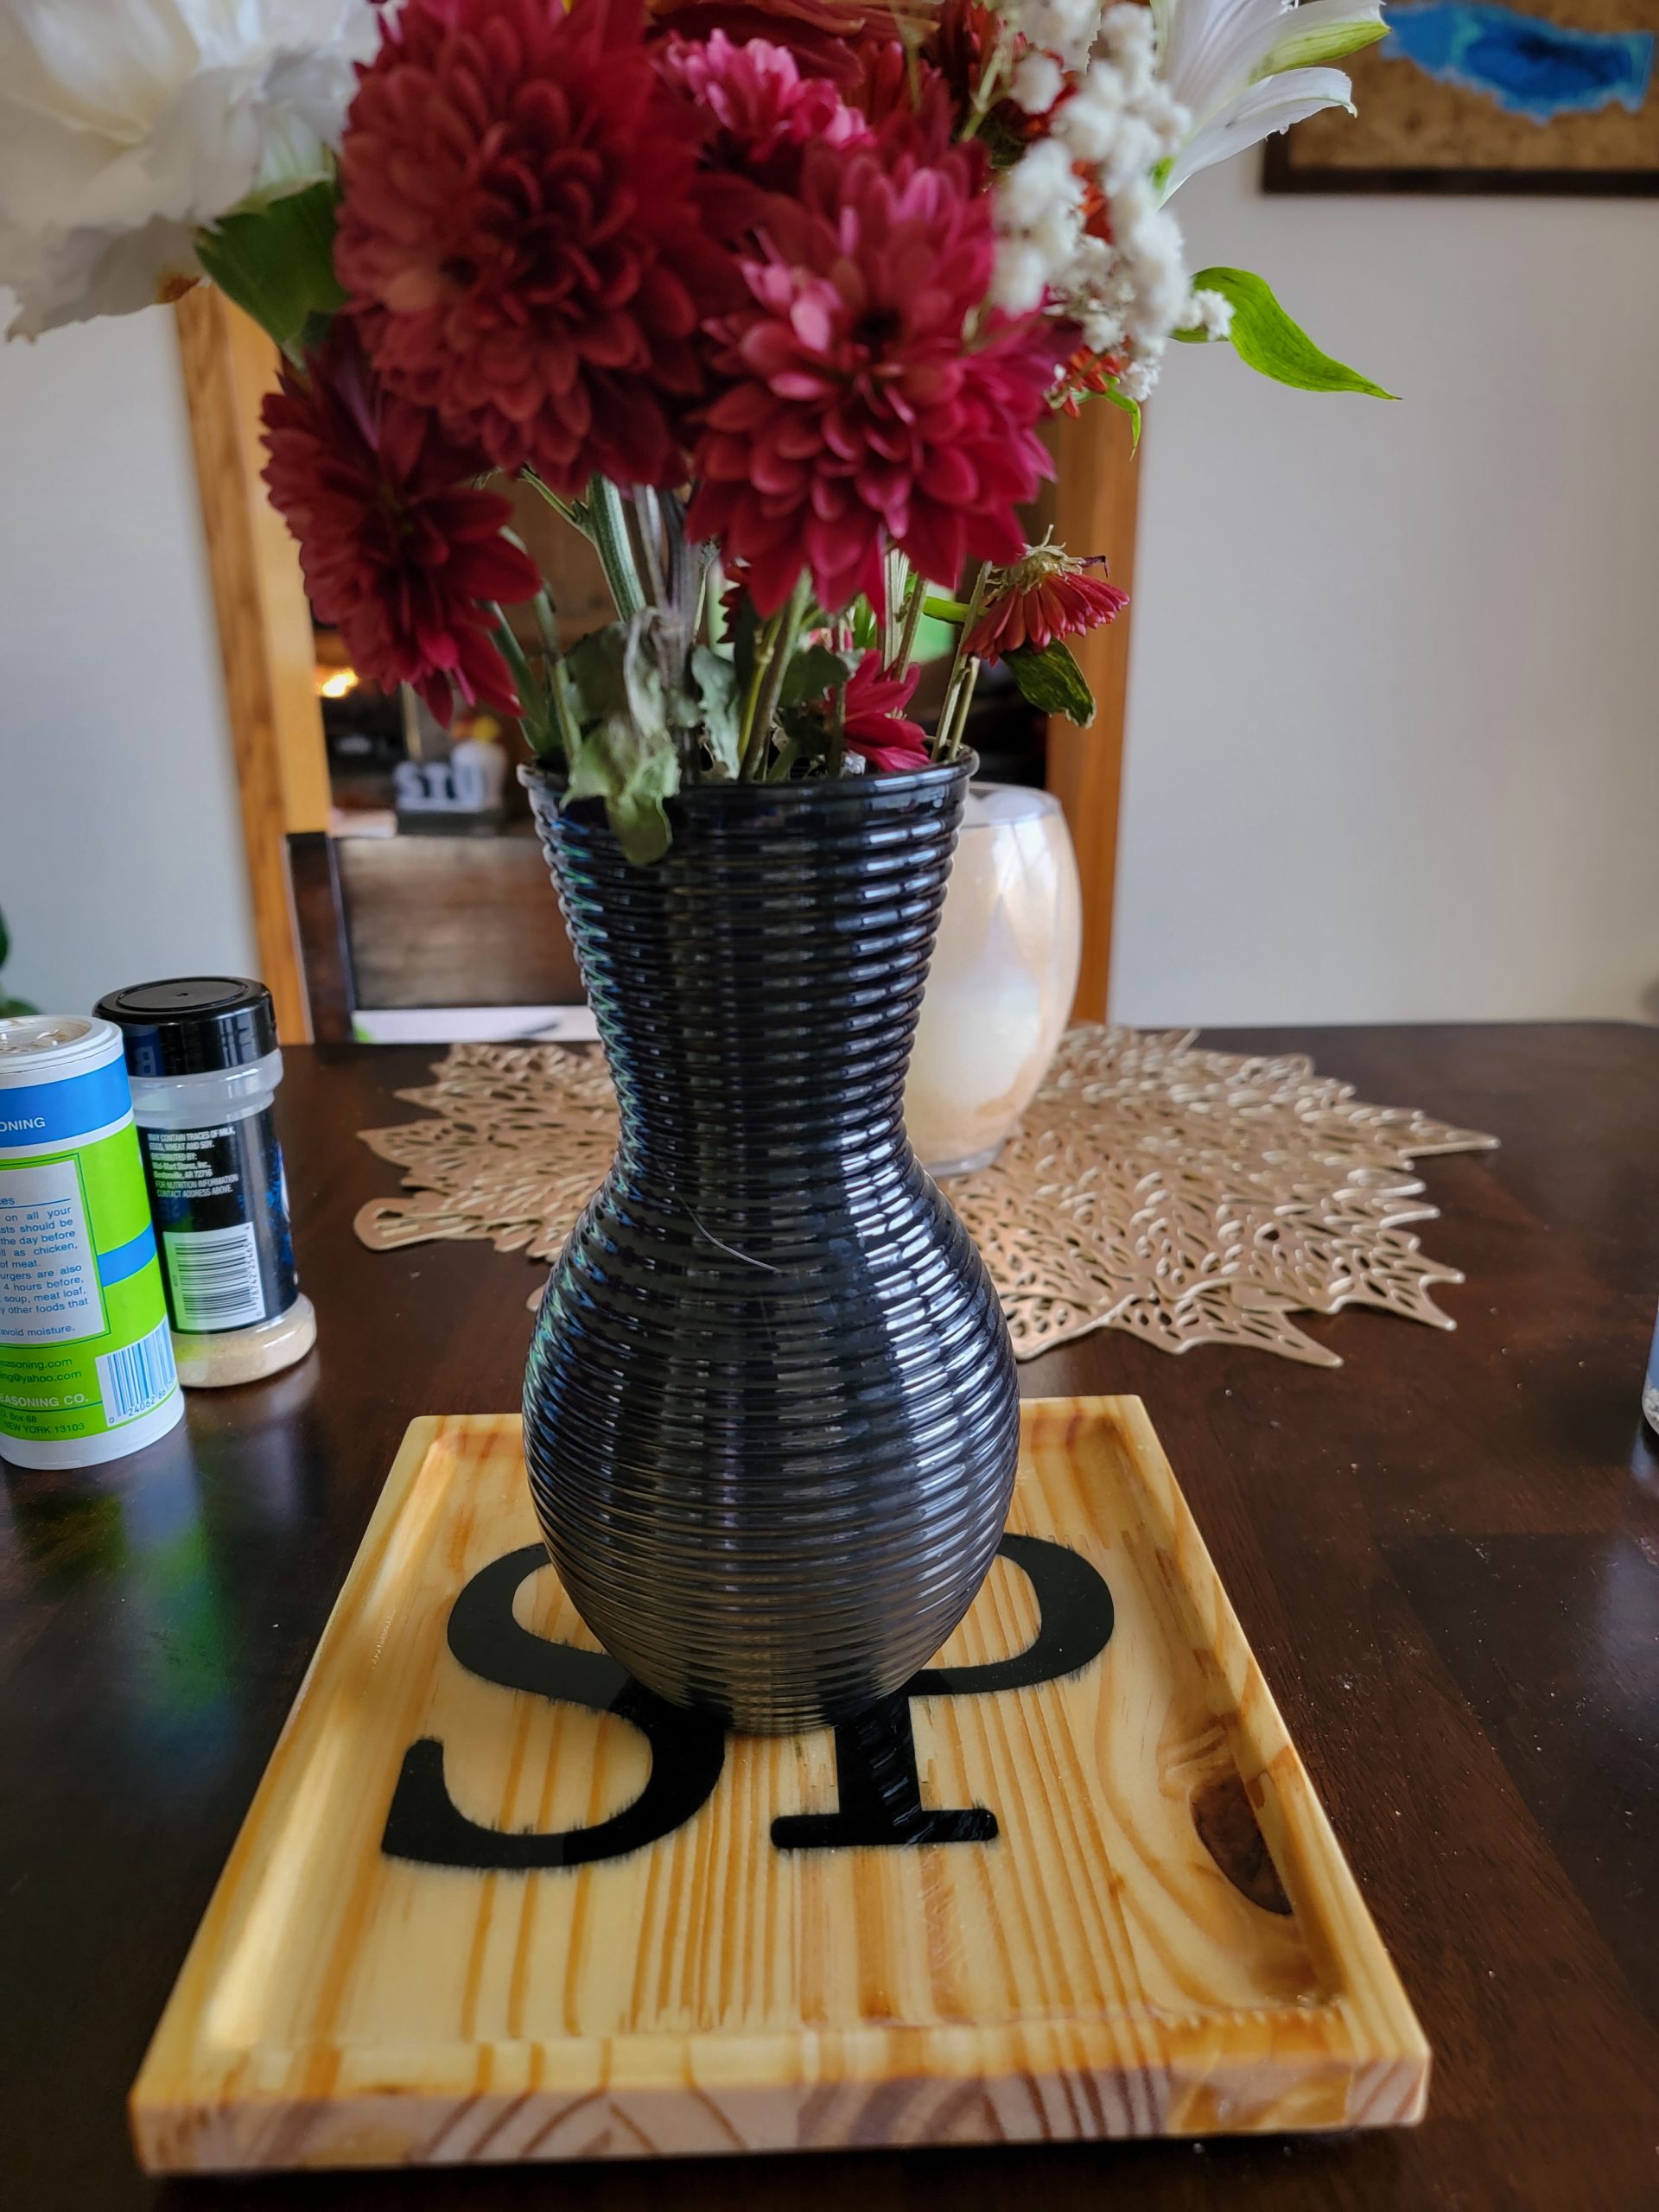
Continued by sanding everything again and putting a clear epoxy coat on the whole thing. Here is the final outcome on our dinning room table:

2 thoughts on “Epoxy Table Centerpiece”